Tools Needed
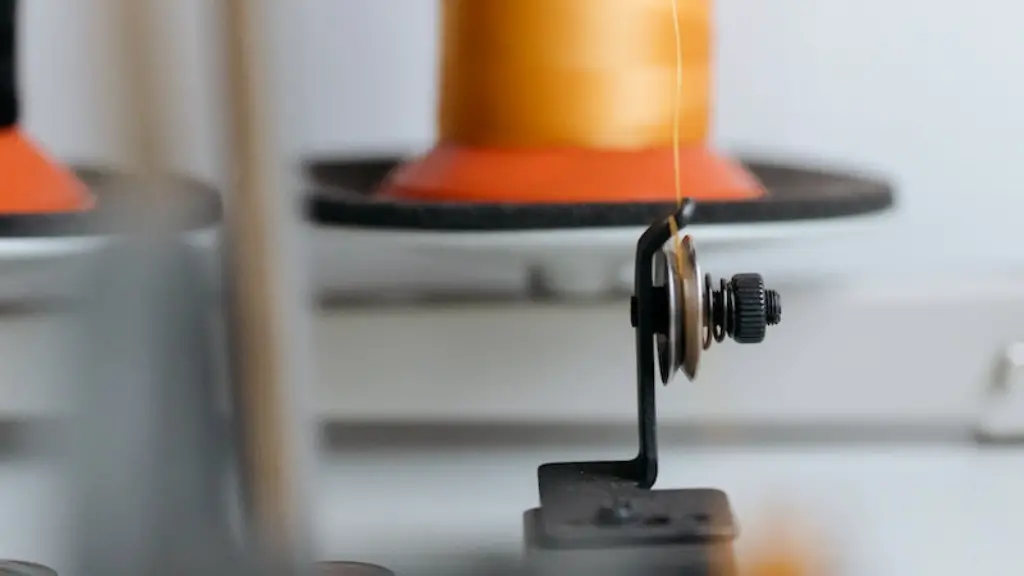
Fixing tension on a sewing machine requires some basic tools. First, you will need a Phillips screwdriver, as this is the most often used tool for tension adjustment. You may also need a pair of scissors, a seam ripper, and allen wrenches, depending on the model of machine, and the design of the tension adjustment screw. Additionally, you will need a spool of thread matching the fabric you plan to sew, as this will be used to test the tension.
Before making any tension adjustments to your machine, you should make sure that the machine is properly threaded and that the thread is running smoothly through the machine. The thread should be free of knots and irregularities, and the bobbin should be wound properly. If everything seems to be in order, it’s time to begin adjusting the tension on your machine.
Testing the Tension
Once you’re sure that the machine is threaded and running properly, it’s time to begin testing the tension. To do this, you should change the stitch length to the longest stitch and set the stitch width to its widest setting. Begin sewing in a forward direction, following the Bobbin Thread Guide. You may need to adjust the stitch length and/or width to ensure a consistent stitch length.
Once you have a consistent stitch length, take the fabric you’re working on and turn it over. If the bobbin thread is visible on the right side of the fabric, the tension is too loose and should be adjusted. If the bobbin thread is not visible on the right side of the fabric, the tension might be too tight and needs to be loosened.
Adjusting the Tension
If the tension on your machine is too loose, you will need to tighten the tension spring. To do this, you will need to locate the tension adjustment screw, usually located near the bobbin case. Using a Phillips screwdriver, turn the screw in the clockwise direction, until the bobbin thread is no longer visible on the right side. Test the tension by sewing a few stitches, making sure the bobbin thread is not visible on the right side.
If the tension on your machine is too tight, you will need to loosen the tension spring. To do this, locate the tension adjustment screw, usually located near the bobbin case. Using a Phillips screwdriver, turn the screw in the counterclockwise direction, until the tension is set correctly. Test the tension by sewing a few stitches, making sure the bobbin thread is not visible on the right side.
Additional Adjustments
Once you have adjusted the tension on your machine, you should test it again to make sure it’s adjusted correctly. If the tension is still not correct, you may need to make additional adjustments. If the tension is too tight, you may need to adjust the stitch length or width to reduce the tension. You may also need to change your needle, or adjust the tension of the bobbin case.
Re-threading the machine may also be necessary in order to loosen the tension. Some machines are equipped with a tension control knob, which can be helpful in making small adjustments to the tension. If all else fails, you may need to take your machine to a service technician, who can properly adjust and tune the tension of your machine.
Lubricating the Machine
Once you have adjusted the tension on your machine, it’s important to lubricate the internal parts. Sewing machine oil is the most commonly used lubricant for the inside of the machine. Do not use WD-40 or any other type of lubricant, as these can damage the internal components of the machine.
When lubricating the inside of the machine, make sure to open up all the covers. There are usually several small screws that need to be removed in order to access all the internal parts. Take care not to damage any of the internal components while lubricating.
Checking Tension
Once the machine is lubricated, you should check the tension again, using the same method as before. Repeat the steps until the tension is adjusted properly and consistently. If all else fails, contact a service technician for help.
Once the tension on your sewing machine is properly adjusted, you’re ready to start sewing. This is an important step, as incorrect tension can lead to all sorts of problems. With the correct tension, you can be sure that your machine will perform as it should for many years to come.
Saving Settings
When adjusting the tension on your machine, it’s important to save the settings so that you can quickly and easily reset the tension if it changes. Some machines will have a “tension setting” button that can be used to save the current tension settings. Other machines may require you to make a note of the tension setting and save it in a notebook.
Tension settings can also be saved in the computer on some machines. This allows you to easily switch between different fabrics and settings, without having to reset the tension each time. This is especially useful if you switch between light and heavy-weight fabrics frequently.
Preventing Tension Problems
In order to prevent tension problems from occurring in the first place, it’s important to properly maintain your machine. Always make sure to clean and oil your machine regularly, using the appropriate lubricants and cleaning supplies. Additionally, always use the correct thread for the fabric you’re working with, as this can have an effect on the tension.
It’s also important to check the tension before beginning a project. This way, you can make sure that the tension on your machine is correct and consistent. Making sure your machine’s tension is correct can save you a lot of time and frustration in the long run.


