Introduction: Sewing is an age-old art and a great way to turn fabric into fabulous creations. While sewing machines enable sewers to create projects quickly and easily, sometimes it can be difficult to know when to end and start a stitch. Knowing when and how to end a stitch can help sewers make sure their projects look professional, clean, and neat. In this article, then, we will discuss how to finish sewing machine stitches, as well as provide tips on taking steps that will reduce the likelihood of needing to end a stitch.
When To End a Stitch: Generally, sewers should end a stitch when they need to switch fabric sections, thread colors, stitch types, or when the sewing project is complete. Sewers should note that it is important to end a stitch properly for professional-looking results. It is also important to make sure the thread tails at the beginning and end of the stitch are long enough so that the stitching does not unravel.
How to End a Stitch: There are several different ways to end a stitch, and which one to use will depend on the project and the type of stitch being used. Generally, the best way to end a stitch is to sew several extra stitches at the end and then tie off the thread. Another popular way to end a stitch is to backstitch a few times, then tie off the thread. Finally, if the finished section of fabric is being sewn over a bit of batting or stuffing, a helpful tip is to also secure the thread beneath the fabric, for extra strength. Sewers may also want to secure the last stitch with an invisible stitch so that the stitch appears secure from both sides of the fabric.
Tips to Reduce the Need to End a Stitch: Whenever possible, sewers should try to reduce the number of times they end a stitch. This can be done by starting the next stitching section near the last one. For example, when sewing quilting blocks, the next section can be started right next to the previous one, to reduce the number of times a thread needs to be ended. When stitching curved sections of fabric, sewers can also use a pivoting method, allowing them to turn the fabric while still using the same thread. This technique can be useful to minimize the number of times a thread needs to be cut.
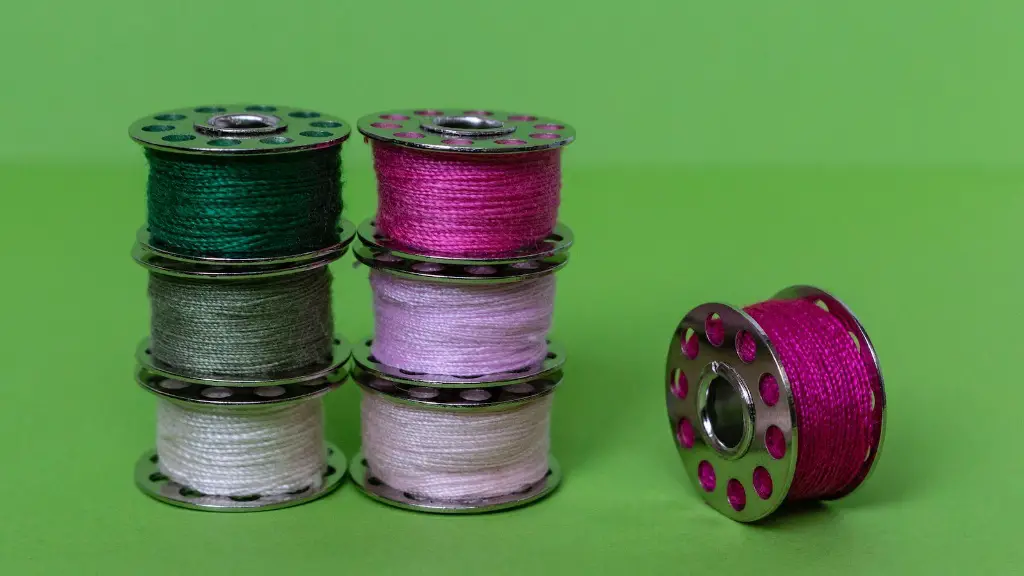
Use of Thread: It is important to use a high-quality thread that is appropriate for the type of fabric being used. Poor-quality thread or thread that is too thin for the project can cause stitches to unravel and make it difficult to end stitches properly. Sewers should also pay attention to the tension of the thread. Too much tension can cause the fabric to bunch, while too little tension can cause the thread to become loose and allow the stitches to unravel. Adjusting the tension is a simple process that can be done with the guide on the machine.
Thread Colors: When it comes to thread colors, sewers will want to make sure they choose the color that best suits their projects. In most cases, this means using a thread that is the same color as the fabric. When using a contrasting thread color, it can be helpful to use a color that is only slightly different than the fabric, to make the thread less noticeable. Also, try to avoid monochrome thread colors when working on dark-colored fabrics, as this can make the stitches more visible.
Machine Maintenance Tips
Threads and Needles: Sewers should also keep their needles and threads in top condition. Needles should be sharp and changed regularly to ensure smooth stitching. Threads should also be inspected for signs of damage, such as broken strands or fraying. If the threads are damaged or show signs of wear, they should be replaced with fresh ones.
Adjustments and Cleaning: It can be a good idea to make sure the sewing machine is properly adjusted for each project, and to clean it regularly as this can help reduce the need to end stitches. Cleaning involves inspecting the machine for lint, dust, and dirt and should be done according to the manufacturer’s instructions.
Foot Pedal: Sewers will also want to make sure they are using the proper foot pedal. The foot pedal should be adjusted in order to get the desired stitch length, pressure, and speed. It is also important to make sure the foot pedal is in good condition as this can affect the results and should be inspected regularly for signs of wear or damage.
Additional Tools
Sewing Gauge: A sewing gauge is a helpful tool for gauging the proper length of seam allowances and hemlines, which can be important for ensuring accurate and consistent results. The sewing gauge is typically a metal ruler, marked in inches and usually comes with a rotating head, making it easy to measure inches accurately.
Needle Threaders: Sewers will also want to invest in a needle threader, as this can make it much easier to thread the needle, reducing the chances of the thread becoming tangled or frayed. It is a metal device with a loop at one end and a movable loop at the other end. The metal loop is inserted into the eye of the needle and the movable loop is used to grab the thread and pull it through the eye of the needle.
Thimbles: Thimbles can also be a useful tool when hand-sewing, as they offer protection from the needle while pushing it through the fabric. Thimbles come in a variety of sizes and materials and are generally made of metal or plastic. They should fit tightly and securely so that there is no slipping when pushing the needle through the fabric.
Common Problems
Warped Seams: Sewers may also encounter warped seams. This is usually due to improperly adjusted tension or incorrect stitch length. Warped seams can be corrected by adjusting the tension on the machine and making sure the stitch length is set correctly. Also, if the thread used is too thick or too thin, it can cause warped seams.
Fabric Stretching: Another common problem faced by sewers is fabric stretching. The problem can be caused by several things, such as too much tension, incorrect stitch length, or incorrect foot pressure. To avoid this problem, sewers should make sure the tension on the machine is set for the type of fabric being used. Also, the stitch length should be adjusted for the desired result and the foot pedal should be adjusted for the correct amount of pressure.
Frayed Threads: Finally, sewers can also experience frayed threads. This often occurs when the sewing needles are old or worn, or when the thread is low-quality. To avoid this problem, sewers should make sure they are using the appropriate needles and thread for the project, and that the needle is properly sharpened and changed regularly.
Conclusion
Proper Techniques: Ending a stitch properly is important for professional-looking results and sewers should make sure they are following the proper techniques. Tips such as using the right type of thread, needle size, and tension, can help reduce the need to end stitches and will help ensure projects look neat and professional. Additionally, it’s always a good idea to invest in additional tools such as a sewing gauge, needle threader, and thimbles, as these can make sewing easier and help prevent common problems from occurring.


