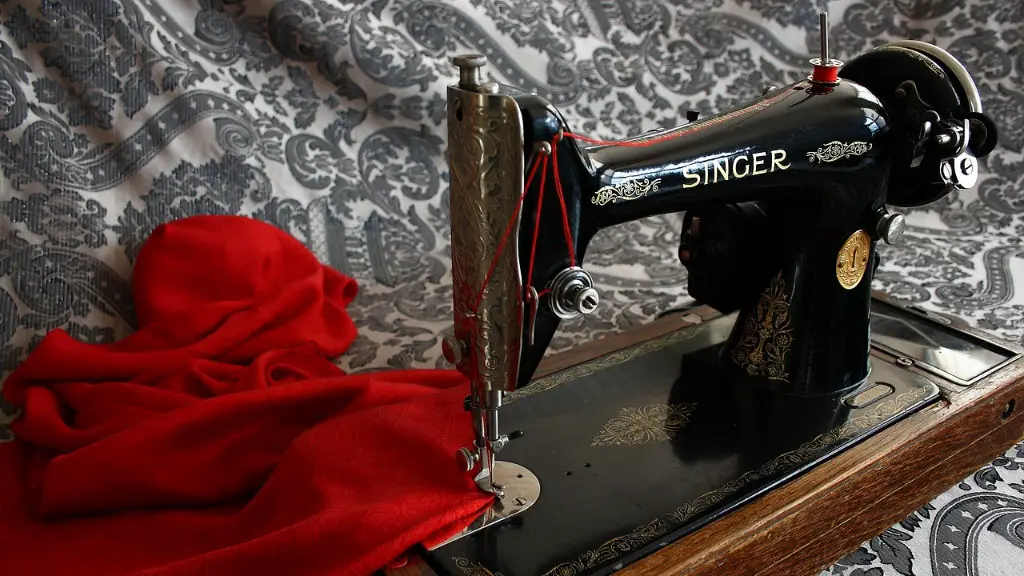
Stitching fabric and doing mending with a Singer Sewing Machine is a great way to save time, money, and even get creative. However, in order for a Singer Sewing Machine to properly function, the needle has to be replaced regularly. Since many Singer Sewing Machines are decades old, it can be a challenge to figure out how to change needles. Thankfully, changing needles on a Singer Sewing Machine is quite simple, and can be done in just a few steps.
When it comes to Singer Sewing Machines, the needle is easily one of the most replaced components. The probability of the needle breaking increases exponentially if the Singer Machine is not properly maintained. However, as long as it’s well taken care of, the needle may only need to be altered after months or even years of use.
The most important thing to remember when changing a needle on a Singer Sewing Machine is to make sure that the needle is the proper size and type of needle for the machine. Singer Sewing Machines typically require needles with a flat shank and regular point. Additionally, a size 90/14 or 100/16 is best. These are heavy-duty needles that are designed for Singer machines and long stitches, so they are more likely to last longer.
When it comes to actually replacing the needle, the process is pretty straightforward. First, the old needle needs to be removed by unscrewing the needle clamp screw, and then the old needle should be pulled out. Once the old needle has been removed, the new needle can be put in the needle hole, and the needle clamp screw should be tightened onto the needle clamp.
Another important precaution to remember when it comes to changing needles on a Singer Sewing Machine is to never force the needle into the hole. Pushing the needle too hard into the hole can break the needle and scratch the surface area in the machine, which can create larger issues later on. Additionally, make sure not to drop the needle into the machine, as this can also cause further damage.
After the needle has been properly inserted into the machine, the Singer Sewing Machine should be tested before sewing any material. This is important to make sure the needle is threaded properly, and the tension is set at the correct level.
Machine maintenance
In order to ensure a Singer Sewing Machine runs in its best condition, regular maintenance is key. This includes cleaning and oiling the machine, replacing parts like needles, bobbin cases, and feet, as well as checking for frayed threads and knots.
One of the best ways to keep a Singer Sewing Machine in excellent condition is to keep it covered when not in use. It’s also important to regularly check any parts that may be prone to wear and tear, such as the bobbin case, feed dog, and other moving parts.
It’s also helpful to keep a spare needle on hand in case the original one needs to be changed. This will save a lot of time in the long run, as well as ensure that the Singer Sewing Machine is always ready for use.
Finally, as with any machine, Singer Sewing Machines need to be used properly in order to ensure the best results. This means never sewing over thick fabrics or corduroy, and making sure the fabric is smooth and tight when it’s fed into the machine.
Understand your machine
In order to properly use any Singer Sewing Machine, understanding the basics of sewing with a Singer is essential. Before hopping into anything, it’s important to learn the different parts of the machine, such as the needle plate, foot pedal, and feed dog. Additionally, understanding the different stitches and how they work is also extremely helpful.
Another great way to get familiar with the Singer Sewing Machine is to read the manual. This will help to know more about the different components and how to use them properly. Additionally, it’s important to check with a local sewing shop to ask for any advice or to pick up spare parts, like needles, if necessary.
Finally, for those new to sewing, it’s important to practice using the machine first. If a mistake is made, don’t worry; this is perfectly normal! Just be sure to read up on how to fix the mistakes, and don’t be afraid to ask for help.
Tips for success
Sewing with a Singer Sewing Machine is a rewarding experience. However, like anything else, it’s important to follow a few tips in order to help ensure success.
First, it’s important to make sure the machine is clean. This includes making sure the lint is removed regularly, as well as wiping down the outside of the machine with a damp cloth. Additionally, it’s important to use the proper needles for the fabrics that are being used. If the fabric is especially thick, then a heavier-duty needle will be required.
Also, it’s essential to use the correct thread. Thin fabric will require a thinner-than-usual thread, and thicker fabric will require a heavier thread. Additionally, if a stronger stitch is desired, then the tension should be adjusted accordingly.
Finally, it’s important to be mindful of the speed while sewing. It’s always helpful to start slowly and then gradually increase the speed as buttonholes, hems, and other intricate details are completed.
Conclusion
Changing a needle on a Singer Sewing Machine is a relatively simple process, but it’s important to remember a few key steps. Always be sure to use the right type of needle, and don’t forget to check the thread and tension of the machine before attempting to stitch anything. Additionally, regular maintenance and understanding the basics of sewing are essential for keeping a Singer Sewing Machine in top condition.
