The Key Factors That Influence Tension On Sewing Machines
Getting the right tension on a sewing machine is vital to achieving successful, neat seams and stitches. But how much tension is necessary, and what causes the needle tension to be different on any two machines? In this article, we’ll cover the key factors that affect tension on most sewing machines and how best to understand and manage them.
The main factor that determines the tension on the needle is thread thickness. The more heavy the thread, the higher the tension needs to be set for the machine to be able to pull it properly. Consequently, finer threads require less tension.
The type of needle is also an important factor. Needles come in a variety of types, from ballpoint to stretch and denim, designed to work effectively with specific fabrics. If a needle is inappropriate for the fabric, or too blunt or too sharp, tension issues can occur.
The fabric being used plays a critical role, too: its shape can affect the tension, as well as its thickness, stiffness and the type of stitch required. For example, some fabrics may require longer, looser stitches than others, due to their natural stretch. Similarly, gathering fabric involves a different tension from making a simple hems or seams.
Sewing speed is also part of the equation. If the machine’s speed is too low, the fabric will drag and cause the need tension to not be a consistent. This will, in turn, cause the thread and the fabric to bunch, leading to stitches that are not consistent.
The machine’s presser foot pressure also has an effect on the tension. If it is too high, it will make the fabric difficult to move and cause the machine to work harder to pull the thread through. This could cause the tension to be uneven and result in an inferior and uneven stitch.
Ultimately, the right balance between tension and the other factors mentioned is crucial. A customer educator with a sewing machine manufacturer describes the tension ‘setting’ as the “sweet spot”. This is where the tension produced by the machine is just enough for the stitching, but not too much, as to cause breaks in the thread.
Testing The Tension Of The Sewing Machine
To check whether the sewing machine tension is correct, a sample of the fabric being sewn should be used. For example, to test the tension on a cotton fabric, a four-inch length sample should be sewn along the edge, four or five times. Then, the threads should be cut on both sides, and the stitches examined.
If the stitches appear neat and consistent, this suggests that the tension is working properly and the hook is catching the bottom thread. If the stitches are puckered or looped, the tension might be too tight. Conversely, if the threads appear loose on the top, the tension is likely too loose.
Many sewing machines are fitted with a tension dial that can be adjusted to accommodate different fabrics or threads. The user should consult their machine’s manual to understand which setting to use, or experiment with different settings as a starting point.
Calibration Of Sewing Machines
A sewing machine’s tension system needs to be calibrated periodically, to guarantee consistent results. Many modern machines have self-calibration features for tensioning, which make it easier to maintain the right level of tension. Calibration can also be accomplished manually by using a feeler gauge.
When calibration is successful, the same tension should be maintained regardless of the fabric being used. But if the fabric thickness, weight and weave vary a great deal, it may still be necessary to adjust the tension in the machine periodically.
On the other hand, it is possible to use an ‘automatic tension device’. This is a tested and verified equipment that sets the tension on the machine to the optimal level for almost any brand of machine. Automatic tension devices not only set the machine’s tension but also act as a ‘watchdog’ for changes in tension during sewing, correcting for any sudden deviations.
Using Tension Rulers
By using a tension ruler, sewers can make the task of setting tension easier. A tension ruler’s scale shows how many stitches (or stitches per inch) a fabric needs to be sewn with. The tension can either remain constant or be adjusted as the different numbers of stitches are changed.
Tension rulers are inexpensive and widely available, and they are easy to use. They work like a standard ruler but with a series of lines, or ‘Tension Tiles’, that relate to various thread and fabric combinations. This enables sewers to quickly test the tension on the needle.
Furthermore, some tension rulers are made from metal and have more lines, enabling more tensions to be tested. Others are made from plastic, which can display fewer lines but offer the same reliable readings.
Manual Adjustment Of Tension
If the tension needs to be adjusted manually, a seam ripper can be used to remove a few test stitches from the sample. The threads should then be removed from the fabric. If the back thread is ‘long’ and has little loops, the tension is too low. However, if the back thread is short, and there are too many loops, the tension is too high.
By looping the back thread over the adjustment method, tension can be adjusted to accommodate different fabrics and threads. As a general rule, a low tension setting (less than 5) should be used when the thread is thick, or when making heavier or more intricate stitches. Conversely, fine threads should be sewn with a high tension setting (greater than 10).
Most machines come pre-set to a standard relationship between the upper and lower tensions, but this may need to be changed depending on the fabric, thread and type of stitch. If the upper tension is too high, the back thread can be too tight, and if the bottom tension is too high, the fabric can be pulled in the wrong direction, creating an undesired result.
Resolving Common Tension Issues On Sewing Machines
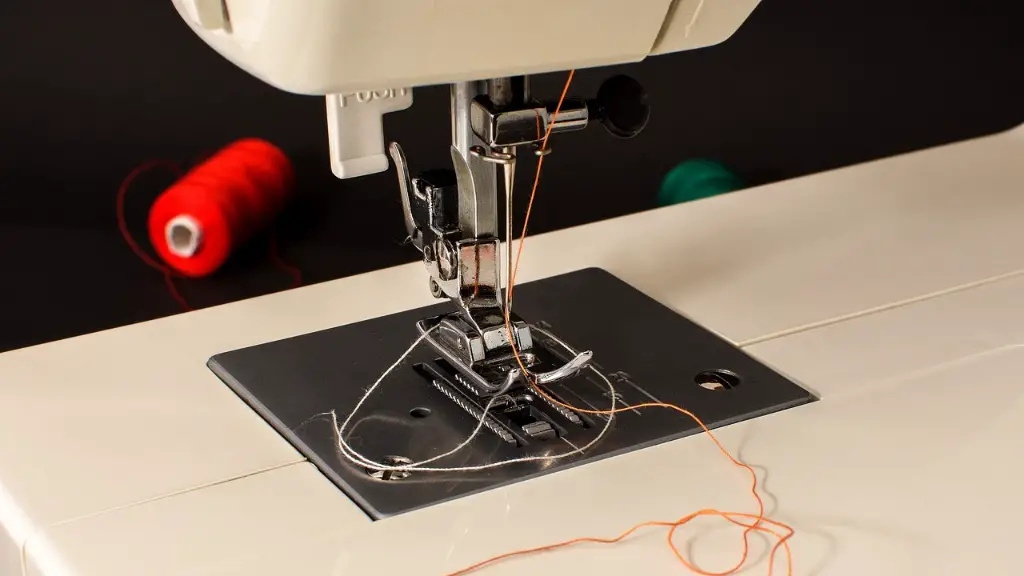
When facing tension issues on a sewing machine, one of the common solutions is to check, clean, and lubricate the interior parts of the machine. All types of dust and lint can cause the tension discs to clog and not turn freely. Also, the fabric and thread should be checked carefully.
In some cases, simply changing the needle can resolve the tension issue. It is essential to use a suitable needle type when setting the stitch length and tension on the machine. And the needle should be changed regularly, otherwise it can result in uneven stitches or breakage.
If the needle plate is faulty, the needles can easily move out of place and lead to unequal stitches. If necessary, the needle plate can be replaced by a technician. Also, checking threads for frays can also help resolve tensioning issues on machines.
Using The Appropriate Thread
The type of thread used plays an absolutely crucial part in the tension setting. If a thread is too thick for the needle, the machine will not produce consistent stitches. As a general rule, the weight of the thread should match the size of the needle. Also, different fabrics need different fibers, as each thread has a specific purpose.
For example, denim needs a thicker thread and stretchable fabrics need a thread designed specifically for elasticity. So it’s important to always use high-quality thread and ensure that it is well-lubricated. This will make the thread smoother and help it to pass through the tension discs.
Verification And Troubleshooting
Once the tension has been set correctly, it is important to double check the machine’s settings. For verification, one should run a few stitches and compare the result with a ‘master sample’. This is a sample for comparison with the new stitches that have been made, to ensure that the tension is consistent.
The master sample should have been freshly sewn, as tension is always affected by washing or use. If the result isn’t satisfactory, it can be that the tension settings need to be adjusted accordingly or perhaps the needle or needle plate should be changed.
Additionally, the presser foot pressure must always be tested before and during long-term stitching. If the pressing foot pressure is wrong, the machine will push or pull the fabric in unpredictable directions and affect the tension accordingly.
Conclusion
Setting the tension on a sewing machine can be a tricky business, as there are many factors to consider. But, with knowledge and care, the desired results can be achieved. This article has outlined some of the key factors that influence tension on sewing machines, from thread thickness to presser foot pressure, and has illustrated the importance of testing, calibration, and manual adjustment when necessary.
