Learning to adjust your stitch length on a Brother sewing machine is a necessary skill to ensure your sewing projects turn out perfectly. Adjusting the stitch length is relatively easy and requires minimal steps. The stitch length setting is essential for specific projects requiring particular seam strength, elasticity or decorative effects. Plus, following the right measurement ensures consistency in your stitching. Generally, the seam length should be about 2.5mm for most straight stitching, and between 1mm-1.5mm for zig zag and other decorative stitches.
When adjusting the stitch length of your Brother sewing machine, the most important thing to note is that the scale on the machine’s main body indicates how long the stitch will actually be. Therefore, moving the stitch length setting towards a higher number will increase the length, and moving it towards a lower number will reduce it.
To begin adjusting stitch length on a Brother sewing machine, all you need to do is turn the machine’s hand-wheel counter clockwise until it stops. This will move the needle to its highest position, giving you the best possible view of the needle plate and stitch length access. Next, locate the stitch length dial on the front of your Brother sewing machine and set it to the number that matches with the stitch size you want.
When making any adjustments to stitching length, it’s essential to pay attention to the scale on the machine itself. If you select a longer length than necessary, it could result in loose and sloppy seams. Additionally, attempting to sew with too low of a length could result in your fabric puckering.
It’s also important to adjust stitch length according to the fabric you intend to use. When using a lightweight fabric like a chiffon or a polyester-blend, it is best to reduce the stitch length to 1-1.5mm. This prevents the thread from leaving holes in the fabric and keeps it intact. For heavier fabrics such as denim or leather, a longer stitch length of up to 3.5mm should be used for a secure and neat seam.
Finally, once you have selected your desired stitch length, press your Brother sewing machine’s stitch-length selector button or lever to save the changes. With your appropriate settings saved, it’s time to get started on your sewing project!
Experimenting with Stitches
Now you know the basics of adjusting the stitch length on a Brother sewing machine, why not experiment with different stitches to see what works best? With a length of 2.5mm, the universal stitch setting, your standard straight stitch should be sufficient enough to join the fabric together – anything longer could pierce the material.
On the other hand, special occasions call for decorative stitches, especially for embellishing clothing or accessories. The zig zag stitch is a popular one to use when creating embroidery or attaching ribbons and trim. For a zig zag stitch, set your stitch length at 1mm-1.5mm for a neat end-result.
Another great stitch to experiment with is the blanket stitch. This type of stitch is perfect for making curved edges, creating special appliques and appliquéing multiple layers of fabric together securely. A shorter stitch length of 1.5-2mm should be used when sewing a blanket stitch.
Overall, the stitch length you choose will depend on the purpose and design of your project. It’s best to practice with different stitch lengths until you get the results you’re looking for. And, don’t forget to adjust the thread tension! If the tension is too tight, you could end up with ugly, taut seams.
Using Different Presser Feet
When it comes to sewing with your Brother sewing machine, the presser feet are essential. They’re designed to keep your fabric in place while you’re stitching, and can also affect the length of your stitches. If you’re using a standard presser foot, you’ll likely need to use a longer stitch length of up to 4mm, as this will ensure the fabric doesn’t bunch underneath the foot or move too much while you’re sewing.
But, if you use a walking presser foot, there’s no need to increase the stitch length. In fact, using a shorter stitch length of 1-2mm works best, as this will prevent the foot from pushing the fabric too far forwards. A walking foot is ideal for topstitching, quilting and other projects that involve layers of fabric.
When using a zipper foot, a longer stitch length of up to 4mm is recommended. This will ensure that the foot is able to slip into the teeth of the zipper without jamming up. It’s best to practice with a scrap zipper and fabric before attempting to add a zipper to your project.
Finally, if you’re working with elastic or bias tape, use a longer stitch length of 3-4mm. This will ensure that the elastic or tape is securely held in place and won’t come loose.
Choosing the Right Needle and Thread
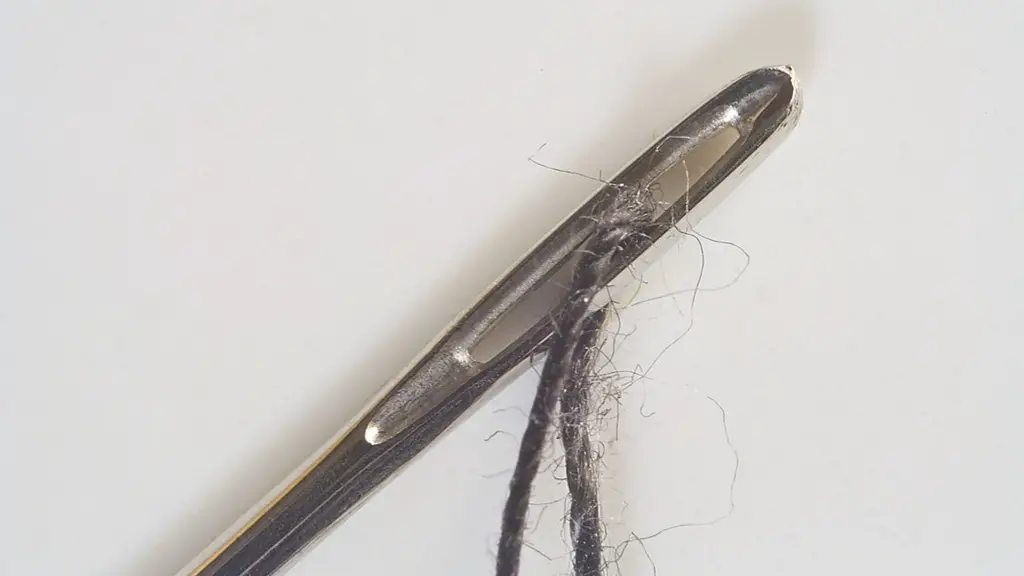
Your choice of needle and thread also plays a part in adjusting stitch length – they should be paired according to the type of fabric you are stitching. Heavy-duty needles, for example, tend to produce longer and stronger stitches than standard or lightweight needles. Threads also vary in weight, and the heavier the thread you choose, the longer the stitch length you should use.
When using thin fabrics such as organza or chiffon, opt for lightweight needles and threads. A ballpoint needle is the best choice for these types of fabrics, as it produces a neat but stretchy stitch. And when using a thicker fabric like canvas, denim or leather, a universal needle and thread should be used. A universal needle and thread will work for most fabrics, however a topstitch or quilting needle is perfect for heavy fabrics.
Finally, always use a good quality thread like polyester or cotton thread, as this will produce strong and durable stitches. Cheap threads may struggle to last through multiple wearings or washings and may require frequent mending.
Adjusting Thread Tension
It’s important to remember that the thread tension should also be adjusted when changing the stitch length. Generally, higher tension is best for thicker fabrics while a lower tension is better for thinner fabrics. But, this also depends on the size of the thread used. For large threads such as topstitch thread, a higher tension should be used, whereas for thin threads, a lower tension can be used.
To test the tension of your Brother sewing machine, sew a straight line on a scrap piece of fabric with the same thread and needle you want to use for your project. If the thread appears too loose or too tight on the underside of your fabric, adjust the tension accordingly. It’s best to make these adjustments one notch at a time, as this will help you achieve the desired thread tension without having to start all over again.
When adjusting thread tension, it’s important to remember that the front and back of the stitch should look the same. If the bottom stitch looks different to the top stitch, it suggests that the tension is too tight or too loose. To rectify this, adjust the thread tension until the top and bottom of the stitch look the same.
Tips and Hints
To ensure that your stitching looks neat and professional, use a good quality sewing machine oil every month on all metal parts of your Brother sewing machine. A clean machine will help guarantee a good end result. Additionally, if the thread slides across the fabric instead of gripping it, this could be a sign that the needle is blunt or the thread tension is too loose.
It’s also important to remember that different fabrics require different stitch lengths and thread tensions. To achieve the best possible results, use the correct type of needle and thread and adjust the stitch length accordingly. And, when starting a new project, it’s a good idea to practice with scraps of fabric first.
The key to successful sewing is trial and error, so don’t be afraid to experiment with different stitches and lengths until you find the perfect balance! With the right adjusting and maintenance, your Brother sewing machine should provide you with years of use and satisfaction.
