How to Adjust Tension on a Singer Sewing Machine
Sewing machines are complex tools used to create beautiful clothing, drapery, and home décor projects. Maintaining the proper tension on the sewing machine is a key factor in ensuring that the stitch is even and perfect. Knowing how to adjust tension on a Singer sewing machine can be the difference between a beautiful project and complete destruction of the fabric.
When it comes to tension on a Singer Sewing Machine, there are three basic parts of the process to understand. First, there is the bobbin tension, then the top thread tension, and finally the take-up lever. All three parts of the process must be understood and adjusted to ensure proper tension and a fabric-friendly stitch.
The bobbin tension allows the thread to pull smoothly from the bobbin. If the bobbin tension is too tight, the thread will not pull smoothly and can cause skipped stitches, puckering of the fabric, or breakage of the thread. If the bobbin tension is too loose, the thread will loop or pull out of the fabric’s holes. To adjust the bobbin tension on a Singer sewing machine, use the small, screw-like adjustment on the side of the bobbin case.
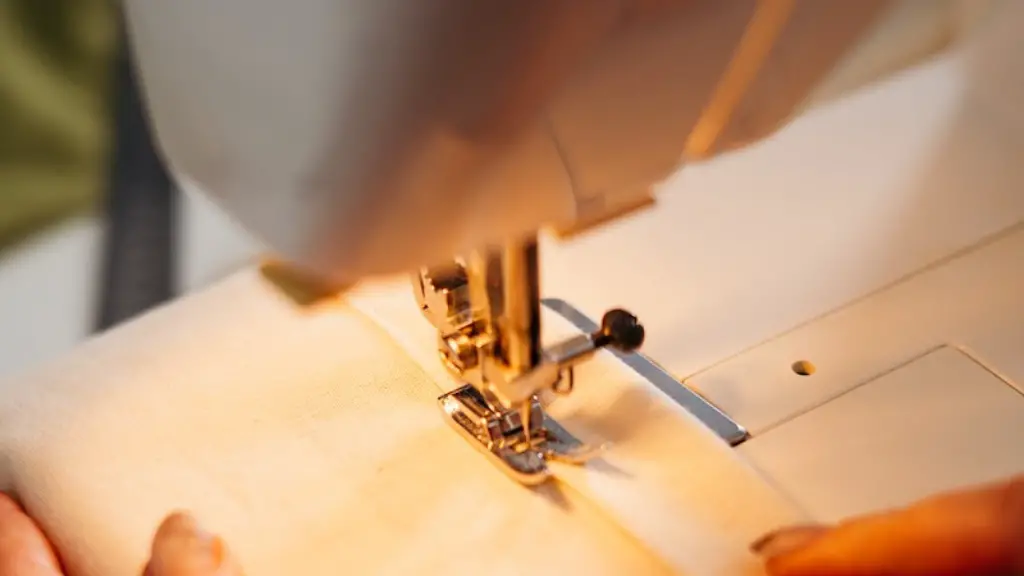
The top thread tension should be adjusted according to the project being sewn. Generally, lighter fabrics require less tension, while heavier fabrics may require a slightly tighter tension. Too tight of a tension on the top thread can cause the same problems as a too-tight bobbin tension, while too loose tension can cause looping in the fabric’s back side. To adjust the top thread tension on a Singer sewing machine, use the dial located directly above the needle.
The take-up lever is located on the right side of the Singer sewing machine. This lever is responsible for pulling the upper thread and bobbin thread together when the needle is in the up position. The correct position of the take-up lever will depend on the tension of both the top thread and the bobbin thread. Again, too much tension can cause thread breakage, puckering, and skipped stitches, while too little tension can cause looping and skipped stitches. Once the bobbin tension and top thread tension have been adjusted, the take-up lever must also be adjusted to bring the two threads together properly.
Adjusting tension on a Singer sewing machine is a simple process that can be completed in just a few minutes. The key is to understand the three main components of tension: bobbin, top thread, and take-up lever. If any of these parts is too tight or too loose, the fabric can be ruined and the project ruined. Adjusting the tension is a small and simple part of the sewing process, but it plays a key role in creating a successful project.
Troubleshooting Common Tension Problems
Even if the machine’s tension has been properly adjusted, sewer’s may still find they are having trouble with their project. Common tension problems can usually be solved by simply adjusting the take-up lever on the Singer sewing machine. Many times, this will solve the problem if both the top thread and the bobbin tension have been correctly adjusted.
Another common problem is skipped stitches, which can occur when the tension is too tight. To solve this issue, start by checking the bobbin and top thread tensions and make sure they are adjusted correctly. If the problem persists, it may indicate an issue with the needle. In this case, it is recommended to replace the needle and try the project again with new tension settings.
Another issue is looping, which can be caused by either a top thread or bobbin tension that is too loose. To fix this issue, begin by checking the tensions and adjusting them if necessary. If the looping persists, try using a thicker thread or a heavier-weight fabric to reduce the tension needed.
The last common tension problem is puckering of the fabric. As mentioned earlier, this can be caused by either a top thread or bobbin tension that is too tight. To fix this issue, try loosening the tension settings on both the top thread and bobbin. If the issue persists, try using a thinner thread or a lighter-weight fabric to reduce the tension needed.
Tips for Adjusting Tension on a Singer Sewing Machine
When it comes to adjusting the tension on a Singer sewing machine, there are a few tips and tricks that can help make the process easier. First, it is important to remember to use thread that is appropriate for the fabric being sewn. If the thread is too fine for the fabric, the fabric can be stretched or distorted. Likewise, if the thread is too heavy for the fabric, it can cause the fabric to wrinkle.
It is also a good idea to make a practice seam on a scrap piece of fabric to test the tension before starting the actual project. This will allow you to adjust the tension if needed and make sure the fabric is not being destroyed by the machine. Once you are happy with the tension, you are ready to start the real project.
Finally, it is important to remember to clean and lubricate the sewing machine regularly. A well-maintained machine is much easier to sew with and it also helps reduce tension problems. If the machine is in need of maintenance, it’s best to start by consulting the owner’s manual or contacting a professional for help.
Conclusion
Adjusting tension on a Singer sewing machine does not have to be a complicated process. With a few simple tips and tricks, anyone can get the job done quickly and easily. The key is to understand the three parts of the process: the bobbin tension, the top thread tension, and the take-up lever. Once these three parts are understood, it is just a matter of making small adjustments to create the perfect stitch.


