It can be tricky to adjust the tension on your white sewing machine, but once you know how it’s done, you’ll soon become a pro at making clothing. Sewing machines are a great way to finish your projects quickly and accurately – but everything starts with the tension. The tension setting on the machine thread determines the quality of the stitching. If the tension is too tight, it will cause tight and loopy stitches, while if the tension is too loose the stitches can become loose or puckering. So, what’s the secret to setting the tension correctly? Here’s what you need to know.
Test the Tension
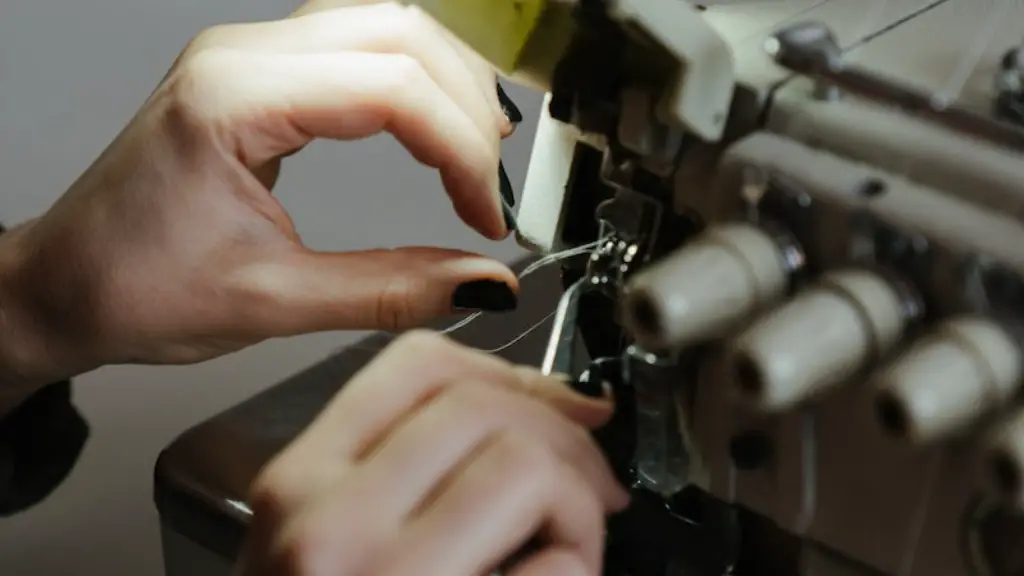
Before adjusting the tension, you should test it first. To do this, thread the machine as you would for sew a normal project, with the same fabric and thread that you will be working with. Take a scrap piece of the fabric and lower the presser foot before testing. Put the machine on a straight stitch and sew a few stitches on your test piece.
Check the stitches and determine if the tension needs to be adjusted.The stitches should be lie perfectly straight and form a tiny ‘v’ shape. If the needles threads are lying on top of the underside stitches you will need to tighten the tension on your sewing machine. Conversely, if they are lying underneath the bottom stitches, you will need to loosen the tension.
Adjust the Tension on Your White Sewing Machine
To adjust the tension on your white sewing machine, you will need to locate the tension dial – this is usually a knob or a dial located on the right side of your machine. You should also have a screwdriver with you to adjust the tension more accurately. Once you have located the tension dial, turn it clockwise to increase the tension and counter-clockwise to decrease it. Make sure to make small adjustments at a time and test the stitches on the fabric to make sure you have the desired tension.
If you are still having trouble adjusting the tension on your machine, take it to a professional or certified technician who will be able to help you adjust the tension accurately. This can be useful if you are using a variety of different fabrics and threads as the tension will need to be adjusted for each fabric.
Cleaning the Bobbin Case
Another important factor to consider when adjusting the tension on your sewing machine is to ensure the bobbin case is clean. A dirty bobbin case can cause the thread to slip and the tension to be off, so you should take a few moments to clean the machine before you start adjusting the tension. You can use a clean and dry cloth to wipe away any dirt or lint that has accumulated in the bobbin area.
It is also important to make sure the bobbin is placed correctly and the thread is wound correctly. If the bobbin case is not positioned correctly, it can cause the tension to become off. Additionally, make sure the thread is wound correctly onto the bobbin – not too tight, not too loose – as this can affect the tension settings as well.
Tension Settings for Specific Fabrics
Different fabrics require different tension settings. Some fabrics are more delicate than others, such as silk and chiffon, while heavier materials like denim or leather require a tighter tension setting. To get the best results, consult the manufacturer’s instructions on the tension settings for your specific fabric.
You can also use the test piece technique to make sure you have the correct tension. Sew a few stitches on a scrap piece of the fabric before you start your project and adjust the tension accordingly.
Tips for Managing Tension
Although adjusting the tension on your white sewing machine is an important step, there are other ways you can manage the tension. For example, if you are using a narrow stitch, use a larger needle as this will decrease the tension. You should also use the right size thread for the project as this will help reduce the tension. Using a cotton-wrapped polyester thread can also add strength and stability to your stitches.
If your machine is skipping stitches or the tension is not consistent, you can use a universal needle. This can help as it is better suited to all types of fabrics and threads. Lastly, if none of the above tips are helping, you can use a separate presser foot for delicate fabrics as this canhelp prevent puckering.
Maintenance Tips
Regularly maintaining your machine will help prevent tension issues and keep your machine running smoothly. The first thing you should do is oil the machine, as this will help with any friction that can lead to tension problems. Secondly, ensure the bobbin case and thread holder are clean and free from any lint.If there is lint in the bobbin case, it can create tension issues,so make sure to regularly clean your machine.
You should also regularly check for any loose parts or screws, and make sure the machine is properly threaded. Lastly, check for any fabric buildup, such as thread or fabric underneath the needle, as this can create tension issues as well. By keeping your machine clean and oiled, you will be able to avoid any tension-related problems.
Common Problems
Sometimes, even with your best efforts, you can encounter issues when adjusting the tension on your machine.Tension problems can stem from a variety of issues, such as improper machine setup or thread problems. Some common tension issues include loops of thread or skipped stitches. If this happens, try adjusting the tension as this may help resolve the issue.
You can also try changing the needle as a blunt needle can make your thread bunch up. If the problem persists, take your machine to a professional to get it checked out. This can help you identify any other potential issues and make sure the machine is correctly adjusted.
Adjusting Tension When Using Specialty Machines
If you are using a specialty sewing machine, such as an embroidery machine, the tension settings may be different as these machines are designed for different types of thread. Specialty machines usually have automatic tension settings, so you may not need to adjust the tension manually. If you do need to adjust the tension, consult the manufacturer’s instructions as the settings may be different than with a standard machine.
Tension settings can also vary depending on the type of thread you are using. If you are using heavy-duty thread, for example, you may have to adjust the tension to a higher setting. Be sure to check the manufacturer’s instructions for the correct settings before you start stitching.
Nobody’s Perfect
At the end of the day, adjusting the tension on your white sewing machine is a matter of trial and error. Don’t be afraid to experiment with different settings until you find the right tension for your project. And don’t forget that maintaining your machine regularly will help you avoid any tension problems in the future.
Getting Creative With Colours and Threads
One of the best things about sewing is the ability to be creative and use different types of thread or fabrics. You can experiment with different colours and textures, or even combine a range of fabrics together to create unique designs. Remember, each fabric and thread will have different tension settings, so you may have to make small adjustments to ensure the best results.
You can also make use of specialty threads, such as metallic or fluorescent thread for more decorative projects. Be sure to test the tension settings on a scrap piece of fabric before you start your project, and use a dry cotton cloth to clean the machine after you’re done.
Invest in the Right Accessories
Quality accessories are essential for any sewer – especially if you’re working with delicate fabrics or intricate designs. Having the right presser foot can make all the difference as it applies the right amount of pressure to the fabric. You should also invest in a stabilizer to keep the fabric in place while you sew. And, of course, make sure to always use a good quality needle.
Finally, if you’re working with multiple fabrics, use a universal needle to adjust the tension quickly and easily. This can help keep the tension consistent, especially when working on larger projects.
Don’t Stress!
Although adjusting the tension on your white sewing machine can be tricky, it is possible to get it right with some practice. Before starting, read through the manufacturer’s instructions and double-check the settings. If you are still having trouble, take your machine to a professional for further help.
At the end of the day, it’s important to remember that sewing should be fun. Don’t let tension issues stop you from creating beautiful and unique clothing items – once you have the tension adjusted, you’ll be ready to tackle any project!
