Understand Thread Tension
Proper thread tension is crucial to quality sewing. It will ensure that the tension of the stitches is even and secure, preventing the thread from becoming loopy or tangled. Adjusting tension is often a trial-and-error process, so having some guidance can be helpful. Here is how to adjust tension on a Singer sewing machine.
Unpacking the Tension Dial
The tension dial of a Singer sewing machine is a numbered dial or knob located on the front of the machine. It also has a thread guide with an upper tension setting numbered from 0 to 9. For most Singer machines, the default tension setting is 4, but check the manual for specifics. Dials may vary depending on the model of the machine.
Test the Tension
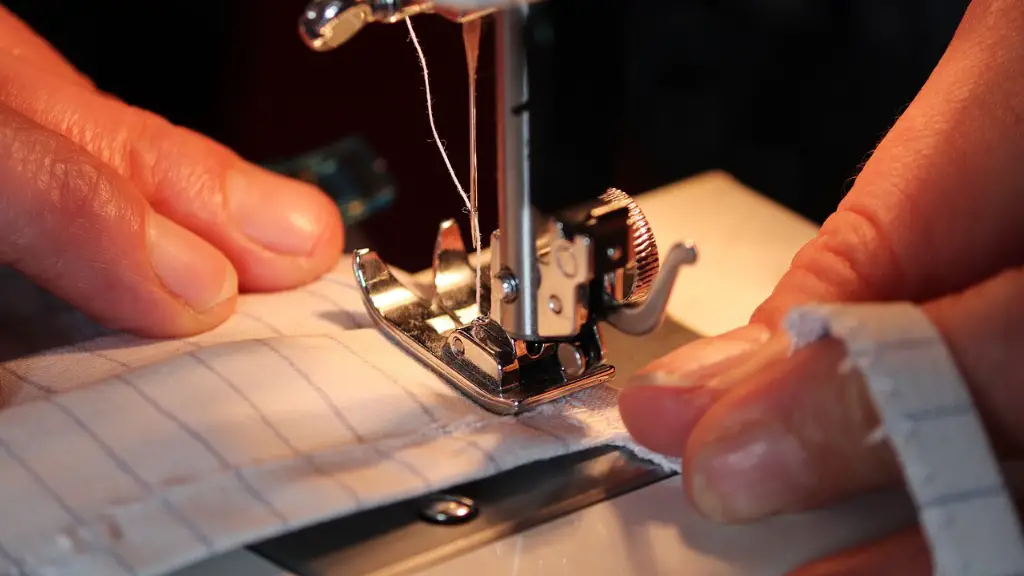
The thread should be wound onto a proper spool pin, in which the thread spool can rotate freely. Place the thread in the machine and onto the tension assembly. Pull it through all the thread guides and tension discs, leaving about 10” of thread before the spool and 6” after the needle.
Turn the dial to 4, the default setting. Test the machine by doing a few stitches. Is the tension too tight or too loose? In order to get a good result, the thread should loop on the underside of the fabric, but it should not be puckering the top of the fabric or showing on the underside.
Adjust the Tension
If the thread is too loose, turn the dial to a higher number. If it is too tight, turn the dial to a lower number. Do a few stitches, and repeat this process until the tension is even on both sides and you are satisfied with the result.
What If the Thread Breaks?
If the thread breaks frequently when you are stitching, it may be due to uneven tension. Increase tension by turning the knob slightly to the left. If this doesn’t resolve the issue, it may be due to a thread jam in the bobbin. Check the manual to ensure the bobbin is loaded correctly.
Possible Problems
If the tension is too tight, the thread may get bunched around the needle, resulting in skipped stitches or a broken thread. If it is too loose, the thread may loop on the underside of the garment, creating an uneven finish. To get the best results, use the same weight of thread, both top and bobbin.
Hook Needle Timing
The hook needle timing should be in sync with the machine. If the timing is off, it won’t matter how well the tension is set as it won’t catch the thread to make a stitches. To check the timing, use a timing light/tool and follow the instructions in the manual.
Check the Needle
When the tension appears to be correct, but there are still problems with skipped stitches and poor thread tension, check the needle. A worn needle can easily cause these issues and should be replaced regularly with the correct size and type for your fabric.
Cleaning
Cleaning the machine is essential for its maintenance and performance. Dust and lint can often accumulate around the tension discs, so use a soft brush or vacuum to keep it clean.
Check the Manual
If you are having problems adjusting the tension on the Singer sewing machine, the user manual is a great resource. It should provide clear instructions for how to adjust the tension, as well as troubleshooting tips.
Check the Thread
It is important to use the correct thread for the material you are sewing. Different thread weights require different tension settings, so make sure to use the thread stated in the fabric instructions.
Use an Open Toe Foot
When stitching heavier fabrics, using an open toe presser foot can help. It will give better visibility of the stitches as they are formed, making it easier to identify problems with the tension.
Test with Different Fabrics
The correct tension will often depend on the type of fabric being used. Test the tension before sewing a project by doing a few stitches on different fabrics. It is a good idea to record the tension adjustments for each type of fabric to save time.
Check the Tension Spring
On some models, an adjustable tension spring is located underneath the tension disc. This will allow the tensioner to be adjusted more precisely.
Increase Tension in Emergencies
When sewing with particularly thick fabrics, the tension may need to be increased. As a general rule, turn the tension dial one notch to the right to increase tension. Do a few test stitches first to ensure that the tension is not too high.


