Threading the Machine
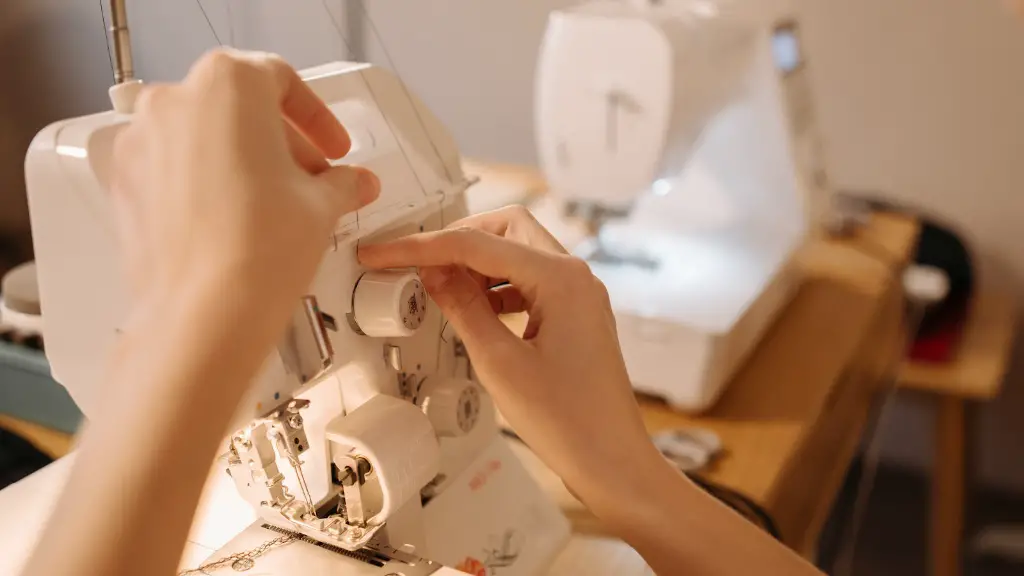
Adjusting the stitches on a sewing machine is a skill that is essential to honing your seamstress abilities. Sewing is an ancient craft that utilizes machines as a tool to create beautiful garments and accessories. It’s important to understand the basics of threading a machine in order to successfully adjust the stitch on your sewing machine. The following steps describe a basic threading guide:
- Prepare your thread spool to the top of the machine. Make sure the thread spool stem is in the correct position so that the thread can easily be pulled without any resistance.
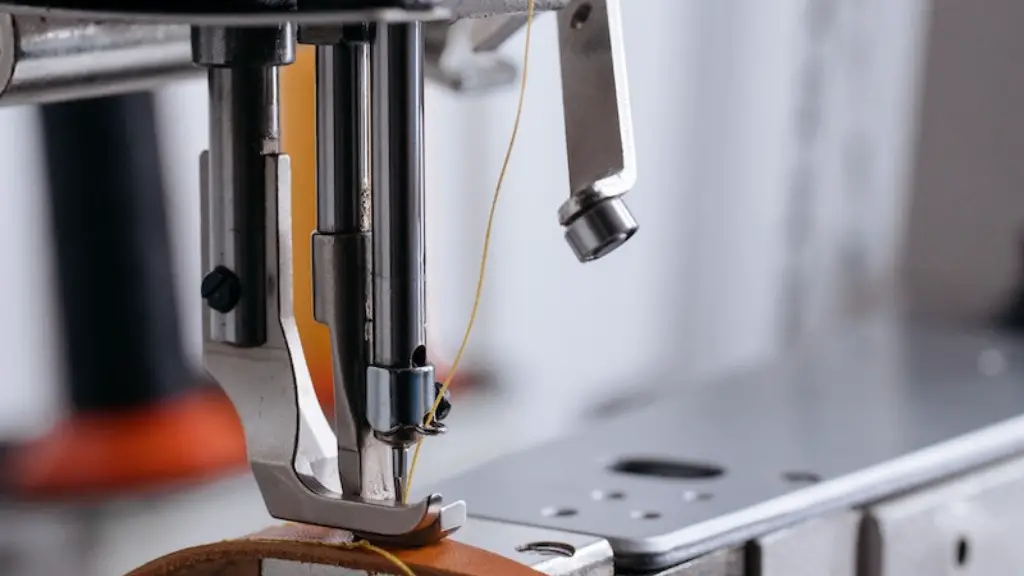
- Pull the end of the thread and pass through all of the thread guides until it reaches the needle. It’s important to make sure you are carefully placing the thread into each of the guides correctly.
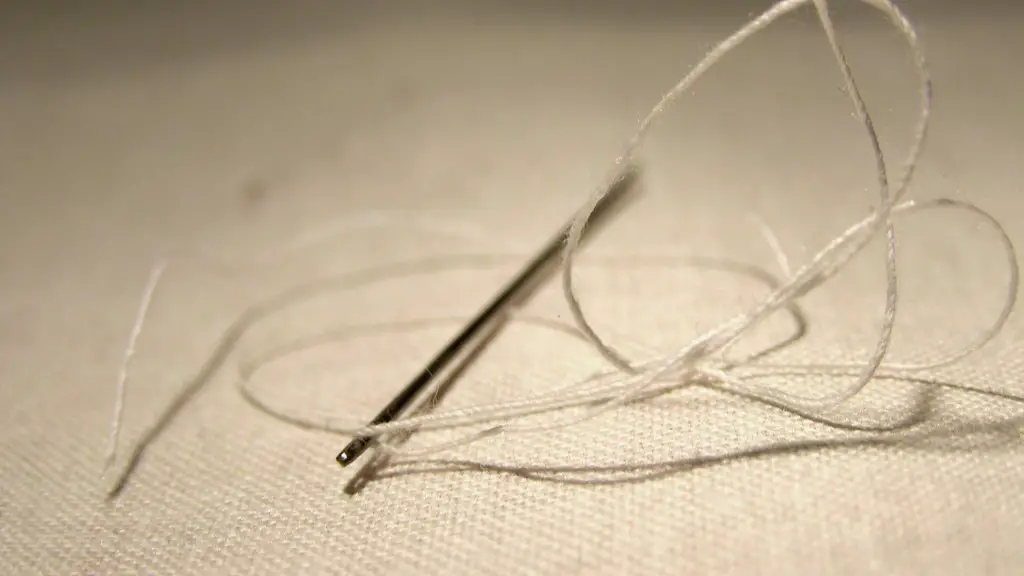
- Insert the thread through the eye of the needle from the back to the front, using a slightly curved motion.
- Pull the thread around to the left side of the machine and insert it into the tension disk. Pull the thread around towards the right side of the machine and continue to thread the needle in the same manner as before.
- Pull a few inches of thread up and to the right so that it is visible between the front and right side plates of the machine.
- Slowly but firmly turn the knob to the right until the needle moves down into the bobbin tension spring. Ensure that the thread is being moved with the needle and is being caught within the spring.
- Release the knob to the left, allowing tension to be released from the thread, before continuing to the next step.
- Pull a few more inches of thread up and to the right and press the foot pedal to raise the needle to the top of the material.
- Cut off the excess thread with small scissors to create a two inch long thread.
Once the thread is correctly threaded through the sewing machine and the tension is properly adjusted, the stitch can be adjusted. It’s important to remember to always read the instruction manual that comes with the machine in order to ensure that the settings are correctly adjusted.
Adjusting the Stitch Length
The most common adjustments to a sewing machine are the stitch length and tension settings. The stitch length refers to the length of the stitch per inch and it is important to adjust this setting, as it will affect the size of the holes created along the stitch line. The tension setting affects the amount of force that is applied to the thread, which also affects the ability to create a stitch. It’s important to remember to always test the settings before beginning any project.
To adjust the stitch length, begin by turning the upper tension knob to the left until all tension is removed from the thread. Once this is done, the stitch length can be adjusted by using the dial located on the front of the machine. The length of the stitch is measured in millimeters, usually ranging from 0.2 to 4.0; the lower the number, the shorter the stitch. It’s important to test the stitch length on a piece of fabric in order to ensure that it is correct for the project.
Ease of Adjustment
The ease of adjustment on a sewing machine depends on the type of machine and the manufacturer. Different models may require different approaches to adjusting the stitch length, but most machines have some kind of adjustment knob or dial. Some machines may even have a button that allows the user to instantly change the stitch length and other settings. However, it’s always important to read the instruction manual in order to understand how to properly adjust the settings on the machine.
Experts Opinion
According to Liz Pearl, author and textile artist, “The stitch length is one of the most important tweaks to master when learning to use a sewing machine. A longer stitch length will give a more loose stitch, while a shorter stitch length will provide a tighter, longer-lasting seam.” She goes on to say, “When adjusting the stitch length, it’s important to pay attention to the size of the holes created by the stitch; the larger the hole, the longer the stitch length should be.”
Fabric designer, Amy Schumer adds, “When it comes to learning how to sew, being able to adjust the stitch length on a machine is a must. It’s important to understand the importance of adjusting the stitch length so that the sewing project is successful.”
Conclusion
Adjusting the stitch length on a sewing machine is an important skill for any seamstress to master. It’s important to understand the basics of threading a machine in order to correctly adjust the tension of the thread, as well as the stitch length. Adjustment settings vary depending on the machine and the manufacturer, so it’s important to read the instruction manual in order to properly adjust the settings. Lastly, it’s important to always test the setting before starting a project.
Essential Tips
Once you understand the basics of adjusting the stitch length on a sewing machine, there are some essential tips that can help to make the process easier. Firstly, always make sure to use good quality thread to ensure that the stitching is strong and secure. Secondly, make sure to always use the proper needle size for the material being worked with. Thirdly, never pull too tightly on the thread, as this can cause the thread to snap or become tangled.
Fourthly, make sure to always take your time when threading the machine and adjusting the settings. Finally, it’s important to always refer to the manual in order to make sure that the settings are being adjusted correctly.
Common Mistakes
When adjusting the stitch length on a sewing machine, there are some common mistakes that can occur. Firstly, not pulling the thread all the way through can cause the thread to become matted or tangled, causing the stitch length to be uneven. Secondly, not taking the time to adjust the tension can cause the thread to be too loose, resulting in uneven stitches.
Thirdly, using the wrong needle size can cause the stitching to be too tight; resulting in pulling of the material when stitching. Finally, not using enough tension on the thread can cause pulling of the fabric, resulting in uneven stitches.
Advanced Machines Settings
More advanced sewing machines often come with additional stitch settings that can further customize the stitching. These settings can include stitch pattern, button hole size, and stitch length. Some machines even come with the ability to customize the speed at which the machine runs; this will allow the user to select a slower or faster speed depending on their comfort level and speed of stitching.
It’s important to always test the settings on a scrap piece of fabric in order to make sure that the stitch is accurate. This will also ensure that any mistakes are caught before they are made on the finished product. Taking the time to adjust these settings correctly can help to ensure that any sewing project is successful.


