Section 1: Introduction
Adjusting the tension on a sewing machine can be an intimidating task for those unfamiliar with the concept, and lack of knowledge can lead to costly sewing mistakes down the line. Understanding how to adjust the tension on a sewing machine is essential for creating consistent, successful stitches. Setting the tension exactly as needed for each type of fabric or thread is key for successful sewing projects, regardless of your skill level.
Section 2: Factors to Consider
When adjusting the tension on a sewing machine, the type of thread and fabric you’re using are two important factors to consider. Different types of thread and fabric require different tensions. Determining the correct thread tension for a fabric is a matter of trial and error. However, if you carefully consider the type and weight of the fabric, you can be close to a good starting point.
Section 3: Tension and Thread
If the thread tension is too loose, your threads will not be properly interlocked and will eventually become unravelled. An appropriate thread tension should be snug, not too tight or too loose. When the top and bottom threads overlap evenly throughout the width of the seam, you’ve got the perfect tension. You can achieve this by adjusting the tension dial or knobs on the sewing machine.
Section 4: Tension and Fabric
Light weight fabrics require a much lower tension than heavier fabrics, as the stitch will be too tight and can potentially damage the fabric. If the thread tension is too tight and the fabric puckers, you’ll need to reduce the tension. If the thread tension is too loose, you’ll need to increase the tension. Different fabrics have different requirements. It’s important to read the instruction manual and become familiar with the types of stitches and thread tensions each fabric requires.
Section 5: Gauge Your Thread
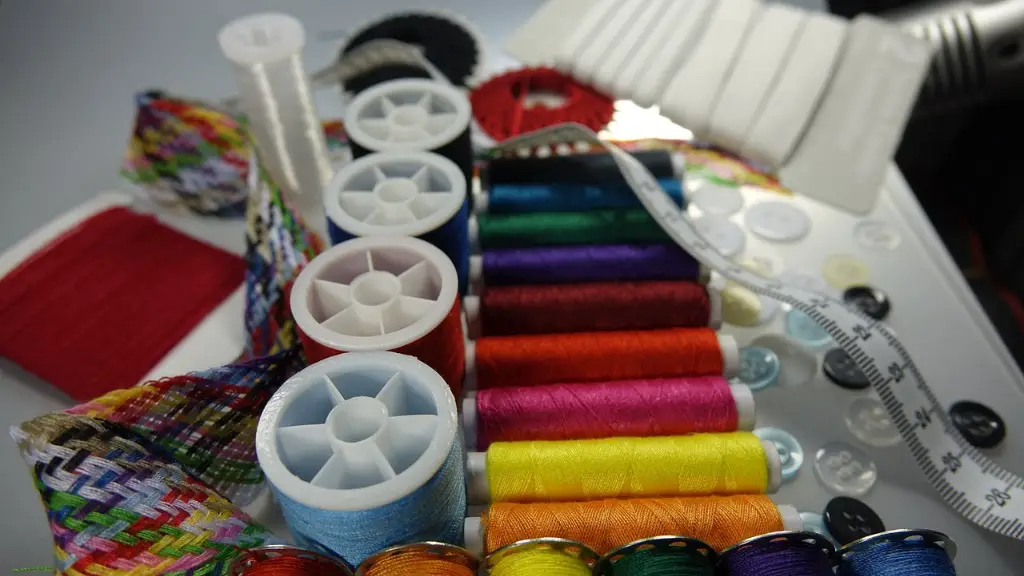
You should always use the same gauge thread in both the bobbin and the needle. If you’re using a thicker thread on the needle and a thinner thread in the bobbin, the tension won’t be balanced. Further, when using two different colours of thread on the same project, make sure you’re using the same type of thread in both colours.
Section 6: Troubleshooting Issues
If your tension is too tight, the stitches may become weakened or break as you sew. If there is too much thread on top of the fabric, you’ll need to adjust the tension. Similarly, if the tension is too loose, the stitches won’t be strong enough and they’ll start to unravel. In this situation, you’ll need to increase the tension.
Section 7: Test Your Thread Tension
Before beginning any sewing project, always test a fabric swatch on your machine. This swatch should be a couple of inches bigger than the seam allowance you’ll be using. If the tension is off, start off by adjusting the ratio between the upper and lower thread tension, (re-check after each adjustment). Once you have achieved a balanced tension, you can determine either if you should tighten or loosen the tension depending on your results. Seem too loose? Tighten the tension, and if too tight, loosen it.
Secton 8: Check Strategies to Adjusting Tension for Specific Fabrics
Cotton fabric requires very little tension, as it has a tendency to pucker when tension is set too high. Linen, on the other hand, requires high tension to keep the stitches from slipping. For silk and other delicate fabrics, it is important to reduce the tension as much as possible. Stretch fabrics usually require a medium tension setting. Embroidery threads typically require a very high tension setting, while quilting threads tend to require a lower setting.
Section 9: Should You Use a Tension Disc?
If the tension on the machine isn’t adjustable, you can try using a tension disc. A tension disc has a spring loaded mechanism that helps to lock in the tension of the thread. But keep in mind that this isn’t a substitute for a properly set sewing machine tension – it’s best to adjust the tension on the machine itself as much as possible.
Section 10: Other Strategies for Adjusting Tension
When adjusting the tension, it is important to focus on just one adjustment at a time. You can start by adjusting the top tension only and then the bottom. If both the top and bottom threads look even, you’ll know the tension is balanced. You can also adjust the stitch length to achieve the proper tension. If the stitches are too tight, try using a shorter stitch length.
Section 11: Experimentation
Ultimately, experimentation is key for finding the correct tension for your fabric and thread. With some practice, you’ll start to get a sense of the best settings for each fabric and thread combination. Just remember to use the same thread and fabric throughout your project to ensure consistent results.
Section 12: Threading Properly
If you’re still having trouble getting your tension adjusted once you’ve adjusted the tension settings on the machine, make sure that you’ve actually threaded the machine correctly. Even the slightest mis-thread can cause tension issues. Check that your needle is properly inserted and that the thread is twisting correctly through the tension wheel.
Section 13: Verdict
Once you’ve adjusted the tension for the correct fabric and thread combination, your sewing should be consistent, professional, and beautiful. It takes some practice and experimentation, but with a bit of patience and perseverance, you’ll find what setting works best for each project.


