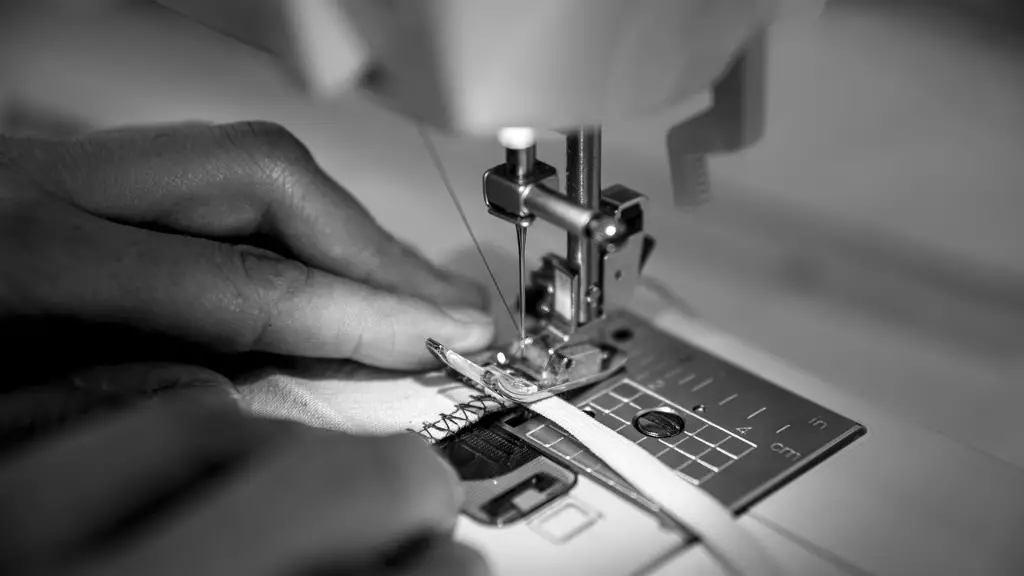
Making sure that your top tension on your sewing machine is set properly is key to preventing a jumbled mess of thread from appearing beneath your fabric. When set correctly, this tension allows you to get clean and professional-looking results with each stitch. Proper tension balance also helps to ensure that the upper and lower threads are locked in place to create those perfect stitches you’re shooting for. Below is a basic guide to help with your tension adjustment.
Step 1: Check Sizes
Before adjusting the tension of your sewing machine, you first need to check the sizes of the needles, thread and fabric you are using. The needle size should correspond to the type of fabric you are working with. Additionally, the thread should also correspond to the type of fabric – if you’re working with heavier weight fabric, it’s best to use heavier-weight thread. The ideal thread tension varies depending on the material and size of the needle used.
Step 2: Adjust Tension
Once you’ve checked that the sizes of your needle, thread and fabric correspond to one another, you’re ready to adjust the tension on your sewing machine. Begin by turning the tension dial to the right until it makes a single click, then turn the dial back to the left and make another single click. This will set the needle tension to a medium setting, which is an ideal starting point. If you find that the stitches aren’t forming correctly and thread is looping or puckering beneath the fabric, you may need to adjust both the tension dial and the bobbin tension.
Step 3: Test Stitching
After adjusting the tension, you need to Test the stitches on a scrap piece of fabric. To do this, simply begin stitching, and observe the finished product. If the stitches match up, then your adjustments have done the trick – but, if the thread begins to bunch or pucker beneath the fabric, the tension may need to be adjusted further.
Step 4: Make Further Adjustments
If you find that the stitches are still not forming properly after Step 3, you may need to make further adjustments to the tension. If the upper thread seems too loose and is creating an uneven stitch, the tension dial should be adjusted further to the right. Conversely, if the upper thread appears to be too tight and is creating loops, the tension should be adjusted to the left. This trial and error process should be repeated as necessary until the desired result is achieved.
Beware of Loose Bobbin
In addition to adjusting the tension dial on your sewing machine, you need to be sure that your bobbin tension is also set correctly. If the bobbin is too loose, thread can quickly become tangled beneath the fabric, which can ruin the stitches. To prevent this from happening, be sure to check the tension of your bobbin and adjust it if necessary.
Seam Guide Lines
When using a sewing machine, it’s important to maintain a consistent seam allowance with every stitch. Doing so promotes uniform stitching, which is essential for creating a professional-looking finish. To ensure that your seam allowance is both even and consistent, use a seam guide to keep your stitching straight.
Practice on Scraps
Lastly, it’s important to practice on scraps of fabric to make sure that your stitching is even and consistent. This will help to ensure that when you go to stitch your final product, you’ll have a flawless end result. Plus, stitching on scraps also gives you a chance to adjust your tension further if need be.
Understanding Stitches
In order to understand how to properly adjust top tension on a sewing machine, you first need to understand the different types of stitches used in sewing. The two primary types of stitches – woven and knitted – each require different types of tension in order to produce the desired end result. Knowing how to properly adjust the tension for each type of stitch is key to producing the best results.
Troubleshooting Common Issues
Unfortunately, improper tension adjustment can cause a number of issues to arise, many of which can be discerning. Common issues include skipped stitches, loops on the fabric, puckering and fraying threads. If you encounter any of these issues, it’s important to first check the tension of your needle, thread and fabric before attempting to make additional adjustments.
Gauges and Controls
Many of today’s sewing machines feature special gauges and controls that allow you to easily adjust the tension of the machine. Some of these include a tension control dial, which allows you to make quick adjustments to the tension, as well as a tension regulated thread guide, which helps you keep the upper and lower threads in balance. Additionally, there are also tension disks and tension lock discs, which help to keep your stitches secure as you work.
Automated Adjustments
More advanced sewing machines come with automated tension adjustment capabilities that allow you to quickly and easily adjust the machine’s tension settings. This can be extremely helpful if you find yourself frequently making adjustments and want to save time. Automation can also help to reduce mistakes, as the machine will automatically adjust the tension according to the type of fabric and thread used.
Advantages of Using a Walk Foot
A walking foot is an attachment for most sewing machines that helps to ensure even feeding of the fabric. This is especially helpful when working with heavier weight fabrics and ensures that the top and bottom stitches are perfectly aligned. The walking foot also helps to eliminate puckering and other issues that can be caused by improper tension settings.
How to Clean a Sewing Machine
To keep your sewing machine running smoothly, it’s important to regularly clean and maintain it. One of the most important steps in this process is checking to make sure the tension settings are still accurate. Begin by unplugging the machine, then remove the screw that holds the tension regulator in place. Next, use a soft cloth to carefully wipe away any lint, dust and thread particles. Finally, replace the tension regulator screw, and re-check your tension settings to make sure everything is working properly.
Tips on Thread Usage
The way that you use thread with your sewing machine can also have an impact on the tension settings. To ensure that your stitches form properly and your tension is balanced, make sure that you only use quality thread and that your spool is properly wound so that it can go through the tension discs without issue. Additionally, be sure to not overtighten the upper thread when winding the bobbin, as this can cause issues with your tension.
Protecting the Tension Settings
Finally, to keep your tension settings accurate and consistent, it’s important to properly protect them. This can be done by regularly checking for dirt and lint, keeping the machine properly lubricated, and ensuring that the tension disks and thread guides are clean. Additionally, it’s a good idea to unplug the machine after use to avoid accidentally turning the dial and losing your tension settings.
