Step 1: Preparing Fabrics
Before basting on a sewing machine, it is essential to properly prepare the fabric. Start by removing any loose threads or other debris that may get stuck in the machine. If the fabric has a nap or pile, be sure to align it in the same direction to prevent unintentional puckering when the basting is complete. Use an iron to gently press the fabric with a hot, dry iron to smooth out the wrinkles. This will prevent any tugging on the fabric as it is being stitched.
Step 2: Thread the Sewing Machine
Threading a sewing machine for basting is the same process as threading for regular sewing. First, thread the tension disks on the machine in the appropriate order. Then, thread the machine bobbin and make sure the machine is on the right needle setting for the type of fabric you are basting. Use a length of scrap fabric to practice sewing and make sure the thread tension is adjusted correctly before you begin basting.
Step 3: Select an Appropriate Stitch
Selecting an appropriate stitch for basting is important because this stitch will help hold the fabric in place while it is being sewn. Most sewing machines have an option for a basting stitch that is not too tight or too loose. This basting stitch is typically a straight stitch and should have a long stitch length. For heavier fabrics, some machines may offer a special basting stitch.
Step 4: Place the Fabric Under the Needle
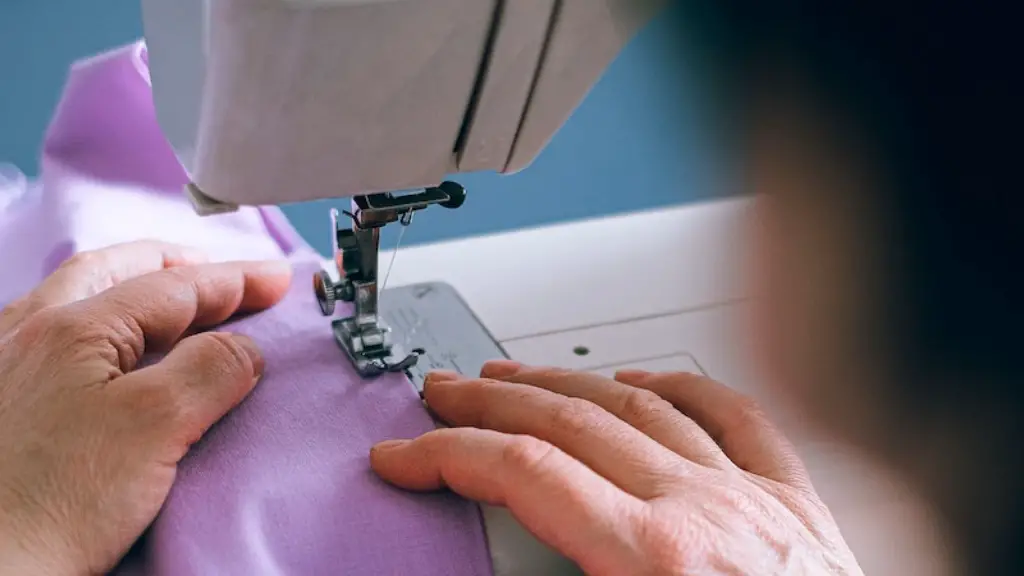
Start by positioning the edges of the fabric in the machine where the needle will pick up and start stitching. Depending on the type of fabric and seam, the fabric may need to be secured with pins or another form of basting such as hand basting. Once the fabric is in position, set the stitch length to the basting stitch and lower the foot to the fabric.
Step 5: Sew the Basting Stitch
Start by gently guiding the fabric in a straight line while the machine stitches. Never use your hands to push or pull the fabric as this can cause the fabric to distort and pull. If the fabric is slightly off-grain, it is better to allow it to stitches as-is rather than adjusting it. As the basting stitch is sewn, inspect the edges of the fabric to make sure there is no rippling or other undesirable effects.
Step 6: Create Notches or Markers
As the fabric is being basted, create notches or marks to align the two fabric layers. This can be done by snipping the fabric while you sew or using fabric marking pens. These notches or marks will help align the fabric when the basting stitch is removed.
Step 7: Cut Away Excess Threads
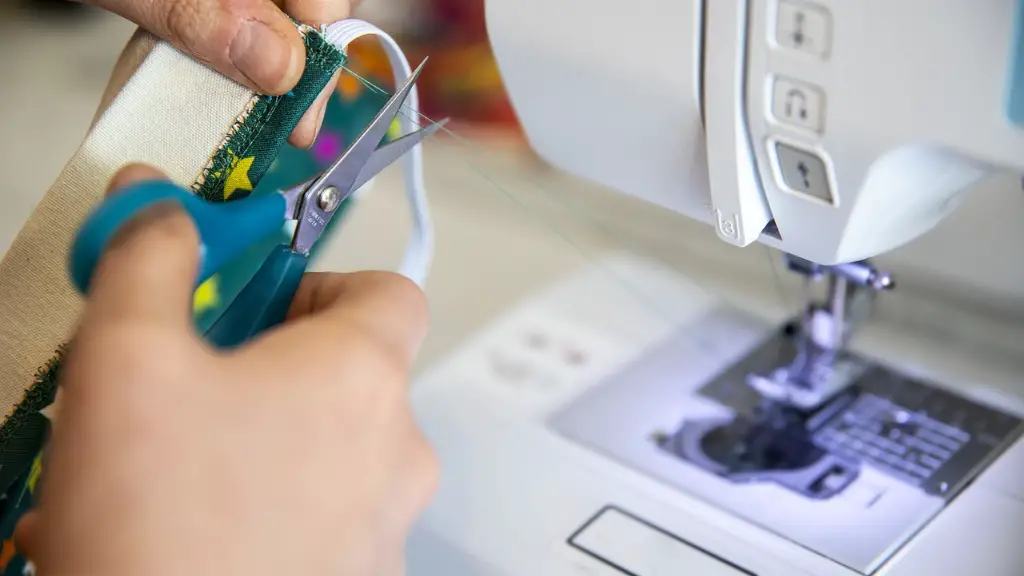
When the basting process is complete, use a pair of sharp scissors to snip all the loose threads and remove any excess thread. This will help prevent the threads from becoming tangled and ruining the fabric.
Basting With Embellishments
Basting is also used when working with embellishments such as rhinestones, buttons, and beads. To prevent the embellishments from coming off the fabric during the basting process, use a zigzag stitch or a longer stitch with a wider stitch width. This stitch will help secure the embellishments in place and will make them easier to remove when the basting is complete.
Basting for Appliqué Work
Basting is commonly used when doing appliqué work on quilts and garments. When basting for appliqué, use a temporary basting technique such as a running stitch or a spray basting adhesive. This will allow the fabric to remain in place until the appliqué can be stitched by hand.
Basting to Join Seams
Basting is also a great way to join two pieces of fabric together. To do this, line up the edges of the two fabric pieces and use a basting stitch to hold them together until they can be sewn with a regular stitch. This technique is commonly used on seams that need to be pinned or clipped before stitching.
Basting for Gathers
Basting is an easy way to gather fabric for a project. Start by sewing a long basting stitch around the edge of the fabric and gently pulling one end of the thread until the fabric is gathered. Once the fabric is gathered, use pins to secure it and then sew over the basting stitch with a regular stitch.
Gluing Basting
Gluing basting is another basting technique that is popular with quilters. To do this, simply apply a glue stick or liquid adhesive to a fabric before it is basted together. This will hold the fabric in place while it is being sewn and prevent unintentional shifting. When the basting is complete, the adhesive can be easily removed with water.
Conclusion
Basting on a sewing machine is a great way to put together a variety of fabrics and projects. When done correctly, it can help the process go smoothly and ensure the fabric pieces are properly aligned. With the right preparation and these simple steps, it will be easy to master the art of machine basting.


