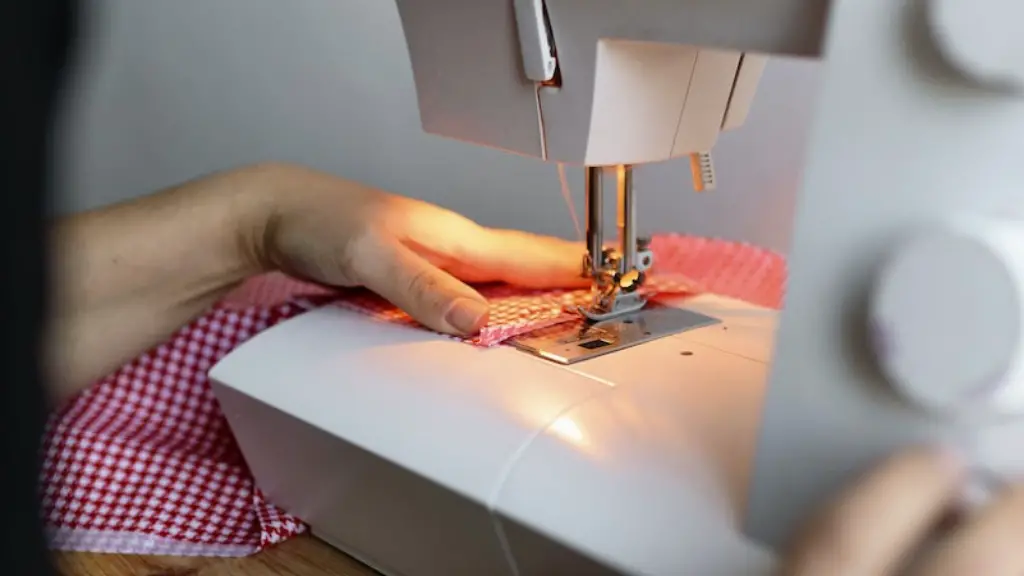
Quilting is not as difficult as it may seem, even for beginners. By learning how to bind a quilt on a sewing machine, one can quickly make a quilt for a much more professional look. In this article, we will discuss the tools and techniques you need to successfully bind a quilt on a sewing machine.
Before getting started, it is important to select the right fabrics for your project. Cotton quilting fabric is a great choice as it is flexible and breathable. To ensure that your quilt remains intact, use fabrics that are 100 percent cotton or fabrics with at least a 65 percent cotton content. Also, it is essential to use the right thread. Look for a durable thread with long-lasting strength. Additionally, it is important to use the right needle size that is appropriate for the fabric being used.
Once you have the necessary tools, the next step is to lay out your batting, backing fabric, and quilt top. Then, baste the layers together using either a large zig-zag stitch or large stitch across the entire surface. This will keep the layers in place while you are stitching the binding.
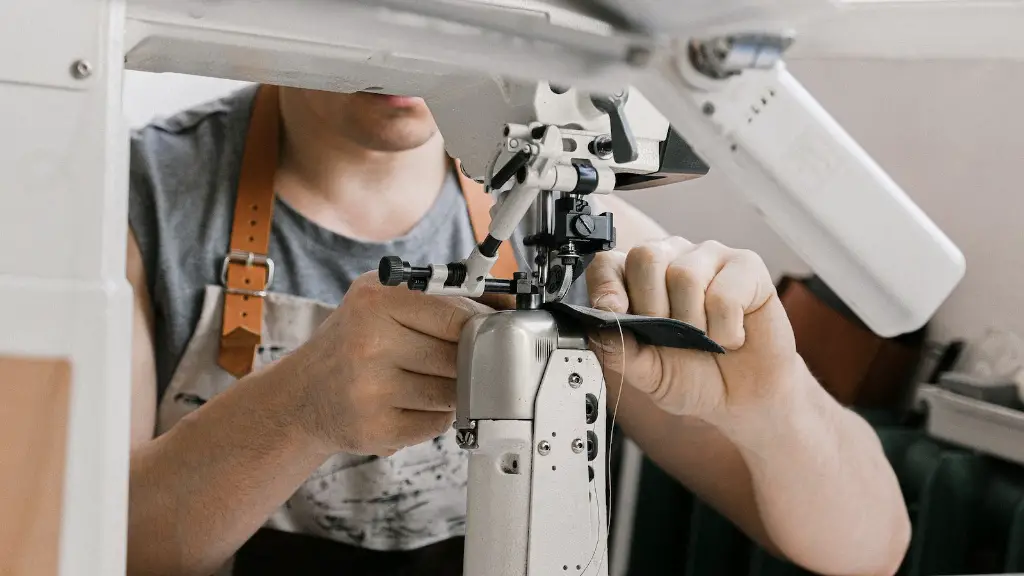
The binding can be applied to the front or back of the quilt. To apply the binding, begin by folding the raw edges of the binding in half, wrong sides together. Pin the binding to the quilt and sew it on using a straight stitch, making sure to catch the binding on both sides. Start at the corner and continue stitching until you reach a corner. Stop stitching a few inches before the corner, turn the quilt, and continue stitching. To ensure a tight fit, make sure to pull the binding slightly as you stitch it.
Once you’ve made it to the end, leave a tail of the binding and finish stitching your binding without back stitching. Then, make your final corner turn, and fold the binding back over itself and continue stitching the binding around the quilt. Make sure the binding is lined up correctly with the stitching and press the binding, if desired.
To finish the binding, fold the raw edges of the binding in half, wrong sides together and pin it around the edges of the quilt. Start stitching in the middle of one of the sides and back stitch, making sure to catch the binding on both sides. Stitch until you reach the end of the binding, remove the pins, and press the binding, if desired. Leave a tail of the binding, and finish the binding by stitching the binding onto the quilt, making sure to catch the front and back of the quilt.
Once the binding is complete, your quilt is finished! With the proper tools and correct technique, binding a quilt on a sewing machine is easy and will add a professional touch to your handmade quilt.
Lining up the Binding
An important step in binding a quilt is to carefully line up the binding with the stitching in order to create a neat edge. Before attaching the binding to the quilt, pin the folded side edge of the binding to the stitching of the quilt. This will help to keep the binding in place and make it easier to sew.
When it comes to lining up the binding, it is best to use pins to keep aligned. This will also prevent the binding from slipping out of place when sewing. Additionally, it is important to pin the binding at each corner in order to maintain the correct shape.
It is also important to adjust the tension of the machine so the binding is perfectly aligned. If the tension is too tight, the binding will buckle, while if it is too loose, the binding may not correctly line up with the stitching. Therefore, it is important to adjust the tension of the machine in order to ensure the binding lines up correctly.
Once the binding is properly lined up, you can stitch the binding in place and complete the quilt. With the right technique and tools, binding a quilt on a sewing machine is easy and will add a professional finish to the quilt.
Multipurpose Tools for Binding
When binding a quilt, it is important to use the right tools and materials. There are a variety of tools that can be used for quilting, such as quilting needles, binding tools, and more. Quilting needles are specifically designed for quilting and are available in a range of sizes, from very fine to very thick needles.
Binding tools are used to bind the edges of a quilt. These tools are designed to cut, clip, and join bindings quickly and accurately. Additionally, they can be used to make edges more uniform. They are available in a variety of sizes and materials, so it is important to select the right tool for the job.
Rotary cutters are also a popular tool for quilting. They can be used to cut fabric quickly and accurately, as well as to trim edges to make them perfectly even. Rotary cutters come in a variety of sizes and materials, so choose the size and type that works best for your project.
Lastly, rulers are essential for quilting. Rulers are used to measure and cut fabric, as well as to draw guidelines for sewing. Rulers are available in a variety of sizes and materials, so choose the size and material that works best for your project.
Tips for Successful Binding
Binding a quilt is not as difficult as it may seem, even for beginners. However, it is important to follow a few tips in order to ensure a successful quilt. It is important to use the correct type and size of needles, thread, and other materials to ensure a strong and durable binding. It is also important to adjust the tension of the machine in order to make sure the binding lines up correctly with the stitching.
It is also important to take you time and be patient when binding a quilt. We recommend basting the layers together to keep them in place, taking the time to properly line up the binding to the stitching, and using pins to keep the binding from slipping.
Lastly, it is important to make sure the stitches are close together and straight. Any gaps or uneven stitches can cause the binding to come undone. By following these tips and taking your time, you can quickly and easily bind a quilt on a sewing machine.
How to Finish the Binding
The last step in binding a quilt is to finish the binding. To finish the binding, fold the raw edges of the binding in half, wrong sides together, and pin it around the edges of the quilt. Start stitching in the middle of one of the sides and back stitch, making sure to catch the binding on both sides. Then, fold the raw edges of the binding in half, wrong sides together and pin it around the edges of the quilt.
When stitching the binding, make sure to pull the binding slightly as you stitch it, as this will give the binding a tight fit. Additionally, it is also important to back stitch at both ends of the binding in order to keep it in place.
Once the binding is complete, press the binding, if desired. This will help to remove any wrinkles and will make the quilt more presentable. Finally, it is important to remove any pins that were used to hold the binding in place.
What to Do with the Tail of the Binding
Once the binding is finished, it is important to address the tail of the binding. To do so, fold the tail of the binding in half in order to identify the middle. Cut a slit in the binding and insert the tail into the slit. Make sure the ends of the tail are even, and then hand stitch the tails and binding together.
Another option is to tuck the tail into the binding. To do this, fold the tail of the binding to the back of the quilt, then tuck the tail into the edge of the binding. Finally, use a few hand stitches to close the gap. This technique is a bit more challenging, but will keep the binding tight and secure.
Finally, if the tail is too short, you can slipstitch the tail to the back of the quilt. Start by folding the tail in half and insert it into a seam. Then, use a few tiny hand stitches to secure the tail to the back of the quilt.
What’s the Best Way to Bind a Quilt?
The best way to bind a quilt on a sewing machine is to start by basting the layers together, then pin the binding to the quilt and sew it on using a straight stitch. Make sure to adjust the tension of the machine in order to make sure the binding lines up with the stitching. Additionally, make sure to use pins to keep the binding from slipping and take your time when stitching the binding.
Remember to back stitch at both ends of the binding in order to keep it in place, and press the binding, if desired. Also, be sure to address the tail of the binding by cutting a slit in the binding or tucking the tail into the binding. By following these steps, you are sure to have a successful quilt in no time.
Quilting Materials
When binding a quilt, it is important to use the right materials. Selecting the right fabrics, threads, needles, and binding tools can make a big difference in the outcome of the quilt. High-quality, durable fabrics and threads are essential to ensure the quilt will last for years to come.
Selecting the right needle size is also an important step. Needles come in a variety of sizes, from very thin to very thick, so it is important to use the needle size that is appropriate for the fabric being used. Additionally, tools such as rulers, rotary cutters, and binding tools can help make the process of binding a quilt much quicker and easier.
It is also important to select fabrics and threads that are easy to work with. Look for fabrics that are 100 percent cotton or fabrics with at least a 65 percent cotton content. This will help to ensure that your quilt remains durable and intact. Additionally, look for high-quality, strong, and durable threads.
Tips for Binding a Quilt
Binding a quilt is not as hard as it may seem, even for beginners. With the right tools and techniques, one can quickly and easily bind a quilt on a sewing machine for a much more professional look. Follow these tips to ensure that your binding process is as smooth and successful as possible.
First, it is important to select the right materials. Select fabrics, threads, needles, and binding tools that are durable and of high quality. It is also important to check the tension of the machine in order to make sure the binding is lined up correctly with the stitching.
Next, remember to back stitch at both ends of the binding in order to keep it in place. Additionally, make sure
