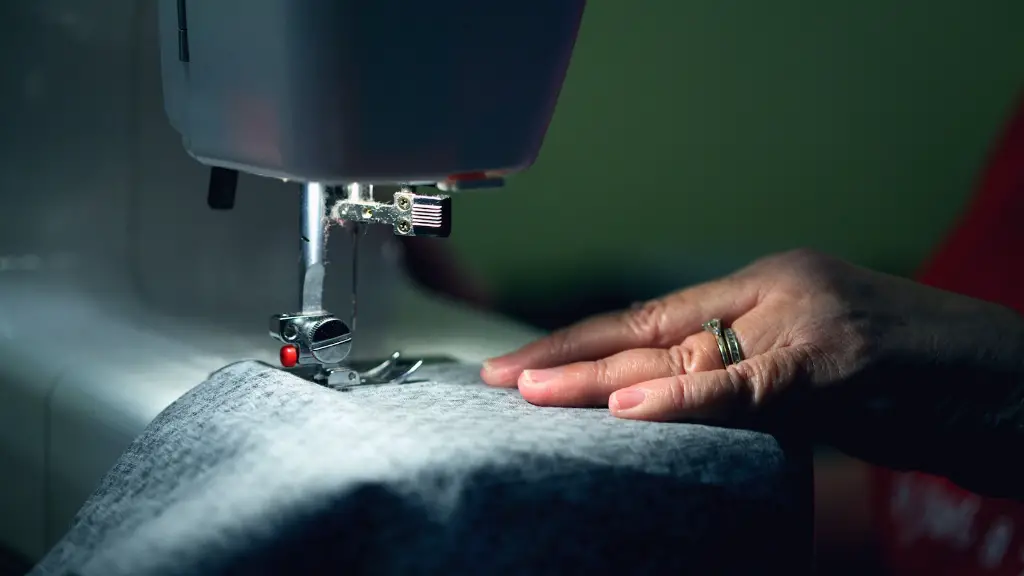
What You’ll Need for Successful Quilt Binding with a Sewing Machine
- Sewing machine
- Quilt batting
- Quilt fabric
- Matching thread
- Iron and pressing mat
- Binding material (fabric, bias tape, contrasting fabric, etc.)
Binding a quilt is the last task in assembling your quilt and gives your work a finished look. By using a sewing machine to bind your quilt, it will make the process a lot easier and faster. Hand binding a quilt is still a popular choice among quilters, but the time saved by using a machine can be beneficial, especially when dealing with larger projects. It will also save you time and effort when attaching the binding by providing a neater stitch than hand sewing. With the right tools and some practice, achieving a professional-looking finish from your quilt is a breeze.
One method for binding a quilt with a sewing machine is to use binding fabric or bias tape. To begin, measure the quilt and determine the size of the binding strips needed. Next, cut strips of fabric 2.5 inches wide and the required length. Sew the binding strips together at an angle of 45 degrees, which will give a neater finish. When the strips are joined, press the binding strip in half lengthwise and then lay it onto the quilt wrong side up.
Make sure to keep the binding folds as even as possible and line up the edges with the quilt. Using a regular presser foot, stitch the binding to the quilt. Start at a corner and lay the binding folded side facing up. Sew slowly along the binding close to the edge, making sure to keep the binding evenly spaced. When you near a corner, stop 5/8 inches before the end. Leave space for the miter. Lift the presser foot, turn the quilt and binding and continue sewing with your 5/8 inch seam allowance.
To finish the binding, hand stitch the binding to the quilt back along the same lines. To prevent raveling, tie off the ends of the seams by making a few small stitches and tying a knot. Finally, trim any excess threads and you’re done!
Fun Ways to Decorate and Personalise Your Quilt
Once your quilt is all bound together, let your creativity take charge! Decorating and personalising your quilt can be a great way to make it unique and special. In addition to traditional quilting techniques such as patchwork, applique and fabric painting, you can get creative with fabrics, embroidery floss and ribbons. Embroidery stitches are also great for creating decorative borders and patterns along the edges.
If you want to add personal touches such as names, dates or special milestones, you can use iron-on transfer pens or threads to write or sew text onto your quilt. Creating a custom quilt label is also a great way to celebrate your unique creation. Simply make a block of fabric with a label, stitch it to the quilt, and record any special notes or details about your work.
Add Interest with Embellishments
Embellishments are a great way to add interest and texture to your quilt project. There are a variety of embellishments available on the market, ranging from buttons and beads to metallic threads and sequins. Beading and ribbons can be used to make a statement, while buttons can be used to spice up any corner or edge. Metallic threads and sequins can be used to highlight special areas or as an added detail.
If you’re feeling adventurous, you can even make your own embellishments. Buttons can be made out of scrap fabric or ribbons can be braided together for a unique look. You can also use fabric paints to create interesting textures and patterns that can add a unique touch to your quilt.
Fabric Choices
The choices of fabrics for a quilt are as vast and varied as the imaginations of the quilter. You can bring some extra life and depth to your quilt by choosing various fabrics with different textures and motifs. Solid fabrics can be used to provide a calm and balanced look, while more vibrant prints can be used to add drama and contrast. Floral and geometric prints can give you more freedom to be creative and playful, while stripes and plaids can be used to break up the pattern.
Using coordinating fabrics can help draw the eye in towards the details. You can also mix and match different fabrics to create patchwork pieces with a unified colour scheme. When it comes to fabrics, have fun with your choices and let your creativity run wild!
Quilting Design and Style
Once you have selected the fabrics for your quilt, the next step is to decide on the quilting design and overall style. Free-motion quilting is a technique that allows you to add textural elements or a personalized touch to your quilt. This technique will give you more control over the design and make your quilt look unique. However, machine-guided quilting is a great option for those who want to get professional-looking results with less effort. You can choose from a variety of quilting patterns, from abstract shapes to intricate designs.
One way to break up the quilt into small sections is to use several coordinating fabrics with the same style. This will give the quilt a more unified look, while allowing you to show off all the fabrics you have chosen. You can also add contrast by using complimentary fabrics, such as stripes and flowers. When it comes to quilting designs and styles, it is up to you to determine what will best complement the quilt. Allow your imagination to take over and have fun!
Safety Tips with Sewing Machines
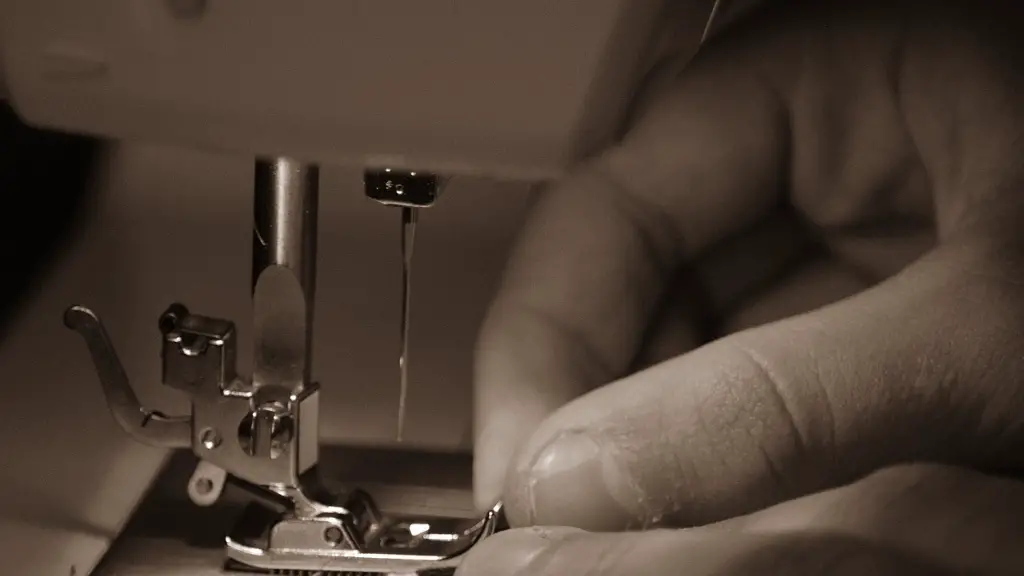
It is important to practice safety when using a sewing machine, and it is especially important when binding a quilt. Always read the owner’s manual for your machine before operating it, and follow all safety precautions. Make sure to keep your hands and fingers away from the presser feet and needle area, and always use the proper thread tension.
Also, keep the machine area cleared of any fabric scraps, as these can interfere with the machine’s operation. Finally, always unplug the machine when it is not in use and pay close attention to the condition of the needle and presser feet. Following these tips will ensure that you have a safe and enjoyable quilting experience.
Finishing Touches
Adding the finishing touches to your quilt will help you achieve a professional-looking finish. Wash the quilt before binding it to reduce any shrinkage that may occur. Lay out the quilt with the batting evenly spread to get the best results. Iron the fabric before attaching the binding, and press the seams with a pressing mat or ironing board to reduce bulk.
Once the quilt is bound, use a binding clip or binding binder to hold everything in place before stitching. This will help keep the edges of the quilt straight and provide a neat finish. Finally, add a label to your quilt to commemorate your accomplishment. This is an easy way to let everyone know that your quilt is handmade with love.
