Essential Steps To Change A Needle On A Janome Sewing Machine
Changing a needle on a Janome sewing machine may seem like a daunting task to the inexperienced sewer. But anyone can accomplish this important task with a few essential steps. Understanding the method for changing a needle is crucial for all enthusiasts of this craft — whether you’re a novice or an expert sewer. The main importance of changing a needle are to provide a sharper needle for precision stitching, but this is not the only advantage. Everyone should understand how to change the needle in their sewing machine. The following steps offer an easy-to-follow guide for replacing the needle in Janome’s model of sewing machines.
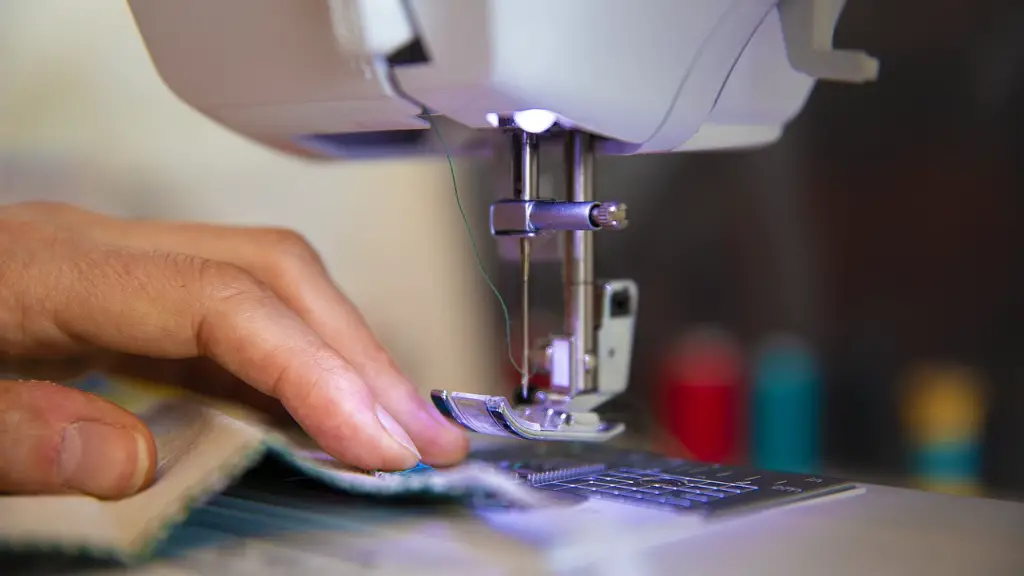
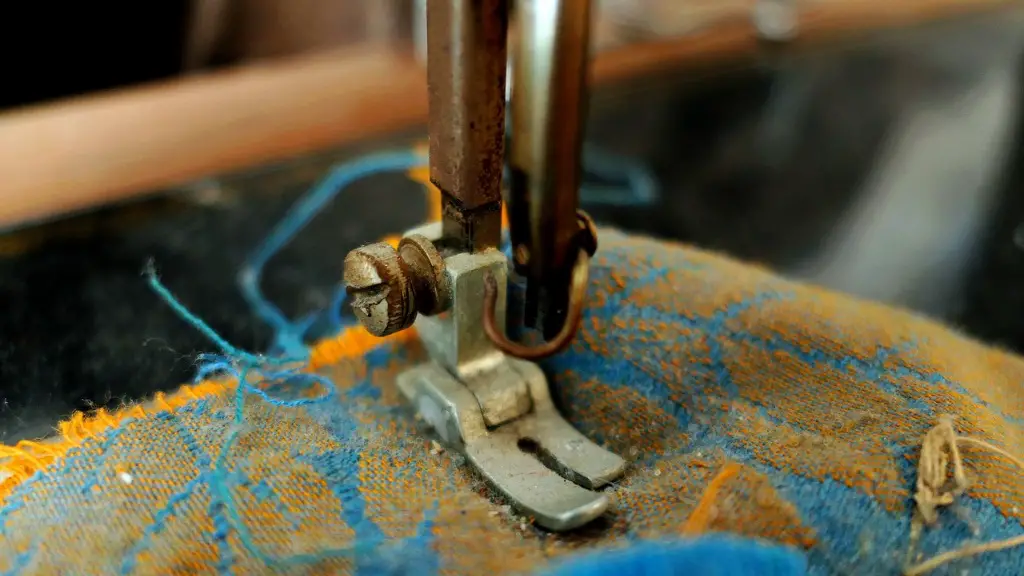
The first step towards replacing the needle is to turn off your sewing machine. This will reduce the risk of accidental injury or damage to the machine. Secondly, you should also unplug your machine from the power source and remove the foot. Depending on your model, it can either by slider or a snap-on foot that needs to be unscrewed. Next, you will need to lower the needle first. You can do this by turning the handwheel counterclockwise until the needle is completely lowered. Take caution not to touch the metal parts of the machine as you move the handwheel.
Use the needle plate as a reference for adjusting the needle to its correct position. There is typically a small notch at the top of the needle plate. This notch marks the spot where the needle should be placed. While you are ensuring that the needle is in the appropriate position, you should also check if the flat side is facing the back of the machine. It is imperative that the flat side of the needle should always go towards the back. Doing this will reduce the risk of it breaking.
Once the correct position has been determined, you can now begin to secure the needle with the needle clamp. Place the clamp above the needle and secure the needle with a screw. Ensure that it is properly tightened. You can then reattach the foot that you had removed earlier. To finish the process, you will turn the handwheel to raise the needle and proceed to check if the machine is working properly. This includes testing the thread tension, the stitches and the stitch length. You may also need to re-thread the bobbin if necessary.
Safety Tips For Changing a Needle On A Sewing Machine
It’s important to take the necessary steps to avoid accidents and injuries. When you are changing the needle, there is some risk associated with handling sharp needles and metal parts. Avoid touching the metal points of the needle when handling it. Wear safety gloves to insulate from any unpleasant experiences such as pricks. Always make sure that your hands are well away from the needle.
Never use a needle from an unknown source. This could be dangerous and could lead to a sewing machine malfunction. Additionally, always replace your needle with the correct type recommended for your machine. Be sure to double check the needle size before making a purchase so that you don’t end up with a needle that is too large or small for your Janome sewing machine.
How Often Should You Replace The Needle?
Often, people tend to neglect the importance of replacing the needle frequently. It is advised that the needle should be replaced approximately every 10 hours of sewing – depending on the type of material that is being handled. For example, if you are sewing fabrics such as velvet or silk, then use a finer needle to avoid shredding or damaging the fabric. Similarly, when you are dealing with a fabric such as denim, you should use a needle that is specifically designed for heavy materials.
For heavier fabrics, you should inspect the needle for nicks and/or burrs. If there are any burrs, replace the needle as continued use can cause them to grow. It is always wise to replace a needle regularly for optimal efficiency of your Janome sewing machine.
Benefits Of Needle Maintenance
Properly maintained and regularly changed needles will have not only a significant impact on the quality of your stitched fabric and the longevity of your machine, but also help prevent unpleasant breakage experiences that could cause potential damage to your materials or even yourself.
Additionally, a dull needle will produce poor stitches. Threads may bunch up and cause extra fabric bulk in the stitches. Not only this, it may also lead to problems with thread breaking and prevent the machine from working properly. These are just a few of the many drawbacks of a neglected sewing machine. Hence, needle maintenance should not be overlooked.
Advanced Tips For Changing a Needle
For those who are looking to develop their skills, here are some advanced tips on how to change your needle. Firstly, be sure to remember the two most important rules while changing a needle on a Janome sewing machine: the flat side of the needle should always go towards the back and the needle should be securely tightened before usage. Additionally, wear protective gloves and use a needle threader if needed. This will ensure that the process is smooth and seamless.
You should also investigate different needle types. An experienced sewer will often switch between different needles depending on the material. It is important to note that there are different needles for zig zag, straight stitch and functional stitches. Select the correct needle for the desired task. By following these tips, you can extend the life of your sewing machine, produce quality stitching and reduce any possible accidents due to improper usage.
Frequently Asked Questions
It is natural to have a few questions when it comes to changing a needle on a sewing machine. Here are some frequently asked questions that provide helpful information for anyone who is unfamiliar with the process:
- Q: Will I need any tools to change the needle?
- A: Generally, no. There is no need for any tools to be used when changing the needle on the Janome sewing machine.
- Q: How do I make sure that I thread the machine correctly every time?
- A: You can consult your sewing machine manual or simply rethread the top thread with the tension settings adjusted correctly.
- Q: How do I know when it’s time to change the needle?
- A: If your machine starts producing uneven stitches, skips stitches, or breaks the thread, it’s time to replace the needle.
Important Things To Keep In Mind
It is essential to remember that the needle is a very important component in a sewing machine. Therefore, changing a needle is essential for the optimal performance of your sewing machine. A blunt or a nicked needle may affect the way your machine functions, potentially resulting in a skewed stitch pattern or even creating tension issues that can damage your material. Therefore, keep your needle sharp and intact; this is the best way to ensure that your fabric looks beautiful and professional.
In the end, it is important that everyone knows how to properly change a needle on their sewing machine. By following these simple steps, you will be able to prolong the life of your machine and reduce the chances of any potential accidents. Understanding the process of changing the needle will enable you to become a better sewer and will help you create quality stitching as you work on your next project.


