Keeping Machine Threads Tension Balanced
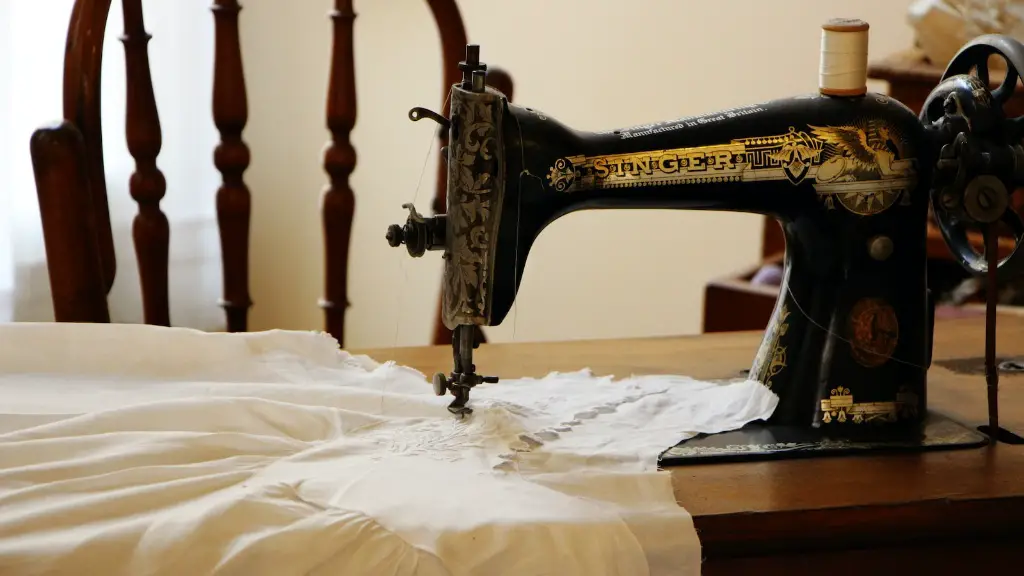
Changing a needle on a Singer sewing machine is a rather simple and straightforward task that can be completed quickly and easily. Before jump into the process of how to change a needle, it is important to understand the nuances of keeping the machine threads tension balanced while sewing. When sewing on the Singer, the thread that passes through the needle eye and the bobbin tension adjuster will determine the pressure of the stitches and their strength. If the machine threads are tension balanced, the needle and machine will run smoothly and produce even stitches.
When to Change Needles
It is important to change the needles on a Singer after every 10 to 12 hours of sewing. It is normal for needles to get dull and bent, and a dull needle will cause skipped stitches and fabric flaws. Needles used with fabrics that are densely woven, such as denim and canvas, should be changed more frequently. Leather needles should always be changed at least after a single project.
Types of Needles and Selection
There are many different types of needles available that fit Singer sewing machines. Universal needles are the safest option since they are designed to work with most types of fabrics, threads and sewing projects. For heavier fabrics, a cutting point needle such as a jeans needle is an ideal option as it creates a tidy, aesthetically pleasing finish. Ball point needles are used for sewing on knits as these needles are designed to go between the fibers.
How to Change a Needle
The first step to changing a needle is to switch off the machine and unplug it. The second step is to raise the presser foot and to release the needle clamp screw using a screwdriver. The process can vary between Singer models, but it is generally located on the right side of the machine near the hook race. The third step is to remove the needle by lifting it vertically up and away from the machine. The fourth step is to replace the needle with the new one and to make sure the needle is correctly facing forward. Then, the needle clamp screw is to be returned to its original position securely.
Threading and Testing
Before starting to sew again with the new needle, it is important to check the threading path by turning the hand wheel by hand. Also, the upper tension dial should be adjusted so the tension is correct for the type of fabric and thread being used. Finally, it is recommended to perform a test sew on a scrap piece of fabric in order to check colour, stitch length and the tension. If there are any problems, the needle needs to be adjusted and the test sew needs to be repeated until the desired results are obtained.
Maintenance and Care
Ongoing maintenance and care of the Singer is of utmost importance. Apart from replacing needles regularly and checking the threading path, it is also important to keep the machine clean and dust-free in order for it to run smoothly and efficiently. Checking for burrs and making sure that the machine oil is at the correct level can help ensure longer machine life and operation.
Storing and Securing Needles
The last step in the process of changing a needle is to store the old needle securely. Old needles should be stored in a safe place where they are unlikely to break or be subject to heat or dampness. Storing needles in a labeled packet away from children and other sewing accessories is the safest and most efficient way.
Damage Prevention and Stitch Types
When working with the Singer, it is necessary to prevent the machine from any kind of damage. This includes using the right type of needle and the right type of thread and fabric, adjusting the presser foot pressure and using high quality seam allowances. Different types of stitches can be created on the Singer, such as straight stitches, reverse stitches, overcasting stitches, stretch stitches, and ornamental and embroidery stitches.
High Thread Tension
At times, the thread tension of the Singer may need to be adjusted to ensure that the stitches look neat and strong. Ideally, the top thread should lock in with the bottom thread and the two should appear evenly on the underside of the fabric. If the stitches that are created on the fabric are loopy and there are instances of the top thread coming to the underside, then the tension of the top thread needs to be increased to tighten the stitches.
Foot Pressure and Gauge Adjustment
Foot pressure is an important consideration when using the Singer. Generally, thinner fabrics require a lighter foot pressure while thicker fabrics need a higher pressure. The pressure should always be adjusted so that it is enough to hold the material in place while the needle is going through while still allowing enough space between the plate and the fabrics. Additionally, the gauge of the Singer’s needle should be adjusted based on the thickness of the fabric and the kind of thread that is used.
Seam Guides and Stitch Length
Using the seam guides on the Singer machine can be a great way to help keep consistent and even seams. The seam guide enables users to ensure that the stitches are of an even size, helping to ensure that the seams and hems look neat and tidy. The stitch length should also be adjusted according to the fabric that is being used and the kind of project that is being sewn. For most projects, a stitch length setting between 2 and 3 should be used for best results.
Learning Curve and Motor Speed
Learning to use the Singer sewing machine can require some patience, especially if the user is unfamiliar with the model or type of machine. Practice and experimentation with different fabric types and stitch types can help facilitate the learning process. On some models, the sewing machine motor also has adjustable speeds, allowing users to adjust the pace of their stitching to achieve the desired results.


