Tools Needed
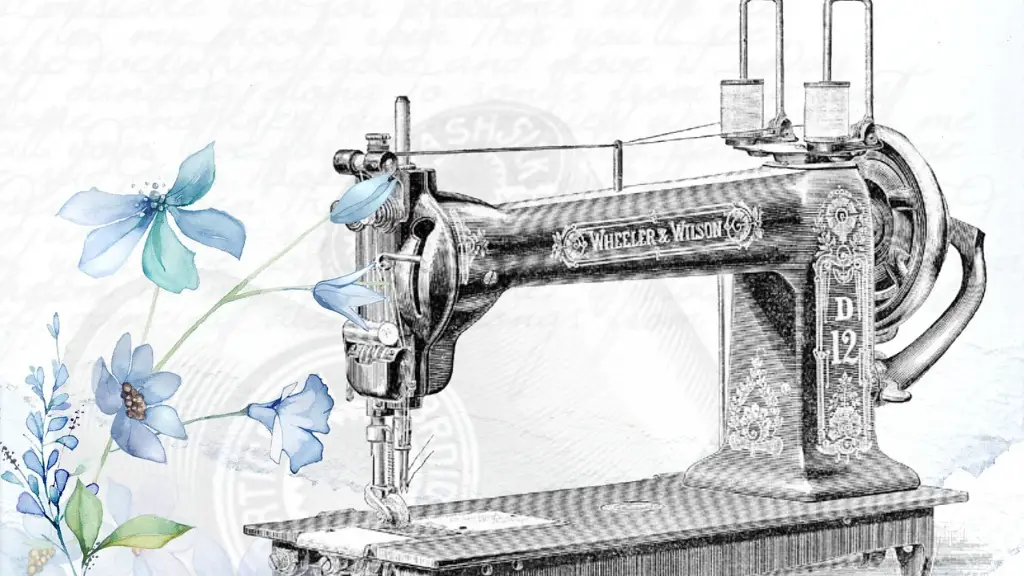
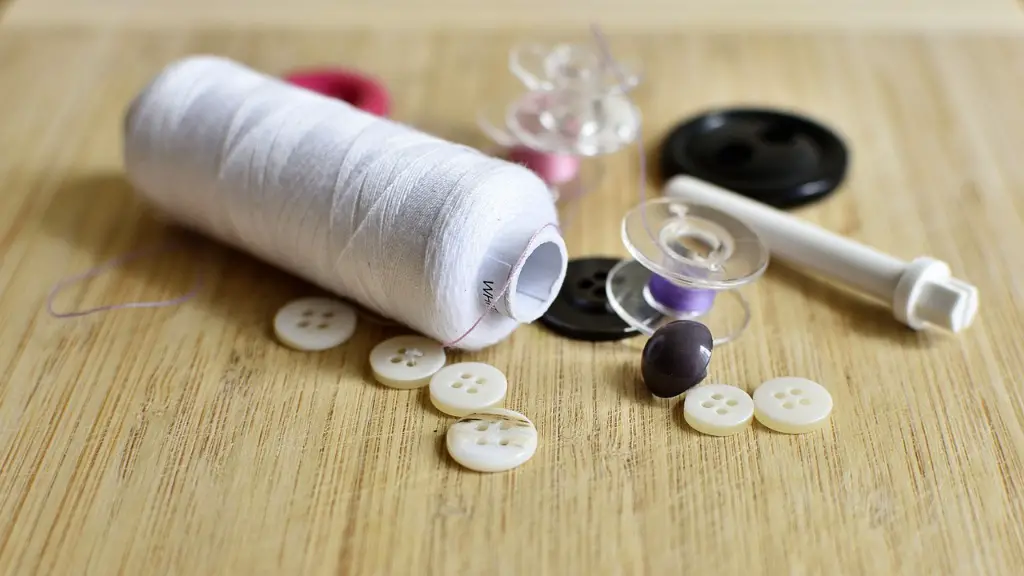
Industrial sewing machines play an important role in fashion and garment industries. This is why it’s important to know how to safely change a needle on an industrial sewing machine. The process is not overly complex but requires some specific tools, such as a needle puller and thread stand. Having these tools handy when tackling a needle change on your machine is key.
Depending on the type of industrial sewing machine, you will also need a screwdriver, as many machines have a secured needle screw that needs to be removed before you can pull out the old needle. Make sure you have the appropriate screwdriver for the job.
Safety Precautions
The safety of all members of the sewing team, from the operator to the employees, is of utmost importance when changing a sewing machine needle. Before beginning, ensure the machine is unplugged and all exposed metal edges are covered with protective materials, such as plastic bags.
Additionally, place a sign or any other material around the machine to alert those in the area that the machine is undergoing maintenance. Wear protective gloves to protect your hands and prevent the risk of cuts or pin pricks.
Once you have all the items, it’s time to start removing the old needle.
Removing the Old Needle
Removing the old needle is the first step toward changing the needle in an industrial sewing machine. First, locate the needle screw, as that’s the point from where the needle is attached. Use a screwdriver and loosen the screw by turning it counterclockwise.
Once the screw is loose, use the needle puller to lift the needle up and out of the drive. If you do not have the needle puller, you can try using a pair of tweezers to grab the needle and lift it out. However, if you do use tweezers, do so with care so as not to damage the needle.
Inserting the New Needle
Once the old needle is removed, you can now insert a new needle. Many industrial sewing machines have a needle holder that makes it easy to insert the new needle.
First, make sure the needle is the correct size and type for the machine. You should double check the information that came with the machine. Once you have verified the correct size, place the needle in the holder, making sure it is placed in the correct direction and is properly aligned with the needle clamp.
Securing the New Needle
Now it is time for the final step: securing the new needle into place. If the sewing machine has a needle screw, use the screwdriver to tighten the screw until it is secure. Make sure not to over-tighten, since that could damage the needle or the machine.
Once the new needle is secured, you can now begin using the sewing machine again.
Periodic Checks
Though you may have successfully changed the needle on your industrial sewing machine, it’s important to practice regular maintenance in order to keep it running optimally. It’s a good idea to check the needle periodically to make sure it is working properly. Make sure to have a replacement needle ready, should you need one.
In addition to checking the needle, you should check the threads used for each project. Make sure the threads are sturdy enough for the fabric you are using, otherwise the needle may become damaged due to the tension.
Frequent Thread Changes
Since industrial sewing machines need to handle heavier fabrics, they will often require frequent thread changes. Depending on the fabric you are sewing, the thread size may need to be adjusted accordingly. This is especially important when dealing with thicker fabrics, as the wrong thread may lead to extra strain on the needle and the machine.
Be sure to monitor which threads are used on a regular basis. If one particular thread has been used more than any other, it may be time to switch it up with a different type of thread in order to prevent the needle from becoming worn down.
Maintenance Logging
In general, it’s important to be sure to log all the maintenance that occurs on the industrial sewing machine. This will not only help you track the machine’s performance, but also allow you to identify any possible issues with the needle or other parts of the machine.
By doing so, you will not only be keeping the machine in prime condition, but also ensuring the safety of those using the machine, from the operator to those working in proximity to the machine.
Maintenance Equipment Check
It’s also important to check all the maintenance equipment associated with the machine. This includes the needle puller, thread stand, and anything else needed to change the needle. Make sure these items are working as they should and that they are in good condition.
You should also inspect the tools used to replace the needle, such as the screwdriver, to ensure they are not damaged or worn out. If they are, they should be replaced.
Correct Needle and Thread Selection
Finally, it’s essential to select the correct needle and thread for the job. Always double check the machine and fabric specifications to be sure the needle and thread you select work together properly.
For heavier fabrics, you may need to select a heavier-grade needle to ensure the fabric does not put too much strain on the needle. When selecting threads, consider the size, type and color. All of these can play a huge role in the success of the project.
Why Changing Needles is Important
When dealing with industrial sewing machines, it’s important to understand the importance of regularly changing the needles and keeping the machine in peak condition. By doing so, you are increasing the longevity of the machine and ensuring the safety of all members of the sewing team.
Additionally, by following the proper steps for replacing the needle, you are reducing the chances of damaging the machine and the fabrics you are working with. By using the correct needle and thread and by logging maintenance activities and performing periodic checks, you can ensure the success of your projects and keep the machine up and running for longer.


