The needle is one of the essential parts of a sewing machine. Without having a well-prepared needle, any sewist won’t be able to start on their sewing journey. Changing the needle of a sewing machine is a part of regular maintenance, however, this task can be daunting, especially for inexperienced sewists. Whether you’re an experienced sewer or a novice, it is important to have a grasp on the basics of changing a needle in a sewing machine. In this article, we take a look at the basic steps needed to change the needle of a sewing machine.
The first step in changing a needle is to identify the right size of needle for the fabric being used. It is important to use the right size needle as the wrong sized needle can cause tension issues, skipped stitches and fabric damage. For heavier fabrics, it’s best to opt for a larger, stronger needle, while for lighter fabrics a smaller needle can be used. For example, cotton and knits require a medium needle size, while denim requires a larger needle.
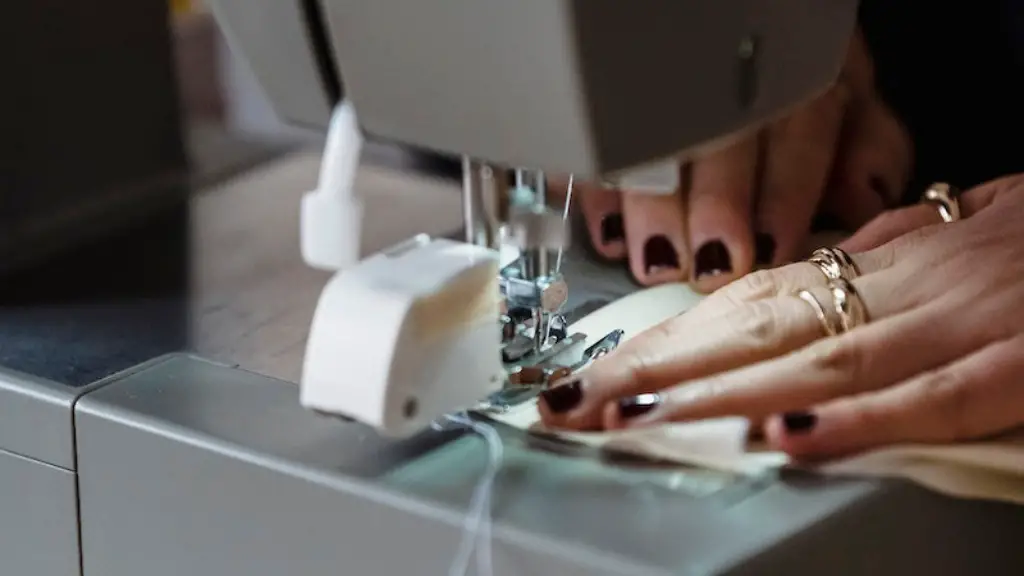
Once the size of needle has been identified, the next step would be to loosen the screw located on the throat plate. This will help in removing the needle from the sewing machine. Gently lift the needle whilst using finger pressure with the left hand. Then, using the needle clamp screwdriver, unscrew the needle clamp. This will release the needle from the machine.
The next step is to insert the new needle, making sure it is facing the correct direction. The back part of the needle should be facing towards the operator and the flat side of the needle should be facing downwards. Make double sure that the new needle is fastened tightly on the machine. Once it is secure, turn the hand wheel to the nearest marking and make sure the needle is in the highest position.
Finally, to make sure the needle is firmly in place, twist it by hand. If it doesn’t move, it means it is secure. After these steps, the needle is now set to use in the sewing machine. It is recommended that these steps are done regularly to ensure the machine is running efficiently and smoothly. It is also advisable to check the needle after a few hours of sewing.
Types of Sewing Machine Needles
Purchasing the right type of needle for a sewing machine is key to a good sewing experience. There are different types of needles that serve different purposes. Universal needles, for example, are suitable for all kinds of sewing machines, no matter the fabric. It is a good idea to have a few universal needles in the toolkit for regular maintenance and repairs. On the other hand, stretch needles are specially designed to sew flexible or elastic-like fabrics. It will ensure that the stitches are smooth and taut.
Ballpoint needles are specially designed to sew knits and stretchy fabrics. The rounded point at the end of the needle helps prevent the fabrics from snagging or splitting. They can also be used for lightweight and medium-weight fabrics like felts and canvas. Similarly, a jeans/denim needle is specially designed for heavier fabrics like denim and canvas. They all have a sharp point that can penetrate through thick layers, making them ideal for working with tougher fabrics.
Threading a Needle with a Sewing Machine
Threading needles manually can be a time-consuming task. Sewing machines, on the other hand, are equipped with the means for threading needles with the push of a button. threader attachments are one of the most common types of automatic threaders seen on modern sewing machines. By simply looping the thread around a hook located at the side of the machines, the threader will then push the thread into the eye of the needle. This feature allow sewists to thread their needles faster and efficiently.
With sewing machines equipped with a thread cut off button the needle can be threaded in a single step. This convenience eliminates the need to manually cut the threads at the other end of the needle. This will help ensure efficient stitching and reduce the chances of a skipped stitch.
Safety Tips for Needle Changing
When it comes to changing a needle in a sewing machine, there are certain safety protocols that need to be followed. Before starting to work on the needle, turn off the machine and unplug it from the power outlet. This will eliminate the chances of an electric shock. It is always best to wear gloves when working with sharp objects for added protection.
To avoid damaging needles, gently lift the needle only an inch from its base and turn the hand wheel to lower it carefully. To remove the needle, make sure to press the locking screw firmly and twist the clamp screwdriver to loosen the needle clamp thoroughly. It is also important to be gentle when inserting the new needle. Sharp needles should be handled carefully when installing.
Conclusion
In conclusion, changing a needle in a sewing machine does not have to be intimidating. With the right size of needle and the proper techniques, this important task can be done safely and efficiently. Understanding the different type of needles and their appropriate uses ensures that the best needle is chosen for the job. With a little bit of practice, sewists can master the art of needle changing and become a more successful sewer.


