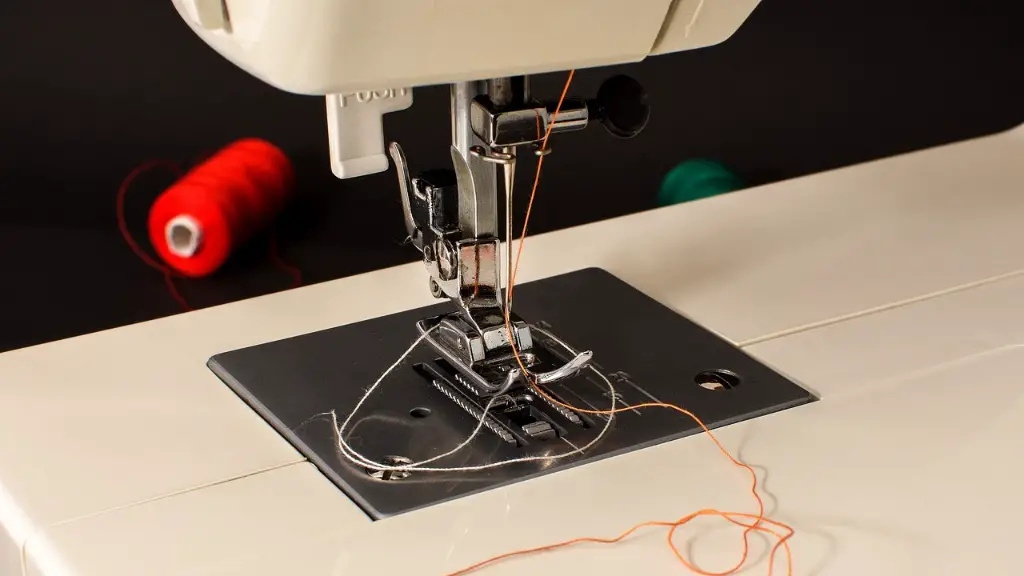
Singer sewing machine motor belts are important components for successful sewing projects. Without an efficient belt, machines can jam and malfunction, preventing you from completing your sewing tasks. Fortunately, changing motor belts on Singer machines is easy, with a few tools and careful steps involved in the process.
Starting off, you should be sure to unplug the machine and remove the head from the sewing table by turning the screws counterclockwise. Doing this will provide you with the necessary access to the bottom of the machine. To help, there may be a few screws and plastic tabs to gently pull in order to release the head, ensuring all of the components disconnect and remain intact.
Next, carefully examine the belt tensioner and loosen it using a screwdriver. This will allow the old belt to relax and come off the pulleys. You may need to use a cloth or small stick to guide the old belt off and away from the pulleys. As you do this, be aware that your machine may have multiple pulleys, so it’s worth explicitly noting how many and the sequencing of their placement relative to the motor and the tensioner.
After this, you can install the new motor belt. To begin, wrap the belt around the motor and the largest pulley, then slowly move to the ones further away. When you reach the end, the tensioner should be tightened, keeping the belt in a secure position. The belt should be snug but not overly tight.If desired, you can also use a pair of pliers to add extra tension. As you do this, be sure to take manual measurements throughout to make sure the tension is consistently even. Once the belt is properly in place and the tensioner has been tightened, slowly test the motor by only running it for a few seconds.
Moreover, if there appears to be an issue with the machine, removing the head and troubleshooting is essential. The necessary repairs can include removing the motor, checking for any broken recoil wires, making sure any necessary screws are connected and the motor pulleys are encapsulated in the motor housing. Additionally, you should keep in mind that before replacing the motor assembly, you should be sure to save all components and screws you have removed. This can help if any of the parts were dislodged as you were taking out the assembly.
Finally, to accurately conclude, put the head back on the machine. Make sure to properly attach the assembly and ensure that all screws and parts are reattached in the correct spots. Once completed, you can plug in the machine and begin a new sewing project. All in all, changing the belt on a Singer sewing machine is simple and not difficult to understand. If a belt happens to break or malfunction, replacing it should be straightforward and complete in under a half hour.
Safety
Updating a motor belt on a Singer sewing machine should be done with safety in mind. Ensure that you have read the entire manual for installation and take the proper precautions to remain safe. As you unscrew screws, be sure to place them somewhere where you won’t lose them and remember to unplug the machine before taking out any components. Moreover, don’t forget to wear gloves and a set of glasses in case of any small metal parts that fly off from the belt pulleys.
Tools and Equipment
As far as required tools and equipment, there are a few that you’ll need in order to successfully switch out the belt. For starters, you’ll need a belts of multiple sizes to suit the motors of your different sewing machines. Additionally, you’ll need mini-screwdrivers to loosen the tensioner and a pair of pliers to lock it back intop lace. On top of this, it’s wise to have small brushes on hand to avoid dust and dirt getting onto the motor belt and causing any potential issues.
Expert Opinion
In line with this, knowledgeable professionals on the matter can help shed some light. According to repair specialist, Diana Smith, “The Singer sewing machine is a unique device that must be taken care of. When changing a belt on it, it’s important to read the manual and pay attention to the important steps for replacement. Not doing this correctly can have disastrous effects that can even lead to repairs or replacements of the whole machine.” By reading the manual from cover to cover and following the step-by-step instructions on belt replacement, you can avoid this issue.
Maintenance
To ensure the long life of a Singer machine, preventive maintenance is imperative. During the process of replacing the belt, also check the existing belts for signs of wear and tear and put in a few extra minutes to clean the pulley grooves. As you do this, apply a small amount of petroleum jelly or a few drops of mineral oil to the pulleys. Bear in mind that the higher quality of maintenance means that the less you will have to repair the machine in the future.
Tips and Tricks
While changing the belt on a Singer machine can be done with ease, there are certain tips and tricks to make the process less complicated. For instance, one of the most important aspects is making sure that the replacement belt has the same size as the original one. If the new belt has a lower size than the old one, it won’t provide the desired power the motor needs. Additionally, the pulley grooves must be properly cleaned, as any dirt and dust that get stuck inside can cause the belt to slip and disrupt the entire process.


