It’s essential to keep your Kenmore Sewing Machine clean, if you want to get the best and most consistent performance possible. Over time, particles of dirt, lubricants and even thread can accumulate on the machines’ many moving parts. Not only will such debris cause deterioration, but it could also block your machine’s fabric feed or make your stitch irregularities.
It should be no surprise, then, that regularly cleaning and lubricating your machine is extremely important. The good news is that this doesn’t have to be difficult, with a few basic steps you can easily keep your Kenmore Sewing Machine in top condition. Here are some tips on how to clean your Kenmore Sewing Machine:
1. Remove Any Lint and Dirt
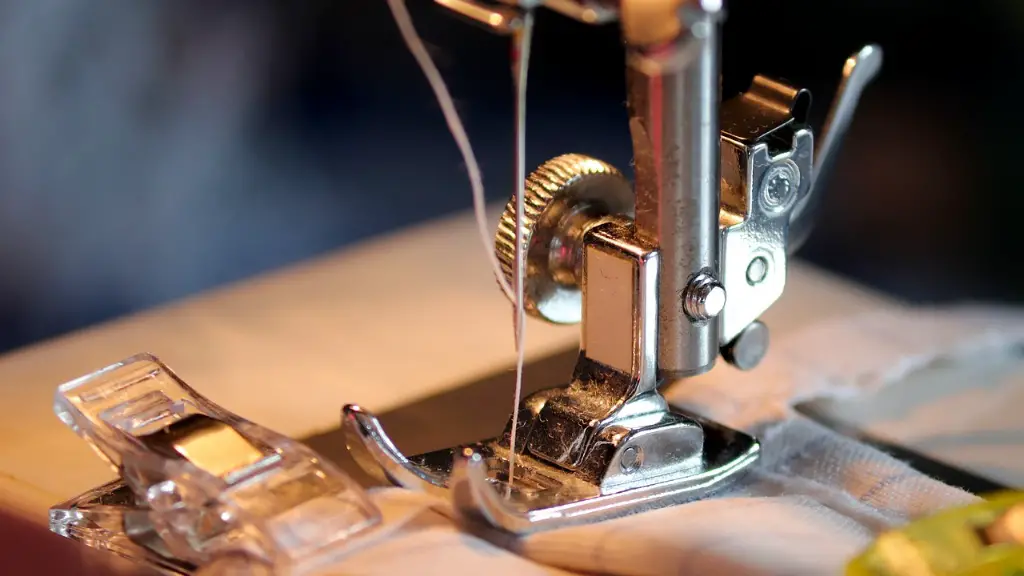
The first step in the cleaning process is to remove any visible dirt, lint, and thread from the machine. To do this, turn off the machine and unplug it from the wall outlet. Take a soft, lint-free cloth and wipe down the outside of the machine, as well as all moving parts such as the shuttle and feed dogs. Pay special attention to the area around the needle and any visible lint or dirt. Use a small brush or compressed air to remove any lint or dust that has accumulated in and around the needle area.
2. Check the Bobbin Case
Another important step in the maintenance of your Kenmore Sewing Machine is to check the bobbin case. Remove the bobbin cover, and use a small brush or compressed air to remove any lint or dust that have accumulated inside. Check for any worn or broken parts and replace them if necessary.
3. Lubrication
When all of the lint and dirt has been removed, a few drops of oil should be applied to the machine’s main moving parts. Be sure to use only sewing machine oil, not motor oil, 3-in-1 oil, or any other type. Using a small, clean paint brush, apply a few drops of oil to all of the moving parts. Wipe away any excess oil with a soft, lint-free cloth.
4. Clean the Bobbin and Feed Mechanism
To clean the bobbin and feed mechanisms, first remove the bobbin cover, and use a small brush or compressed air to remove any lint or dirt that have accumulated inside. Check the bobbin for any damage and replace if necessary. Then, use a toothbrush or specialized screwdriver or tool to gently scrub away any dirt or lint that may have accumulated in and around the bobbin area. Once again, wipe off any excess lubricant with a soft, lint-free cloth.
5. Check the Stitch Breadth
Another step in the cleaning process is to check the stitch breadth of your Kenmore Sewing Machine. This can be done by testing out a few stitches and adjusting the tension settings until the stitches appear even and uniform. Additionally, check the machine’s tension settings to make sure that the thread is being pulled properly.
6. Replace Parts When Needed
It’s important to periodically check the parts of your Kenmore Sewing Machine to make sure they are in good working order. If parts appear to be worn or broken, they should be replaced as soon as possible. Make sure to use only genuine Kenmore Sewing Machine parts, as generic parts may not be compatible with your machine.
7. Test Your Machine After Cleaning
Once you’ve followed all of these steps for cleaning your Kenmore Sewing Machine, it’s important to make sure that it is working properly. Run the machine for a few minutes, testing out various stitches and tensions to make sure that everything is functioning properly. Additionally, check for any new excess noise or vibration from the machine.
Conclusion
Following these steps will ensure that your Kenmore Sewing Machine is running at its peak performance. With routine maintenance and cleaning, you’ll be able to enjoy years of trouble-free sewing. Taking a few minutes once every few weeks to clean and lubricate your machine will pay dividends in the long run, and ensure that your beloved machine is always ready to go.
Extra Care Strategies
Building a regular, thoughtful maintenance plan for your Kenmore Sewing Machine can help maximize its longevity and effectiveness. Along with regular cleaning and lubrication, a few other strategies can make a big difference.Here are a few extra tips to help your machine run for longer:
a. Change the Needle Regularly
Needles naturally wear down over time. Before starting any major sewing project, be sure to check your needle and replace it if necessary. Doing so will ensure a cleaner and more consistent stitch.
b. Have Your Machine Tuned Up Regularly
Professional machine tuning can help ensure that your machine is in perfect working condition. It can also help identify small problems before they become bigger ones. Taking your machine to a professional sewist every year or two will help your machine run more efficiently and last longer.
c. Keep it Covered
Keeping your Kenmore Sewing Machine clean and well cared for when not in use is also important. Make sure to dust it off occasionally with a lint-free cloth and keep it covered when not in use to prevent it from accumulating dust and lint.
d. Store it Away from Extreme Heat and Cold
Extreme temperatures can also damage your machine, so it’s best to keep it away from sources of heat and cold. Avoid storing your machine in attics or basements and store it in an environment with more moderate temperatures.


