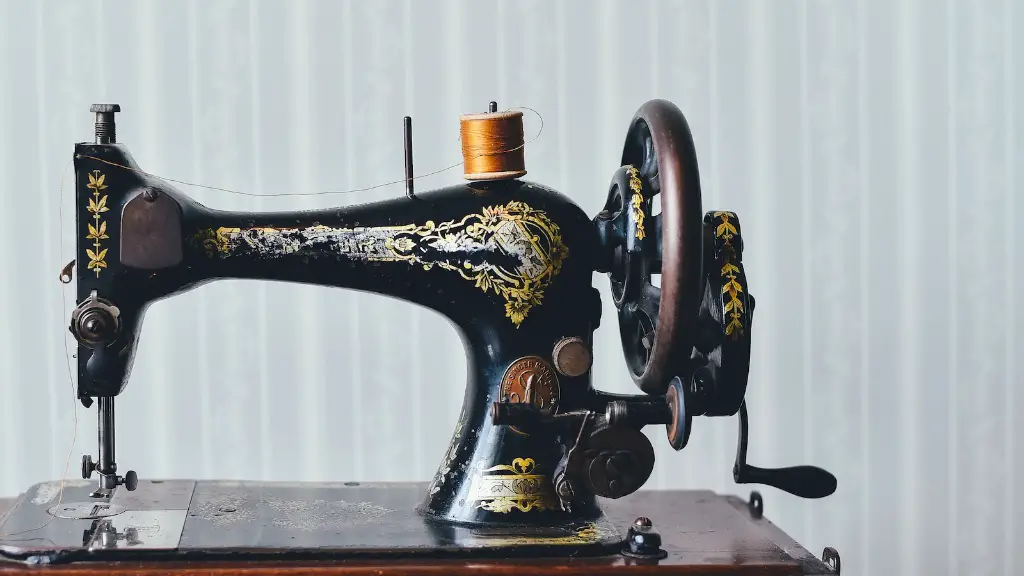
Deep cleaning an antique sewing machine is a daunting task, but one that will protect and preserve its valuable integrity. Whether your sewing machine is an heirloom, a cherished collectible, or just an old machine you’ve acquired, its parts should be taken care of with the utmost respect. Cleaning an antique machine is not something to be taken lightly, and should be approached with patience and accuracy.
The first step to take when cleaning an antique sewing machine is to check the owner’s manual and make sure you have the proper tools on hand. The owner’s manual will provide necessary instructions on properly lubricating the machine, and often have a diagram of the appropriate lubrication points. It is recommended that you use only a high quality machine oil for this purpose.
Once you know what tools you need, it is important to gather your supplies. Get a soft cloth as well as some lint-free string for cleaning the thread, a soft toothbrush for scrubbing away at nooks and crannies, a shop vac for removing debris from the sewing machine, cloth swabs for cleaning the surfaces, and a wax paper to protect the surfaces while cleaning. Additionally, you may need steel wool, vinegar, and small screwdrivers depending on the age and model of the machine.
Before attempting to clean the machine, or even move it, make sure that it is unplugged and the power switch is off. Once unplugged, it is recommended that you lay down an old towel or cloth underneath the machine. Remove any dust and debris from the surface of the machine with the vac and soft cloths. If the cloths become soiled with oil or grime, replace them with fresh ones. After the surface is clean and you have removed the lint from the thread using the lint-free string, you can move on to deep cleaning the machine.
Take care when removing the sewing machine attachments, such as the foot pedal, bobbin case, feed cover, etc. They may require very fine adjustments and should be done with gentle care as to not disturb the timing of the movement. Use the soft brush and steel wool to carefully clean the parts; and use a cloth swab dipped in vinegar when needed for deeper cleaning. Use a small screwdriver to remove any stuck screws or other hardware. After cleaning all the parts, you can move on to the machine exterior. Massage beeswax or Carnauba wax into the metal parts and plastic surfaces. Make sure to avoid touching electrical components or anywhere the wax can seep into which may cause the machine to short circuit.
Once everything is cleaned and free of residue, it is time to check if the machine is functioning properly. Connect the machine to a power source, plug it in, and press the power button on. Put a scrap piece of fabric or cloth into the feed and gently press the foot pedal. If it works, you are good to go; otherwise, you will have to adjust, repair, or replace the machine parts as necessary. There are many resources, both online and offline, for help troubleshooting sewing machine problems.
Maintenance Tips
Maintaining the clean condition of the machine is very important. Know where the lubrication points are and add a few drops of machine oil every few months to keep the parts moving freely and without any friction. Use a clean cotton cloth to remove any debris and oil buildup. Clean the bobbin area and remove dust and lint every once in a while. Make sure to keep the machine dry and covered when not in use. Lastly, avoid spilling liquids on the machine and keep it with a safe distance from fire and heat sources.
Safety Tips
If your machine is older and has not been tested for an electrical safety check, it is highly recommended that you have it checked by a professional. Machines manufactured before year 1970 rarely have working fuses, cord insulation and ground elements. If the machine does not emit the regular hum sound, it is a sign that something is wrong. Additionally, make sure that the power plug is securely connected and never touch the machine or plug with wet hands.
Storage Tips
When it comes to storing your old sewing machine, precaution is key. Be sure to store the machine in a dry and dust free environment. Place it on high ground and away from other machines, tools, and chemicals. If the machine is stored in a cabinet or box, make sure it is properly covered against the elements or ensure that all removable parts are put in airtight containers. Additionally, look out for dampness or any sign of corrosion.
Keeping a Journal
Finally, it is recommended that you keep a journal for your antique sewing machine. Note all the changes you make to the machine as well as any maintenance or cleaning procedures. Over time, you will create an invaluable document which will help you keep track of the changes and value of your antique. Maintenance and repair records will make a great addition to the machine’s value when the time comes to sell it.


