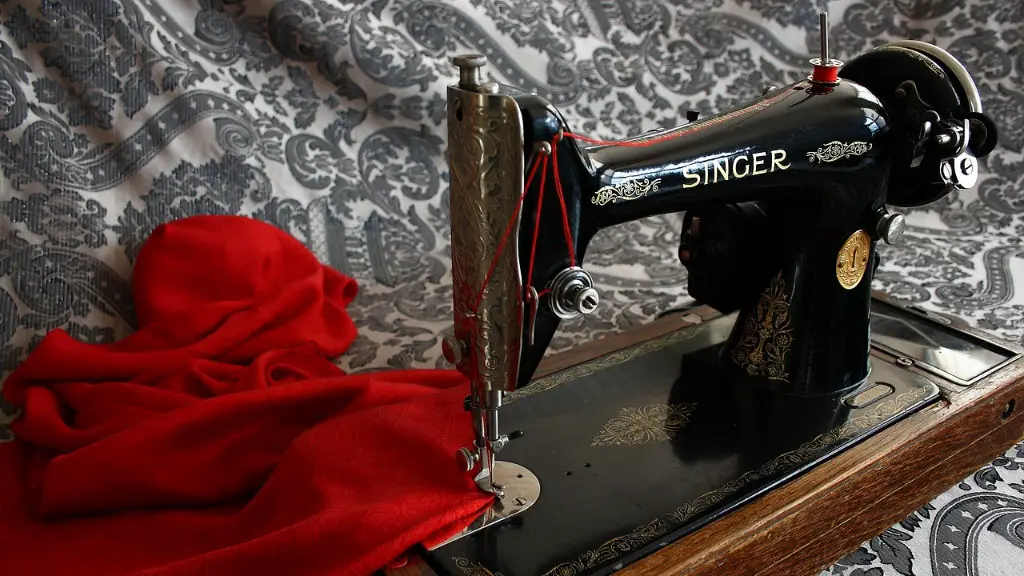
A sturdy and reliable sewing machine can last you a lifetime if you take good care of it. Even if your Singer sewing machine is brand new, it won’t remain optimal if you let dirt build-up or if you give it a jolt while cleaning it. So, here are some easy steps to help you keep your sewing machine running smoothly.
The first step is to clean off the top of the machine. Wipe off the case, control panel, and surface of the machine with a damp and clean cloth. If the Singer sewing machine is particularly dirty, you can use a mild detergent with warm water to give it an extra shine. Be sure to avoid getting any water on or in the sewing machine as it is an electrical device. After cleaning and drying the machine, run it for a few minutes to make sure that it’s functioning properly before using it.
Lubricating Sewing Machines
Most sewing machines need lubrication every few months, with more intense use adding more frequent oiling. Before you start oiling the machine, be sure to check the machine manual and consult a certified service center for advice.
Start by unplugging the machine from the power source. Open the sewing machine and look for any dust, thread, and lint. Gently brush or vacuum away these particles before oiling the machine. You can use a clean cloth, an old toothbrush, or an air compressor to remove dust, thread, and lint. Make sure to clean the needle, throat plate, presser foot, motor, and all the oiling points.
You can use either petroleum oil or a special lubricant or machine oil to lubricate your sewing machine. Apply a few drops of oil at each oil-point, letting the oil seep in. Make sure not to overfill the oiling points so that you don’t make too much of a mess. After you finish, run the machine for a few minutes to make sure that it’s operating properly.
Correcting Machine Timing
Having a sewing machine with its timing off can damage fabric and create uneven stitches. To make sure that your Singer sewing machine has the correct timing, select a light fabric as a test. Check the tension of the fabric for an accurate representation of stitches. If you don’t have the correct tension, the problem may lie in the machine’s timing. Check the diagrams in the machine manual to adjust the timing. Once the machine is in tune, tighten the screws to keep them in place.
If adjusting the timing on your machine still doesn’t sort out the problem, contact a certified service center or your Singer sewing machine dealer. They’ll be able to check what other problems might be causing the issue.
Regular Maintenance
Regular maintenance and tuning for your sewing machine can help do wonders for its lifetime. Get in the habit of wiping down the machine after every use and give it a deep clean once in a while. Additionally, you should oil and tune the machine at least once a year. Make sure to keep the manual handy so that you can understand what to do and when.
Your sewing machine is an investment, and if you take care of it, it can last you a long time. It can even be passed down to your children or grandchildren one day! By keeping your machine running smoothly, you can make sure that your sewing experience is always positive and productive.
Replacing the Needle
A sharp and new needle can mean the difference between beautiful stitches and bad ones. To check that you’re using the correct type of needle, look at the Singer machine manual to determine which type your machine uses. Bear in mind that certain fabrics need special types of needles, such as metallic needles for metallic threads.
You should change your needle frequently when sewing, especially if you’ve been using your machine for heavy-duty fabrics. On average, you should swap it out for a new one after 8-10 hours of sewing. To confirm the needle is the correct size, use a needle gauge to check it before you start sewing.
Adjusting the Looper Tension
If your stitches look loose and loopy, you may need to adjust the looper tension. Looper tension is responsible for creating tension in the upper and lower tensions of the machine. To adjust the loop tension, first, remove the cover over the looper cover. Then, loosen the screw on the tension star by turning it clockwise.
Next, tighten the screw by turning it counterclockwise until the tension star is securely in place. After adjusting the loop tension, test the stitches to make sure that you’re getting the desired outcome. If not, repeat the steps until you get the correct tension.
Troubleshooting
Sewing machines can break down even with regular maintenance, so it’s important to be prepared when this happens. If your sewing machine is giving you trouble and you can’t figure out why, you should try a few troubleshooting steps. First, check that all the parts and components are firmly in place.
Then, try using a different type of thread or fabric to make sure that the issue is with the sewing machine and not the fabric or thread. Additionally, make sure that the needle is correctly threaded and that it’s the correct size for the fabric. If all else fails, consult your Singer sewing machine manual and look for any specific instructions for your model of sewing machine.
Safety
When using a Singer sewing machine, it’s important to take all the necessary safety precautions. Before using your sewing machine, always make sure that it’s in good condition and that all the components have been tightened. Unplug the sewing machine when you’re cleaning or adjusting it and always keep your hands away from the needle and the other components.
Additionally, don’t keep the sewing machine exposed to dust or moisture while storing it, as moisture and dust can damage its components. And, most importantly, get your Singer sewing machine serviced at least once a year to make sure that it’s running properly.
