Introduction
Cleaning a sewing machine is essential for a successful seamstress who needs to complete sewing projects efficiently. Debris like thread and dust can accumulate in the machine and must be removed for the machine to continue running effectively. An uncleaned machine can cause jams, poor stitches, and other malfunctions. Depending on the type of machine, there are various ways to clean it correctly without causing any harm.
Assess the Kind of Sewing Machine
Different types of sewing machines have varying requirements and levels of care. A basic understanding of the machine’s workings will help decide the best way to clean it. Electronic, mechanical, and computerized machines are the three main types and the steps to be taken to clean each are different. There are also Singer machines and Brother machines which have specific instructions for cleaning.
Gather all the Necessary Materials
Once the type of machine is identified, gathering all the necessary items before cleaning is important as it eliminates the need to run to the store or look for various items. Things needed may include a soft brush, a small vacuum, a piece of cloth and cleaning solutions specifically made for sewing machines.
Unplug the Machine
The first step in the cleaning process is to turn off and unplug the machine. Even if a machine is switched off, it can still be powered and touching certain places while it is plugged in can cause injury. Removing the dust around the outside of the machine should occur before anything else and it can be done with the use of a clean piece of cloth.
Open the Parts
Once the machine is unplugged, it is important to open it up and clean every part. Depending on the type of machine, there will be various removable parts. accessing the parts is important for cleaning the bobbin case, feed dogs, plates, and presser foot. It is important to be extremely gentle with these parts because putting too much pressure on them may cause damage.
Cleaning the Bobbin Case
Once the parts are accessible, an extremely soft brush needs to be used for cleaning the bobbin case and the area around it. Debris stuck in the shuttle hook should be removed carefully. This is a very intricate part and cleaning it without damaging it is important.
Cleaning the Bobbin and Presser Foot
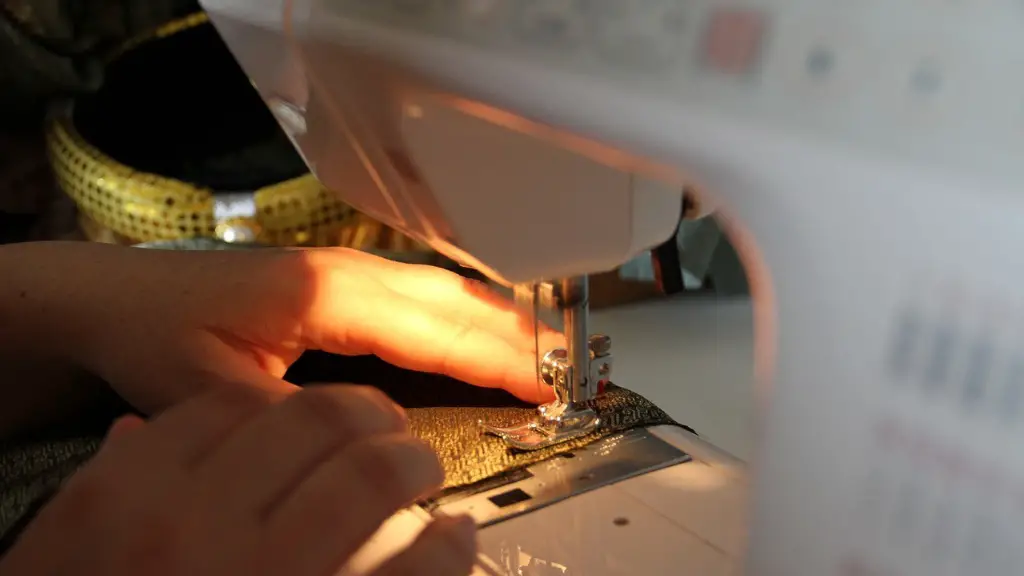
The next step is cleaning the bobbin and the presser foot. The bobbin should be taken out and the threads in it removed. A small vacuum can be used to clean the presser foot.
The Needle Plate and Feed Dogs
The needle plate will likely contain oil and debris and therefore needs to be cleaned using a soft cloth or a small brush. The feed dogs are the the small teeth under the needle plate and they can be cleaned with a scrubber or soft brush.
Cleaning the Outer Parts
When all the inner parts have been cleaned and put back, special attention has to be given to the outer parts of the machine. A damp cloth that is soaked in distilled water can be used to clean the outside of the machine including the base, the needle plate, and the control panel.
Cleaning the Motor
Finally, the motor should be cleaned. The motor should be dusted with a dry cloth and wiped when necessary using a specialized motor-cleaning product. Pieces of cloth and cotton balls can be used to clean the motor.
Conclusion
Cleanliness is essential for any project completed with a sewing machine. Regularly cleaning your brother sewing machine is the key to ensuring it runs smoothly. Taking the steps to clean a Brother sewing machine will extend the machine’s life and can result in greater accuracy and better results in any sewing project.


