Cleaning Process
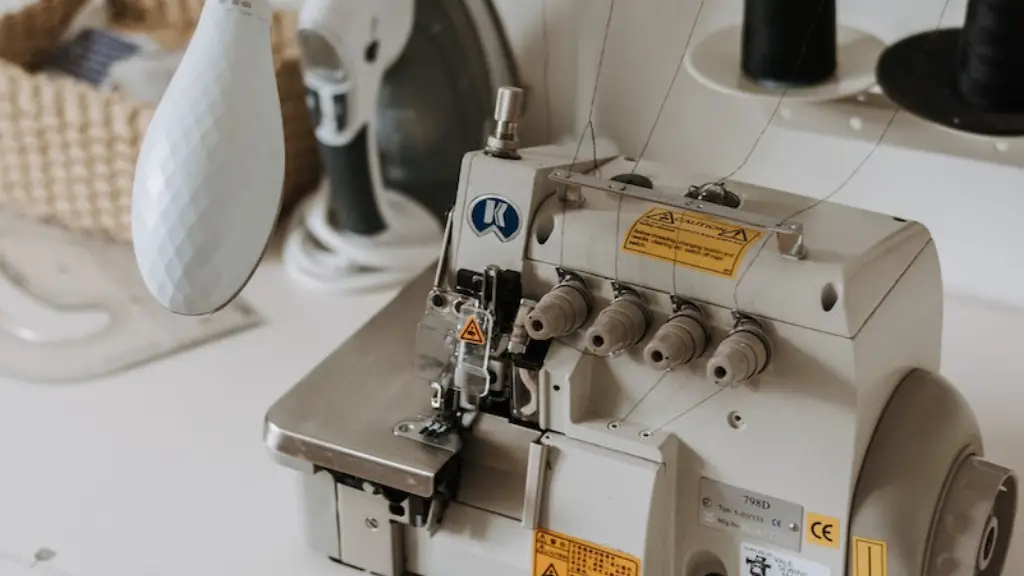
If you have invested in a Singer Sewing Machine, you know how important it is to keep it clean. While these machines are durable, without regular cleaning they can become faulty and even unsafe to use. To ensure your machine is up to its best standards Cleaning your Singer Sewing Machine should be a regular part of your maintenance routine. Here, we will go through the main steps of a general cleaning.
Before you begin, it is important that you unplug your machine, so you can safely clean without any risk of electrical shock or damage. After unplugging, you’ll want to clear the area around your machine to ensure you have enough workspace. Once it is unplugged, open up the bobbin area, your slide plate and any other components of the machine that can be opened.
Using compressed air, you can blow away built up lint and threads from the machine. Then you should use a lint brush to clear away any lint and particles on the surface of the machine. Ensure your movements are gentle, to avoid any damage to the internal parts of the machine. Afterwards, you can use a vacuum cleaner to be sure all dust and particles are cleared away.
If there are any oiling points on your particular machine, some cotton buds and a few drops of sewing machine oil should do the trick. Singly, you can use a feather or soft brush to wipe over any exposed metal, plastic and rubber components. This will help to free up any excess lint. If you need to remove any stains, use a non-abrasive cloth and foamy water to do the job.
Final Cleaning Steps
Once you’ve reached this stage, use a cold damp cloth to wipe your machine over. This will help to sanitise the surface, cleaning off any remaining dirt particles, particles and residue oils. As a final step, use a paper towel and sewing machine oil to lubricate any moving or sliding parts of the machine. This process is important to ensure the parts glide smoothly and won’t bloat or jam.
Finally, if you own any delicate or intricate pieces that come with your sewing machine, such as a shuttle holder or needle, they should also be wiped with a damp cloth and left to air dry, completely turned off the good source, so the electric components don’t get damp. Last, but not least, once you’ve done all the above steps, make sure you don’t forget to plug the machine in and turn it on to double-check that it is in good working order and safely stored away.
Regular Cleaning
In order to ensure the longevity of your Singer Sewing Machine, it is very important to clean it every now and then. Merely a once-over every few months will make a world of difference. Regular cleaning and oiling helps to keep your machine running smoothly and efficiently, and it also extends its lifetime.
If you aren’t sure what you should look out for when inspecting your machine, the manual will come in handy. It should tell you precisely which parts you should pay attention to and what needs to be done to maintain its workings. Additionally, YouTube is a legitimate source of machine cleaning tutorials, so you can watch a few videos to really make sure you’re doing it right.
Keep it Covered
The internal parts of a Singer Sewing Machine are packed with small needle and bobbin components that need to be protected from dust and dirt to be in good working order. Additionally, the surface of the machine can easily pick up fingerprints. To ensure you’re protecting your machine from the elements, it is a great idea to invest in a dust cover for it.
Not only does this keep the whole machine free from lint and dust, this will also help your Singer Sewing Machine last for much longer. This cover can be bought from most hobby and fabric stores, as well as online. Some dust covers can come specially made to fit the size of your Sewing Machine, so they are a good investment.
Conclusion and Summary
It is important to not only protect your Singer Sewing Machine, but also to keep it neat and tidy. Doing regular full-scale cleaning and inspecting, as described above will not only help you keep your machine running, but will also help you keep it in top condition.
Additionally, keeping your machine covered will also minimize the amount of dust, lint and dirt that could potentially build up on all its components. If you are ever in doubt, consult one the many sources out there that could guide you through the process.
Cleaning Products
When cleaning your Singer Sewing Machine, beware of certain cleaning ingredients and products. It is very important to only use products and ingredients that are suitable for your Sewing Machine’s particular material. If you happen to use the wrong cleaning ingredients, this could potentially damage the machine beyond repair.
Singer Sewing Machines usually have a special Deep Cleaning kit available to purchase on its website or in store. The kit includes an extra-long brush to help you reach the deep parts of your machine, as well as a few bottles of cleaning solution, which is especially made to deepen the cleaning process. It is recommended to avoid scrubbing with harsh chemicals, laundering or boiling your machine.
When to Get Professional Help
If you’re unsure of any part of the cleaning process or if your machine is particularly old, it might be a better idea to take it to a professional. You could take it to a company that specializes in mechanics and cleaning for a comprehensive deep cleaning.
Singer Sewing Machines usually have a list of technicians available on its website, although sometimes it can be a few more clicks away. They should be able to give you the best advice and ensure your Singer Sewing Machine lasts for many years.
Storage
Your Singer Sewing Machine should be stored in a safe and dry place that is free from any dust, dirt or damage. This can help to minimize the amount of maintenance and cleaning that you need to do in order to keep it running smoothly. Keeping it away from sun, moisture and extreme temperatures is also a must.
Make sure you have all the necessary parts and tools before you start cleaning, that way you won’t need to stop and search for anything. Lastly, always bear in mind the importance of unplugging the machine before beginning any work on it. That way, you can ensure the safety of yourself, your equipment and your environment.
