Materials Needed
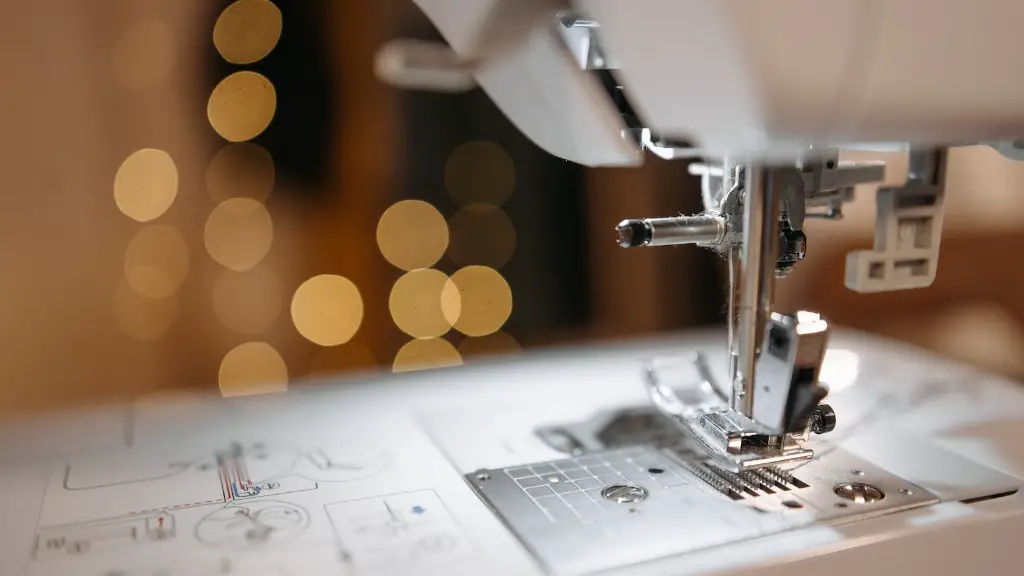
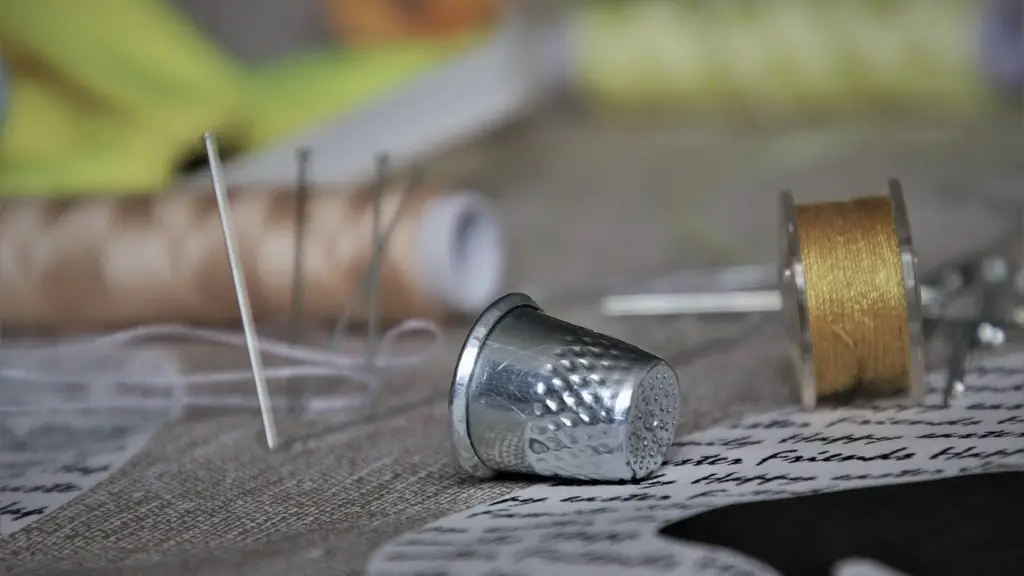
To close a seam on a sewing machine, you need a few basic items. This includes thread, fabric, pins, scissors, and a seam ripper. The most important item to have is a sewing machine, which will guide the needle as you close the seam. The machine will be used to determine the stitching pattern and tension.
It’s also important to select the right type of thread and needle. Generally, you want a thread that’s thin enough to not bunch up the fabric and a needle that can go through the fabric without leaving holes. You also want to make sure the thread is strong enough to ensure the seam will last a long time.
Aligning the Seam
Once you have all the materials, the next step is to align the seam. It’s important to make sure the two pieces of fabric line up properly, as any misalignment will show up when you close the seam. Start by placing the two pieces of fabric together so the edges line up. Then use pins to hold them together in place. Once the pieces are pinned together, you should check to make sure they line up properly before continuing on.
Tension and Stitches
The next step is to set the tension and stitching pattern. All sewing machines will have a tension setting that allows you to control how tight the stitches are. Generally, it’s best to set the tension higher for thicker fabrics and lower for thinner fabrics. Additionally, you should select a stitching pattern that is appropriate for the project. Straight stitching is the most common type of stitching used for closing a seam.
Create Your Seam
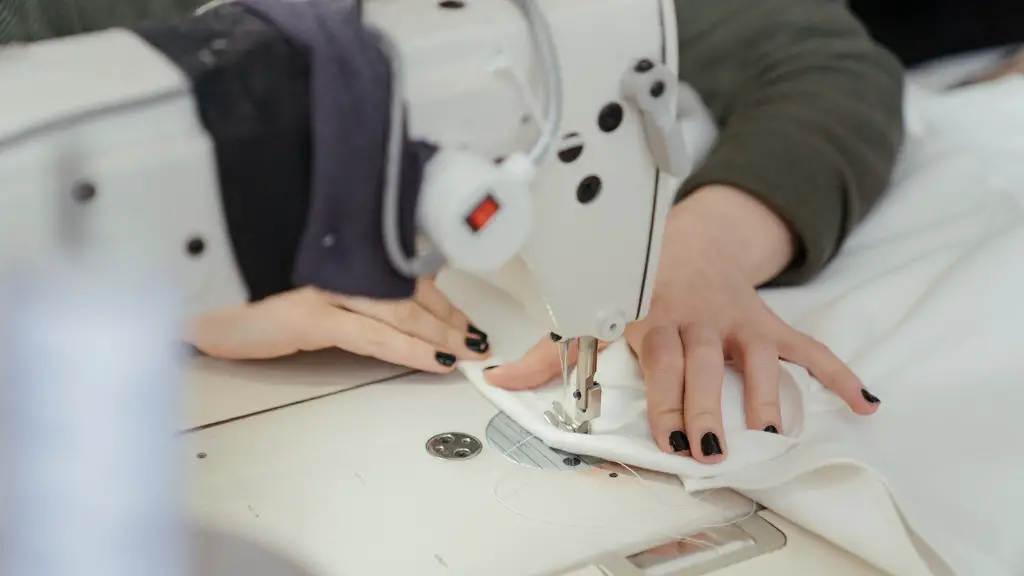
Once the tension is set and the stitching pattern is chosen, you can begin sewing the seam. Start by running the needle along the edge of the fabric and make sure to check along the way to make sure the fabric is still lined up properly. Make sure to backstitch at the beginning and end to lock the stitches in place.
Removing Excess Thread and Pin
Once the seam is sewn, you can remove the excess thread and pins. First, trim any excess thread and then carefully remove the pins. Once the pins are out, the seam should be securely fastened. If there are any loose or uneven stitches, you can use a seam ripper to remove them and start the process over.
Final Steps
To finish the seam, you may want to press the fabric to ensure a neater appearance. Use the iron on a low heat setting to go over the seam and then press down. Lastly, it’s important to check for any loose threads. If you find any, make sure to go back and re-sew the stitch.
Thread Types and Needles
When closing a seam with a sewing machine, the type of thread and needle used can have a big impact on the final product. Different types of thread are available depending on the type of fabric being sewn, such as nylon, polyester, and cotton. Additionally, needles range in size and materials, such as stainless steel and titanium.
It’s important to select the right type of thread and needle for the project. Generally, you want a thread that’s thin enough to not bunch up the fabric and a needle that can go through the fabric without leaving holes. You also want to make sure the thread is strong enough to ensure the seam will last a long time.
Seam Finishes
When closing a seam, there are a few different ways to finish it for a neat appearance. One of the most common ways is to use a zigzag stitch to finish an inner seam. This stitch creates a durable, neat-looking seam. Other seam finishes include using a serger to give the edge of the fabric a clean look and rolling the seam to hide the stitching.
Seam Puckering
One of the most common problems when sewing is seam puckering. This occurs when the fabric is pulled too tight as it’s being stitched, causing it to bunch up. To avoid this, make sure to keep the tension on the machine low and be careful when positioning the fabric. Additionally, check the fabric after each couple of stitches to make sure it’s not being pulled too tight.
Seam Allowance
An often overlooked aspect of closing a seam is seam allowance. Seam allowance is the space between the seam and the edge of the fabric. For most projects, a standard 5/8” seam allowance is used. However, this can vary depending on the project. When starting a seam, make sure to measure the seam allowance and adjust your needle accordingly.
Types of Seam
When closing a seam, you also want to consider the type of seam you’re using. There are several different types of seams, including French seams, flat felled seams, and Hong Kong seams. The type of seam you use will depend on the type of project, as different types of seams will be better suited for different types of fabrics.
Pressing Your Seam
It’s also important to press your seam after it’s sewn. Using an iron on a low setting, you can press the seam to give it a neater look. Additionally, pressing the seam can help to make sure the seam stays in place and doesn’t come undone. Make sure to use a pressing cloth to protect the fabric from the heat.


