Materials Needed
Creating a buttonhole with a sewing machine may seem daunting at first, but it’s actually quite easy. All you need is a sewing machine, a couple of simple materials, and a bit of know-how. The first thing you’ll need is a sewing machine that has a buttonhole attachment. If your sewing machine doesn’t have one, it’s possible to buy an attachment separately. You’ll also need some heavy gauge thread, as well as the fabric you’ll use for the buttonhole. Finally, you’ll need a few buttons, to ensure the buttonhole is the right size for the buttons you’ve chosen.
Prepare the Fabric
Before you start creating the buttonhole, you’ll need to prepare the fabric. Fold it in half and pin it together, then mark the buttonhole with a pencil. This will help you to keep track of the size and shape of the buttonhole as you sew it. Once you have the fabric ready, thread the needle and start sewing.
Set the Buttonhole Attachment
Before you start sewing the buttonhole, you’ll need to set the buttonhole attachment. Most sewing machines have an attachment that you can use to create the perfect buttonhole. On some machines, you can even set the size of the buttonhole, so it’s best to measure the button you’ll be using and adjust the setting accordingly. Next, you’ll need to adjust the stitch length and width. A slightly longer stitch will make the buttonhole sturdier, while a slightly shorter stitch will make the buttonhole less bulky.
Create the Buttonhole
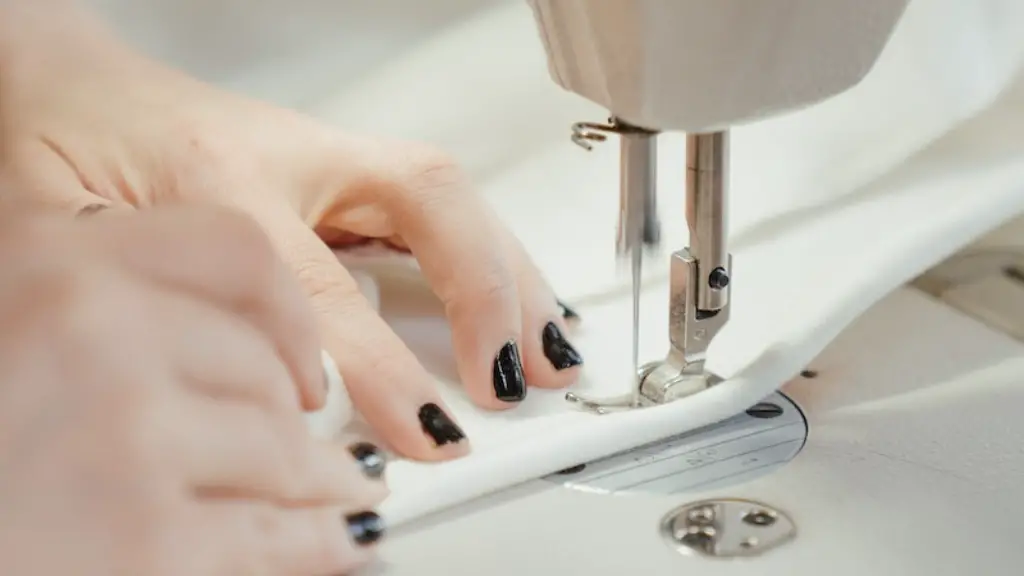
Once you’ve set the buttonhole attachment, you’re ready to start creating the buttonhole. Begin by stitching a few stitches forward, so that the buttonhole attachment will stay in place. Make sure the buttonhole attachment is held firmly against the fabric. Then, start sewing the buttonhole. You’ll want to use a slow, steady pace, as this will give you the best results. Start on one end of the marked line and slowly stitch forward until you reach the other end.
Secure the Buttonhole
When you’ve reached the other end of the marked line, it’s time to secure the buttonhole. To do this, stitch several stitches in the same spot. This will make the buttonhole strong and durable. When you’ve finished stitching, cut the excess thread.
Test the Buttonhole
Now that the buttonhole is complete, it’s important to test it out before applying it to the fabric. To do this, insert a button through the buttonhole and make sure it fits snugly. You should also make sure that the buttonhole is not too tight or loose. If it’s too tight, you may need to adjust the buttonhole attachment or use a heavier gauge thread.
Finishing the Buttonhole
Once you’ve tested the buttonhole and are happy with the results, it’s time to finish it off. Cut the excess fabric around the buttonhole, then stitch a few times to secure the edges. Finally, press the buttonhole with an iron, if desired.
Different Styles of Buttonholes
Creating a basic buttonhole is easy, but there are also more intricate styles that you can try. For example, a lined buttonhole is more time-consuming but it looks fancier and more professional. There are also more intricate styles, such as decorated buttonholes, which require more skill. However, with a bit of practice, you can learn to create a variety of buttonhole styles.
Conclusion
Creating a buttonhole is simple if you have the right tools and materials. With a bit of patience, you can easily create a basic or more intricate buttonhole by following the steps described in this article. With a few practice runs, you’ll be creating perfect buttonholes in no time!


