If you want to extend the life of your favorite clothing, a good way to do that is by turning to a trusted ally, your sewing machine and learning how to darn. Darning is a relatively easy task that will save you both time and money by reducing repeat trips to the store. Plus, you’ll surprise yourself with how much you can alter and enhance your wardrobe with just a few basic steps, even if you have never tried to repair clothing before. Thankfully, with the proper instructions and supplies, learning to darn with your sewing machine is a skill you can quickly master.
Step 1: Choose Suitable Thread
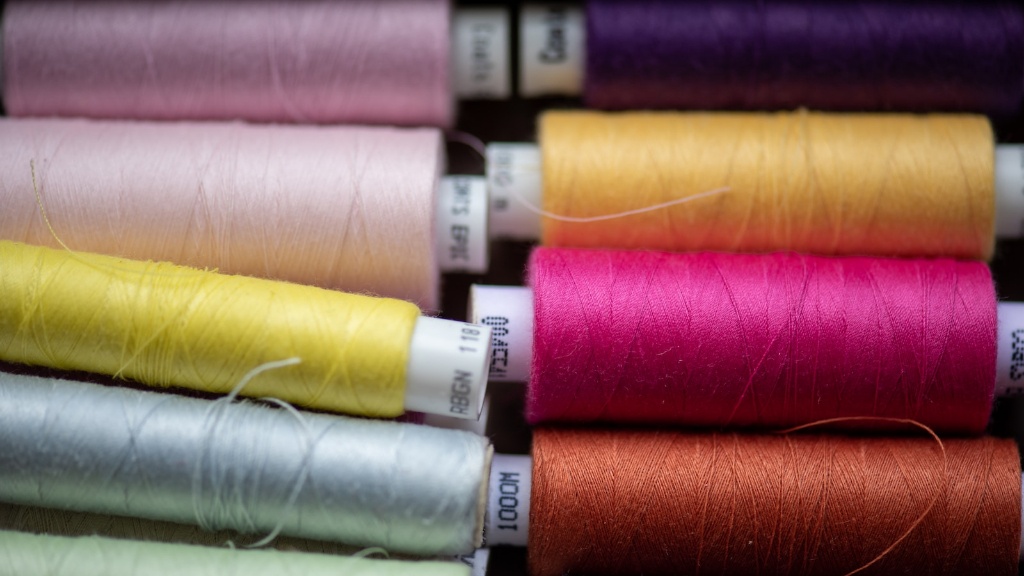
The first step to darning with a sewing machine is to choose thread. Fortunately, there are a variety of threads available for the task, from standard cotton thread to thicker yarns to specialty threads designed for darning. When making your selection, consider both the type of cloth you are repairing and the size of the hole. It is best to choose a thread of the same color as the garment, as it will be less conspicuous. Additionally, if the hole is large, choose a heavier thread to ensure it provides adequate coverage.
Step 2: Prepare the Hole
Next, you need to prepare the hole you are darning by tracing the shape of the damaged area onto tracing paper. After tracing the shape, cut it out and place it behind the hole. Use pins to secure it in place. This will help you to better visualize the area you are darning and ensure the thread covers the damaged area evenly.
Step 3: Prepare the Sewing Machine
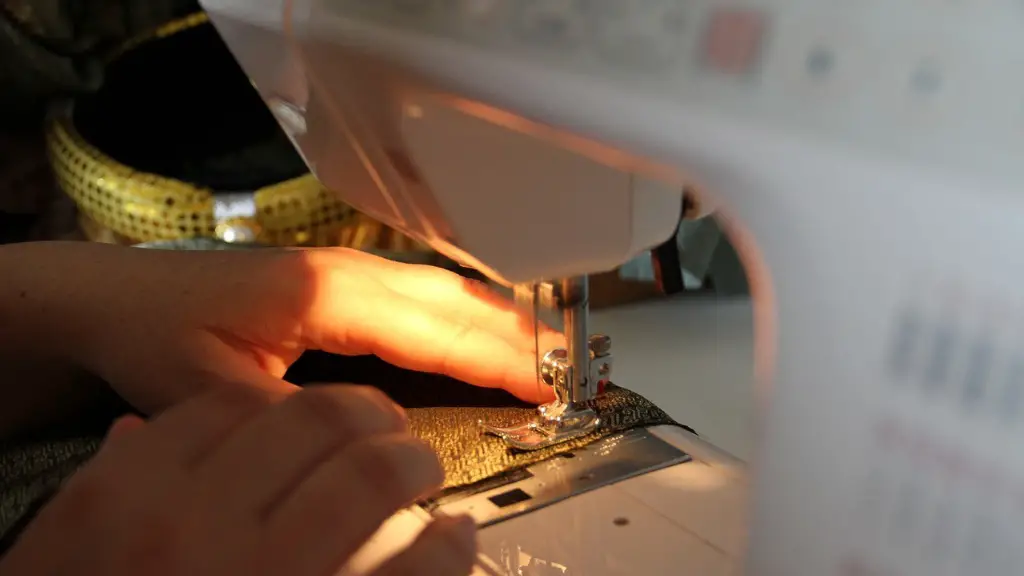
This step involves setting up your sewing machine for the task. Begin by threading the machine and choosing a long, straight stitch length. It should usually be about 5.5mm for a medium-weight fabric. Additionally, you should make sure to use a needle size suitable for the thread you selected. It should be slightly larger than usual to allow for the thickness of the yarn. You can also adjust the top thread tension of the sewing machine to reduce puckering.
Step 4: Begin to Darn
Once you have prepared both the hole and the sewing machine, you can begin to darn. The process starts by inserting the needle down near the uncut side of the fabric, then taking a small, neat stitch that is nearly invisible. Make sure to leave 4-5mm of fabric at the uncut side and use the tracing paper template to help you maintain the shape of the hole you are trying to cover. Then, you should gradually fill in the hole with overlapping small zigzag stitches. Ensure to stop and start the stitching cleanly on the uncut side of the fabric.
Step 5: Finishing Off
When you have finished covering the hole with overlapping zigzag stitches, you will have to secure them at the end of the process. To do this, secure the stitch by taking a small, straight stitch over the last couple of stitches, to ensure it will not unravel. Additionally, if you desire, you can add a decorative finish. For example, you can use an old tapestry needle and embroidery thread to add a decorative edge around the darning. This will make the repair look a bit more professional.
Step 6: Finishing Details
Finally, it is important to tidy up the repair job by trimming any excess threads that are visible and removing the tracing paper. To ensure the repair job lasts longer, you should use a pressing cloth to press the area afterwards. Once you are finished, you may be surprised by the end result and, more importantly, by how much money you’ve saved.
Understanding Different Types of Darning
In order to provide the best repairs on your garments, it is important to have a better understanding of darning and the types of darning available. For example, the ‘mesh’ technique is a type of darning in which threads are woven in a mesh-like pattern over a hole. On the other hand, ‘diagonal’ darning is a technique that stitches are running in one direction to fill up the holes, creating a diagonal pattern. Additionally, ‘weaving’ darning is a technique, in which a weft is woven around the warp threads of the fabric.
Darning Skillset
Now, if you want to perfect your skills in darning, you should practice different types of stitches and yarns. This will allow you to stretch your skills, learn the difference in fabrics and avoid potential mistakes. Moreover, it is beneficial to practice on large swatches of fabric before attempting a repair on a favorite garment. By practicing, you will improve your skill level and develop an understanding for different types of fabrics and threads.
Tools for Darning
In order to become successful in darning, you will need to gather specific tools. Any sewman should have won needle and thread, a cloth marker, scissors, tape measure, tracing paper and a set of needles. All of these tools are simple and are available in any fabric store. Moreover, if you are planning to work with thicker fabrics, it might be convenient to acquire thimbles and a needle threader.
Ways to Avoid Unnecessary Repairs
It is always smart to take preventive measures in order to avoid potential repairs. That’s why it is important to use proper washing and drying techniques. All delicates should be washed by hands, or in a machine with cold water and a gentle cycle. For the drying step, hang dry whenever possible and use a relatively low heat iron. Additionally, always pre-shrink the fabric before you begin to sew.
Saving Garments with Darning
Not all garment damage is permanent. You can easily extend the life of your clothing with a few simple steps. Darning can help you save money by avoiding repeat trips to the store. With the right supplies, you can completely refurbish a garment and make it look like new. This can also be a way to repurpose old clothing and get more use out of something you don’t wear anymore.
Solutions for Complex Darning Jobs
Complex repair jobs may require more advanced techniques, such as patching, underlays, miscellaneous stitches and patches. With intricate repair jobs, it is important to determine the origin of the damage, as it can be difficult to accurately duplicate the patterns and fabrics. In cases when a fabric has a unique pattern or design, use an exact tracing of the garment piece to get better results.
Maintaining a Sewing Machine
Learning how to use your sewing machine is just the first step. For the best results, you also need to maintain your machine on a regular basis. It is important to keep it clean and lubricated, as this will help it to run smoother and last longer. It is also important to use the right needle and thread for the job, as a bigger needle can damage the fabric, or even your machine.
Handling Embroidery with a Sewing Machine
Nowadays, many sewing machines are capable of embroidery as well. If you decide to use that feature for darning, you should ensure you understand the basics of embroidery. Learn about the basic stitches and the threads available, as some fabrics are best suited for certain types of threads. Additionally, make sure you have an exact tracing of the fabric, as this will help you get better results with the embroidery.


