When it comes to mending, darning is one of the most essential yet overlooked skills. But with the right tools and a few helpful instructions, anyone can darn a sock with a sewing machine with ease. Learning to do so will not only allow you to repair your favorite socks with speed and accuracy, but it will also save you money on needle and thread.
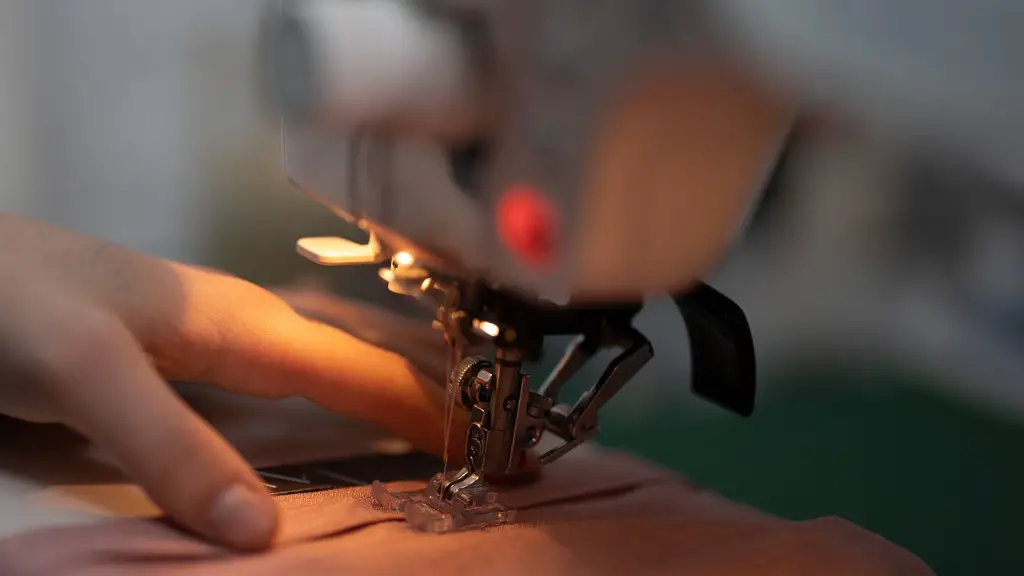
The basic steps for darning a sock on a sewing machine are simple. First, ensure that the sock has been thoroughly washed and dried. For best results, use nylon thread, which is extra strong and resistant to wear and tear. Place the sock on the sewing machine and set the stitch length to 3-4mm.
When it comes to threading, the key is to get the thread as taut as possible. Ensure the thread is pulled firmly but not so tight that it breaks. Once the thread is secure, use the walking stitch and backstitch settings to create a secure, even patch over the area that needs mending.
It’s important to focus on getting even stitches on the patch. Professional darning should be both attractive and durable. Moving the needle up and down the patch will help to create an even patch. Be sure to leave several millimeters between each stitch to prevent ripping.
Working with delicate fabrics can be tricky. If the stitches are too tight, it can cause the fabric to fray or tear. Going too slowly will result in stitches that are too loose and won’t be as strong. If possible, practice on scrap fabric before attempting to fix a sock.
It’s also important to choose the right needle. When darning socks, look for a needle that is thick enough for the sock fabric. Thinner needles will be harder to work with, and may break more easily. It is also helpful to use a machine oil to lubricate the needle and prevent it from breaking.
Once the area is patched, it’s time to finish up. Secure the thread by tying off the end with a double knot. Be sure to cut off the excess thread and use a steam iron to press the patch into place. If the fabric is too delicate for a steam iron, then wrap over the sock in an area larger than the patch. Press down with a warm iron for best results.
Sock Darning Tools and Supplies
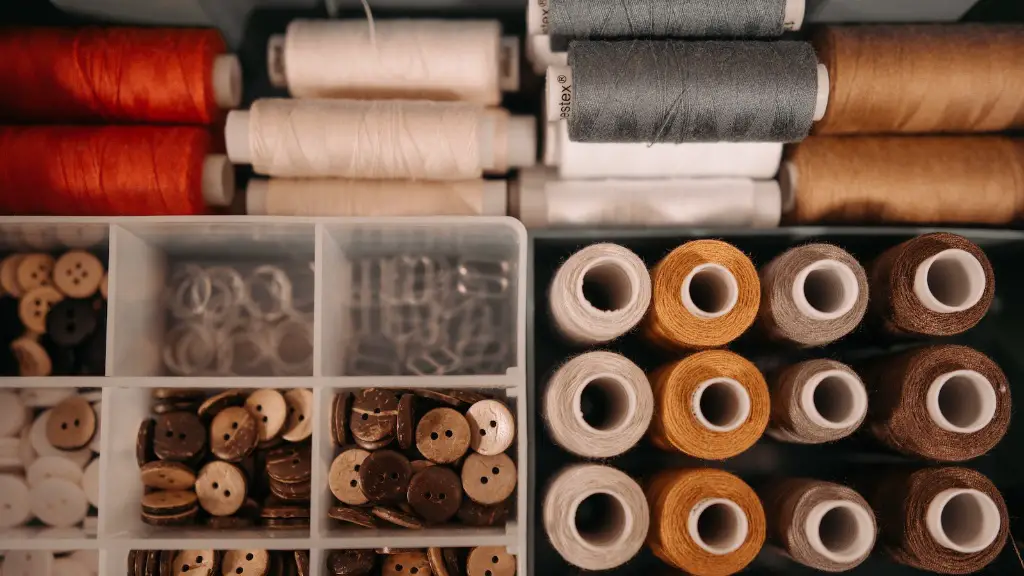
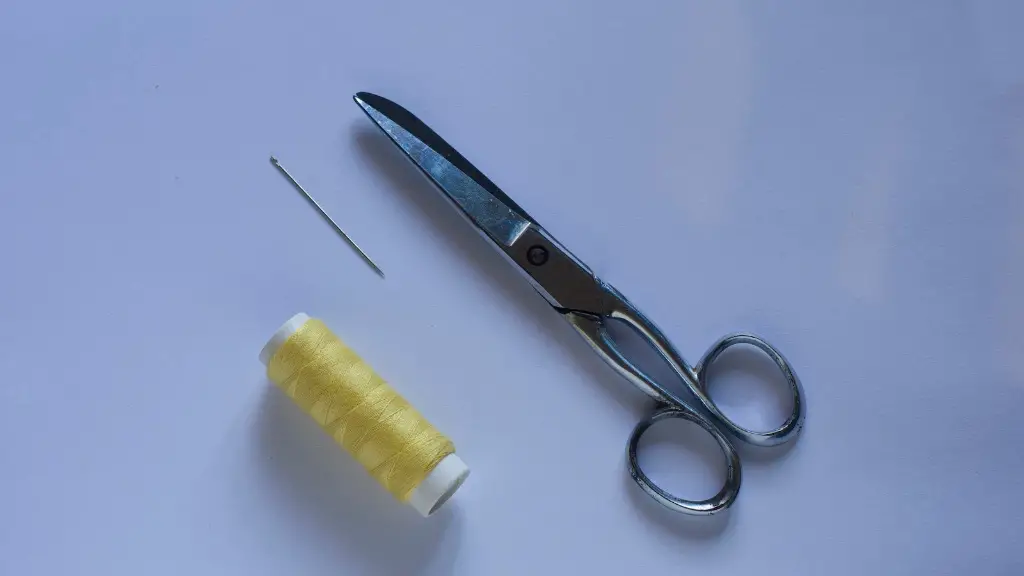
Having the right darning tools and supplies on hand can make all the difference. Some of the basics include scissors, thread, needles, awls, thimbles, measuring tapes and a ruler. A ready-to-use sock darning kit is also an excellent investment; it will provide all the essential tools, so you don’t have to track them down yourself.
It may also be useful to invest in a specialized darning foot for your machine. Such an attachment will make it easier to maneuver the sock over the needle, allowing for precise stitch positioning. Some machines may not be compatible with a darning foot, so check the manual before purchasing.
Finally, invest in a quality darning board or mat. This will keep the sock taut during mending, preventing problems such as gaping. While the best way to darning a sock is on a sewing machine, hand darning with a darning board is another option.
Darning a Heel
Darning a heel may present a unique challenge, as the sock is likely to be more prune in this area. However, it is possible to do this without too much difficulty. To begin, measure the length of thread needed to cover the hole, then cut the thread and thread it through the machine needle. Once the thread is secure, move the sock to the right or left, depending on the type of machine and needle used.
Next, use the walking stitch and backstitch settings to begin sewing the patch. Be sure to spend extra time on this step, ensuring even, taut stitches and focusing on the edges of the patch. Repeat this until the patch is sufficiently covered and secure.
To secure the heel of the sock, weave several reinforcing stitches, or use a binding or strengthening stitch. Once the area is secure, securely tie off the thread at the bottom of the patch. Cut off the excess thread and use an iron to press the area.
Tips for Successful Darning
Working with a sewing machine can be an intimidating task, so it’s important to keep a few tips in mind. First and foremost, take your time and be patient. Don’t rush and don’t get frustrated. When it comes to stitching, focus on quality rather than speed. The more even and secure the stitches are, the better the patch will be.
Unless the machine is a top-of-the-line model, it’s best to avoid tricky tasks like weaving or satin stitching. And when working with delicate fabrics, don’t skimp on the supplies. Be sure to use a quality thread, needle and fabric to increase the longevity of the patch.
When starting a new project, practice on scrap material first. Without experience, some fabrics can be daunting. And if the machine starts to resist or jam, don’t be afraid to back up and troubleshoot. As every machine is different, minor adjustments may be necessary to ensure success.
Shortening Socks
Shortening a sock is sometimes necessary due to improper sock sizing, shrinkage or damage from wear and tear. Shortening a sock is a relatively easy process, but it can be time consuming. To avoid any miscalculations, it’s best to map out the desired size with tailor’s chalk.
Begin by turning the sock inside out, so that the stitching is exposed. Measure the area that needs to be removed and mark it with the tailor’s chalk. If the sock has a pattern or design, it is best to cut the fabric along the pattern lines. Once the area is marked, use the scissors to carefully cut away the excess fabric.
Turn the sock right-side out and test it for size. If needed, make additional cuts to achieve the desired length. Once satisfied with the size, it’s time to mend. Start by Ironing the area to prevent fraying. Then, use the sewing machine and nylon thread to mend the cut, using the walking stitch and backstitch to create a secure patch.
Conclusion
Darning socks with a sewing machine is a great way to repair damaged or worn socks without having to buy new ones. With the right supplies and a few helpful tips, anyone can master the art of darning socks. Understanding the basics of sock darning and knowing how to patch a heel or shorten a sock will extend the life of your favorite socks and save money in the process.
