Creating the Right tension throughout work
A back stitch is one of the most popular techniques used by sewers when working on large projects. It is considered a great way to join several different pieces of fabric or leather together, as it is strong and secure. The stitch is also clean and almost invisible on the right side of the material – making it a great choice for those wishing to create a neat and professional finish. Learning how to do a back stitch can be a daunting challenge for those who are new to sewing – but with a little practice, it can become a useful and efficient tool.
When doing a back stitch on a sewing machine, it is important to keep the tension throughout the work consistent. If the tension is too high, there could be an uneven stitching, stretching of your seam or even the possibility of creating a seam that comes undone easily. Likewise, if the tension is too low, poor stitching could occur. To maintain the right tension, continually check the tension dial as you sew in order to maintain a steady yet gentle tension.
The Correct Threads & Needles
Using the right type of thread and needles is crucial when doing a back stitch. Generally, cotton thread is preferred, as it is strong and maintains its shape in higher temperatures and when exposed to light. Needles should be strong and sharp – the larger they are, the stronger the stitch. Usually, smaller needles are used for finer fabrics, and larger needles are used for materials such as leather or even heavy-duty fabrics such as tweed. When in doubt, consult your sewing machine manual, and read the instructions for the specific fabric you are working on, as this will help determine the correct size of needle and thread for the project.
Machine settings
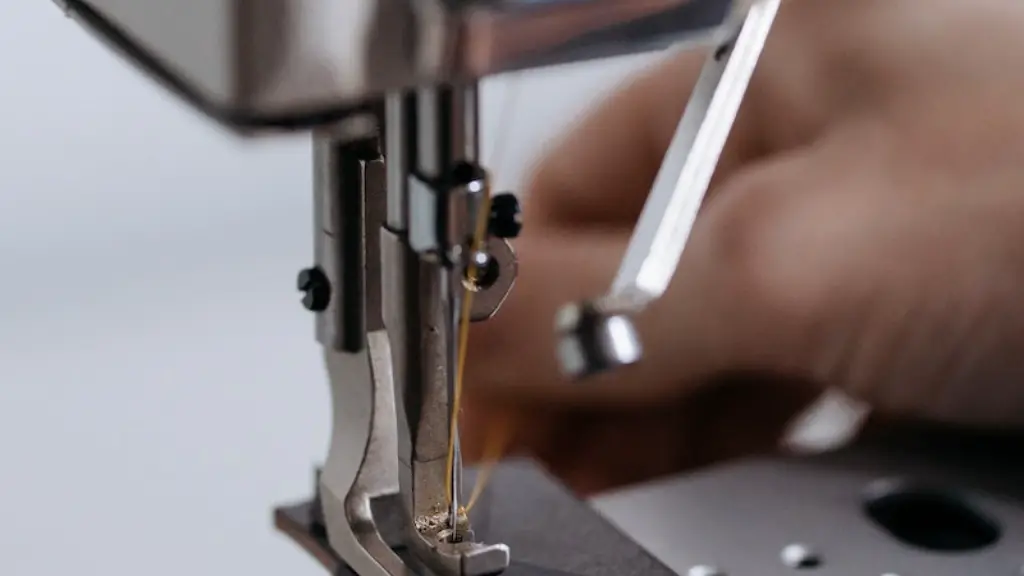
When doing a back stitch, it is important to set the machine correctly to provide the best stitch – and to ensure that the stitch does not tangle. Firstly, it is crucial that the feed dog is set to the lowest level, as this will allow you to pull the fabric backwards as you stitch – and will also prevent the fabric from being pulled out of position or biased. Secondly, adjust the stitch length to a shorter setting – shorter stitches create a stronger stitch, and will ensure that the seam it secure. Finally, ensure that the machine is set to a slightly slower speed, as the finer stitches tend to break more easily.
Learning the Basics
Learning how to do a back stitch is relatively straightforward. Firstly, thread the machine and put the material under the pressure foot. Secondly, secure the thread with a couple of stitches, and keep the first stitch loose – this will avoid the material from being pulled out of shape. Next, secure the material in front of the presser foot, then slowly pull the fabric back as you guide it with your left hand. Finally, continue to pull back the fabric as you sew, ensuring that the stitches are even and not too tight – this will help create an even and professional look.
Stitch Types
When doing a back stitch, the most common stitch type is a straight stitch – this is generally the go-to when stitches need to be strong and secure. Other stitch types can also be used however, depending on the project. One popular choice is the zigzag stitch – this helps to strengthen the fabric, reducing the risk that the seam will come undone and adding a decorative effect. Alternatively, a blanket stitch can also be used, as this gives the seam a neat and finished edge.
Checking&Finishing
After completing the back stitch, it is important to check that the seam is secure. To do this, gently tug on the ends of the stitch to ensure that it does not come undone. If the seam is still not secure enough, it may be necessary to add an additional row of stitching – this helps to heighten the strength of the stitch and guarantee that it does not come undone.
Once the back stitch has been checked and adjusted as necessary, finish it with a couple of extra stitches, the knot off the thread, and cut any excess fabric with a pair of scissors. This will give the fabric a professional and finished look.
Finishing Techniques
To help further strengthen the back stitch, it is important to use finishing techniques. A great way to do this is to take a cotton yarn or embroidery floss, and knot it around the seam. This will help to add stability to the stitch, while also adding a nice decorative effect. Another technique is to use a basting technique – this is often used on heavier materials, and involves loosening the stitches slightly and inserting a thread or yarn along side the seam, and then re-tightening the stitches.
Presssing & Laundering
After the back stitch is completed, it is important to press and launder the fabric accordingly. Firstly, press the material carefully, without adding excessive pressure. This will help set the stitch and help to prevent it from coming undone. Secondly, follow the fabric’s laundering instructions, as this will help to maintain the stitch and ensure that it remains strong.
Faulty Seams
If the back stitch is done incorrectly, it can lead to a weak and faulty seam. This can be caused by incorrect tension or incorrect thread and needle size, so it is important to double-check these elements before attempting the stitch. It can also be caused by faulty stitching – so it is important to regularly check the quality of the stitch as you go. If a seam does become weak, it is important to re-stitch the area in order to maintain a strong and sturdy seam.
Differentiating Stitch Types
It is important to be able to differentiate between the different types of stitches – particularly when different fabrics and materials are being used. Back stitches, lock stitches and chain stitches all have their own unique features and benefits, so it is important to understand the differences. For instance, a back stitch is generally used for thicker materials and offers strength and durability, while a chain stitch is preferred for lighter materials and offers a bit more flexibility. Knowing the right stitch to use can make a big difference in the quality of the stitch – so it is important to research each stitch before attempting to work with it.
Troubleshooting
When working with a back stitch, it is important to be aware of any problems that may arise – as this can help to avoid damage to the material or a faulty stitch.
Firstly, ensure that the thread is wound correctly – ensure that it is not twisted or tangled, as this can cause problems when stitching. Secondly, regularly check on the tension, as this is crucial in avoiding a faulty seam. Finally, use the correct needle size for the material at hand – too small a needle may cause the thread to break, and too big may cause the material to pucker.
Using Straight and Zigzag Stitches Together
When working with a back stitch, it is important to know when to use a straight stitch and when to use a zigzag stitch. Generally, straight stitches are used for larger fabrics, as these are stronger and offer more stability. Zigzag stitches, on the other hand, are used to create a decorative effect – they are used to create curves and patterned fabrics. When stitching on large fabrics, it is a good idea to use a combination of straight and zigzag stitches, as this will create a neat, professional finish.
Tips to keep in Mind
When working on a back stitch, there are a few key tips to keep in mind. Firstly, keep the seam allowance consistent throughout the project – ensure that the stitch is not too tight, as this can affect the overall look and feel of the fabric. Secondly, complete a couple of practise stitches on scrap fabric before attempting the stitch on the main project – this will help to ensure that the speed and tension are correct, and will also give the sewers an indication of what the final stitch will look like. Finally, always check the integrity of the seam after completion – give the thread a gentle tug to ensure that the stitch does not come undone.


