Doing a backstitch with a sewing machine correctly can be quite tricky. But thankfully, it is easy to learn and master with a few useful tips, some practice and a bit of patience. Backstitching provides both stability to a seam and ensures that it doesn’t come undone. Sewists (sewing enthusiasts) can use backstitching in a variety of applications, from closing pouches, mending, or simply reinforcing the seams.
Backstitching is made of a repeating sequence of small running stitches, with a backstitch after 1-2 stitches. It is relatively easy to recognize as it looks a lot like a dashed line. To effectively do a backstitch with a sewing machine, there are few steps to consider first.
Threading the Sewing Machine
Firstly, ensure that the sewing machine is filled with the correct thread. Match the upper thread to the thread spool and make sure the colors match. The lower thread should match the bobbin thread. Then, push the bobbin thread up and through the top section of the sewing machine.
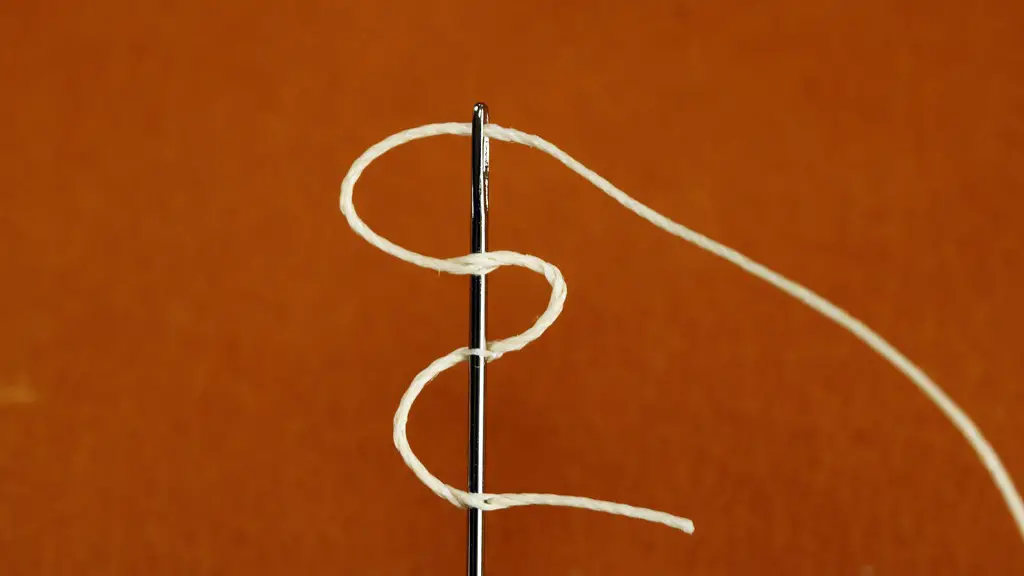
Having wound the bobbin in the opposite direction, attach the bobbin securely to the machine base. Lastly, push the upper thread through the top thread guide and through the slot located in the sewing machine needle.
Sewing the Backstitch
Once these steps are completed, the backstitching can begin. To begin the backstitch, move the fabric beneath the needle until the needle is in the desired start position. This position should generally be 1/8th of an inch in from the raw edge of the fabric. Once in position, lower the needle into the fabric, followed by pressing the foot pedal.
As the machine begins to stitch, press down the reverse lever to sew the backstitch. Release the press when the desired length is reached. Place the reverse lever back in the left position and lower the needle. Then, press the foot pedal again and re-engage it to sew the actual stitch. Sewing backwards and forwards is key to the backstitch technique.
Repeating the Sequence
At this point, the backstitch – a single running stitch followed by a backstitch – should now be visible. Change the direction of the pivot when necessary and repeat the sequence until desired length is reached. To ensure consistency, some sewists find that holding the thread in the right hand as they sew helps to keep it taut as the stitches are being created.
Finally, when the desired length has been reached, press the reverse lever back to the left position. Sew one more stitch in the forward direction. Remove the fabric from the sewing machine when finished and cut the thread.
Joining Seams
Backstitching is regularly used to join two separate seams together. As the stitches are done in reverse, the two seams are securely joined and reinforced. When joining two separate seams, cut off the excess fabric that lies beneath the needle after the backstitch is formed before moving on.
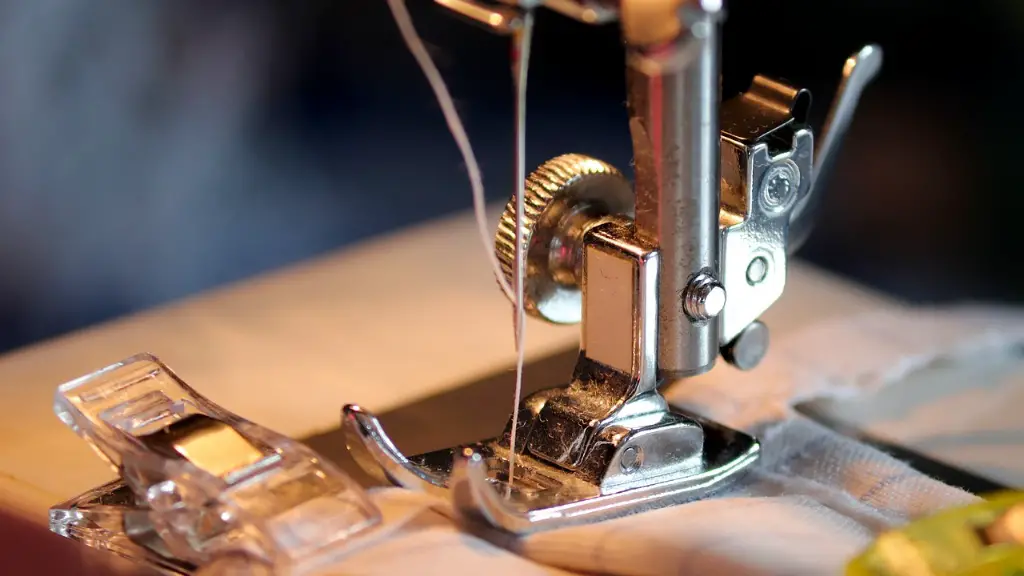
In order to make sure that the stitching is even and to avoid any mishaps, sewists should also check to make sure the two fabrics are not caught in the stitch. Hold the fabric securely with both hands, and ensure the presser foot is not gripping along with the needle. Knowing this can help to protect the fabric from getting frayed or pulled while the backstitch is being sewn.
Make the Backstitch Work For You
Backstitching is a great way to emphasize a seam or to strengthen a line that is particularly important. It is also commonly used to close up seams when working with stretch fabrics. For this type of project, stitching as close to the edge of the fabric as possible is recommended. This helps to keep the fabric from fraying, as well as avoiding it stretching out over time.
Backstitching is incredibly useful and can come in handy for a number of different projects. When used correctly, it can make a huge difference in the overall quality and durability of the finished product. With a bit of practice and patience, even beginner sewists can learn how to backstitch and reap the benefits of creating professional-looking


