If you’re sewing on a home sewing machine, chances are you’ve come across the satin stitch. Often used for decorative purposes or for hemming on thin, lightweight fabrics, the satin stitch can be the key element to finishing garments with a polished look. The satin stitch is a type of automatic stitch that’s done with a sewing machine, and it is a great way to add a border and texture to an item.
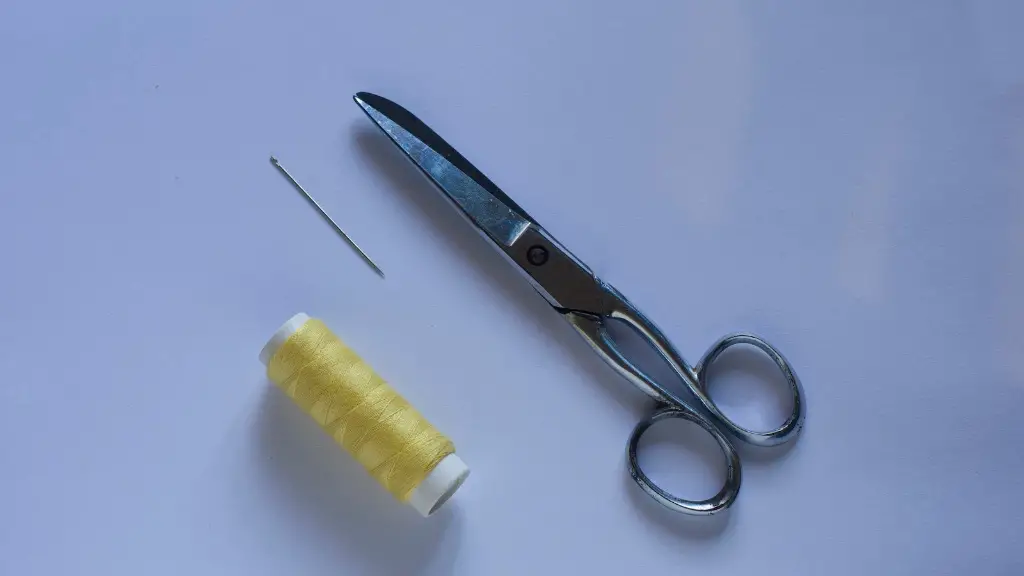
To begin, you’ll need a few essential materials. A sewing machine, threads to match your fabric, a sharp, new needle, an iron, and a pair of scissors. Choose the right size needle for your fabric as you’ll want the stitches to be as even as possible. Make sure to use a new needle every time so you can get the best results from your sewing machine.
When it comes to choosing the threads for the satin stitch, there are a variety of options. For a lightweight fabric, you can opt for a cotton thread. A heavier weight fabric usually requires a heavier weight thread such as polyester. For a faux leather, try stablemate thread or even metallic thread. Remember to always choose threads that will match your fabric so you can get the desired effect.
Before you start stitching, it is important to press the fabric first. This will ensure that any wrinklesor other imperfections that may be present in the fabric are not visible in the finished product. After pressing the fabric, fold it over so that the edges are lined up, with the two edges overlapping each other by about 1/4 inch. This fold will form the satin edge.
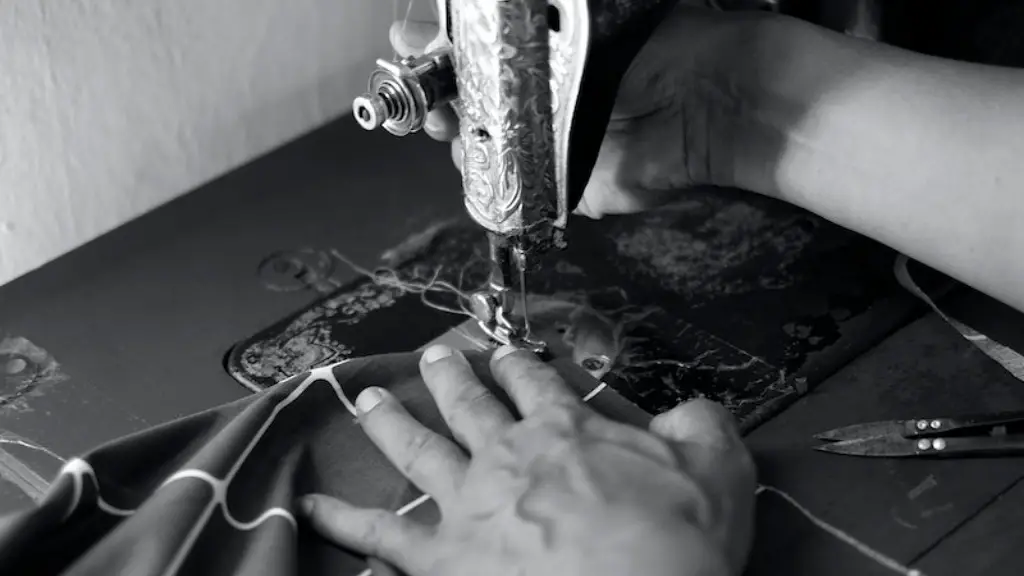
Now it’s time to begin stitching. Set your sewing machine to a satin or zigzag stitch. Length and width settings will vary depending on the material and look you are going for, so it is important to experiment with these settings until you find the perfect combination. Start by stitching along the edge of the fabric, keeping a consistent stitch length and width. Make sure to backstitch at both ends of the seam to secure the stitches in place. As you continue stitching, you can use an iron to get it to lay flat.
Finally, you can use scissors to trim the thread edges. This will help keep the threads tidy and neat, and the satin stitch will be complete!
Top Tips To Perfect Your Satin Stitch
The satin stitch can be tricky to master, so here are some tips to keep in mind to help you get the perfect finish every time:
- Choose the right size needle for the fabric you’re working with to get the best results.
- Make sure to use matching thread for the fabric.
- Press the fabric before you start stitching to get rid of any wrinkles.
- Choose the right stitch width and length for the material.
- Be sure to backstitch at both ends of the seam for better hold and durability.
Adjusting Your Machine Settings
When stitching a satin stitch, the stitch width and length are very important. If the stitch is too narrow, it will not provide enough coverage to keep the fabric together. If the stitch is too wide, the fabric may still be able to move and shift apart. The right width and length can make all the difference!
For most sewers, the ideal width and length settings for the satin stitch should be between 3.0-4.0 mm length and 0.8-1.0 mm width. Experiment with these numbers to find the perfect combination. You can also vary the stitch length and width to achieve different looks and textures.
Troubleshooting Tips
The satin stitch can be tricky to get right the first time, so here are some common problems you may encounter and what to do about them:
- Stitches bunching up or skipping. This is usually an indication that the wrong needle size is being used. Change to the correct size needle and make sure to use a new one each time.
- Thread tangling. Make sure to use matching thread for the fabric to prevent this from happening. Loosen or tighten the thread tension if needed.
- Thread breakages. Use a heavier weight thread to prevent breakage, and make sure to keep tension on the thread while stitching to prevent any slipping.
- Uneven stitches. Make sure the fabric is pressed before starting, and adjust the stitch length and width until it is even.
Stitch Variations
Once you’ve mastered the satin stitch, you can try different variations to create different looks. For a more subtle and toned-down look, try reducing the stitch width or length. You can also increase the width and length for a bolder look. You can even experiment with different thread colors to create a unique effect.
How To Sew A Satin Stitch On A Garment
The satin stitch is usually used on lighter garments such as dresses and blouses. To sew a satin stitch on a garment, first make sure the fabric is pressed and the edges are lined up. Then, choose the right size needle, thread, and stitch length and width to match the fabric and end result desired. Start stitching and make sure to backstitch at both ends to secure the seams. For a neater stitch, you can use a zipper foot or satin stitch foot attachment. Finally, inspect your finished piece and trim any excess threads.


