Sewing can be very fun, rewarding and challenging. It allows you to make items for yourself or for your loved ones, but to create a truly professional look, you need to know how to do a top stitch on a sewing machine. To do this, you will need a few simple supplies and some patience. This guide will cover the basics of how to do a top stitch on a sewing machine.
Preparing to Top-Stitch
Before beginning any stitching project, it is important to take a few steps to ensure that the top-stitching process goes smoothly. The first step is to select the proper thread. Your thread should be thin enough to smoothly move through the fabric and should match the color of the item you are stitching. Additionally, make sure that you have a needle that is suitable for the fabric that you are working with. If you are stitching a thick material, you may need to use a special top stitch needle that is thicker and heavier than a regular sewing needle.
Choosing the Stitch
When top-stitching, the most important decision you will make is which stitch to use. Different types of stitches can be used for different purposes. For instance, a zig zag stitch can be used to join two pieces of fabric together. Meanwhile, a straight stitch is best for top-stitching, as it is an easy stitch to create and produces a neat, finished look. Additionally, it is important to select the stitch length appropriate for the fabric.
Creating the Top-Stitch
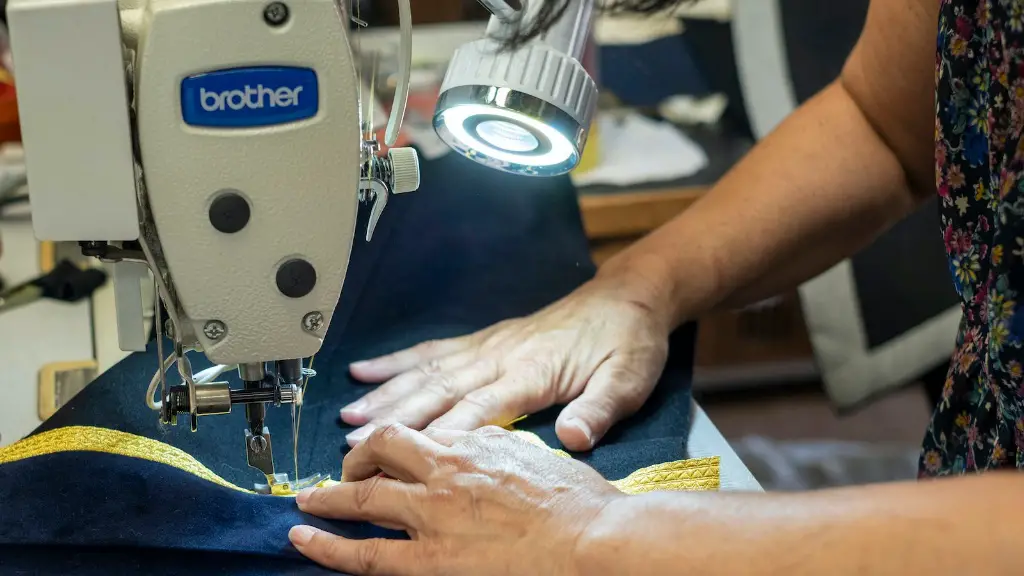
Once you have selected the appropriate thread and stitch type, it is time to sew! To top-stitch, start by setting the needle and feed dog for the desired stitch length. Make sure not to set the stitch length too high or too low, as this can result in uneven stitching. To begin the stitch, draw up the bobbin thread and start stitching along the edge of the fabric. As you sew, make sure to use even pressure and keep the threads taut. Try to keep your stitches straight, as a slanted stitch will be noticeable once the top-stitching is complete.
Top-Stitching Tips and Tricks
For the most professional look, it is important to take your time when top-stitching and practice until your stitches are even and neat. One trick to ensure even top-stitching is to use a ruler as a guide. Simply place the ruler along the edge of the fabric and press the ruler firmly with your left hand as you sew. This will provide a consistent guide for the stitch length and keep your stitches straight.
Finishing the Top-Stitch
Once the stitching is complete, you should tie off the ends. To do this, first sew two to three reverse stitches to form a secure knot. Pull the threads so that the knot is tight and then cut them close to the fabric. To secure the threads even further, rub a piece of waxed thread over the stitch line. This will keep them from unraveling and will give the fabric a neater appearance.
Maintenance
After top-stitching your project, it is important to take the time to properly care for and maintain your sewing machine. Before beginning any sewing project, you should always check that the needle is correctly positioned, the thread is wound properly, and the settings are correct. Additionally, it is important to regularly oil and clean the machine, especially after extended periods of use.
Design Tips
Top-stitching can be used to create beautiful, decorative accents and patterns. To add a decorative touch to your top-stitching, try using a contrasting thread color. You can also use the stitch length to vary the size and style of the stitch. Additionally, try incorporating different stitches, such as the zig zag or scallop stitch, to create a truly unique design.
Types of Top-Stitching
Top-stitching can be used for a variety of tasks and projects. It can be used to edge a fabric or to join two pieces of fabric together. It can also be used to reinforce seams and hems, as well as to create decorative accents. Additionally, it is a great way to repair holes, thin spots, and fabric tears.
Conclusion
Learning how to do a top stitch on a sewing machine is a great way to take your sewing skills to the next level. Once you have mastered the basics of top-stitching, you can begin to experiment with different stitches and colors to create beautiful, decorative accents and patterns. With a bit of patience and practice, you can create professional-looking garments and fabrics that you can be proud of.


