Understanding the Overcast Stitch
The overcast stitch is an essential skill for sewers and weavers alike. It’s most used for finishing the edge of a piece of fabric, like blankets or other thick fabric. It can prevent the fabric from fraying and gives the piece a nice, neat edge. It’s also important for stitch-in-the-ditch sewing, where it’s used to make sure the seam allowance is securely stitched in place. Sewers who use the machine to make heavy-duty seams will often use an overcast stitch with a heavier thread to make sure the fabric is reinforced and won’t pull apart.
The stitch itself is a series of chain stitching that’s used to secure the edge of the fabric. It can be done with a regular machines stitching, but the more advanced machines have the ability to make this stitch automatically. This makes it much easier to make neat and even stitches, especially when working with thicker fabric. The overcast stitch is also used to join two pieces of fabric together with an even and tight seam.
Preparing to Use the Overcast Stitch
Before beginning, you should be sure to thread your machine correctly. It’s important to use the correct needle for the job. For light- to medium-weight fabric, you’ll want to use a universal needle. For heavier fabrics, like denim or upholstery fabric, you’ll need a denim or leather needle. Once you’ve threaded the machine correctly, you will want to set the correct tension. You should use a higher tension for heavier fabrics and a lower tension for lighter fabrics.
Next, you’ll want to set the right stitch length and width i.e. the overcast stitch. Most machines will have this stitch already programmed into their settings, and you should refer to your machine’s manual to determine which setting it is. Once you’ve set the stitch length and width, you can begin stitching. The length and width of the stitch will affect the finished result, so be sure to set it correctly.
Using the Overcast Stitch
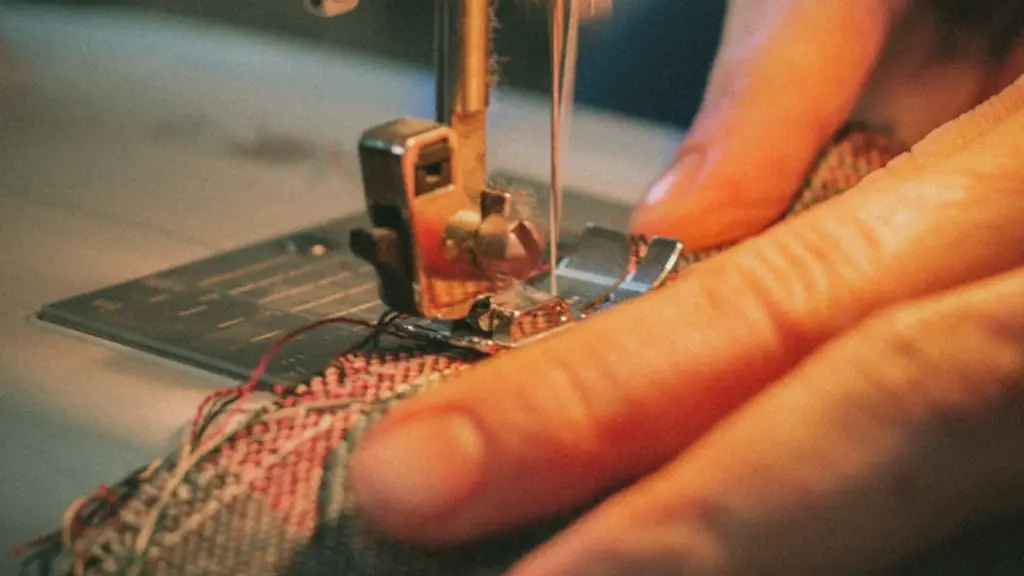
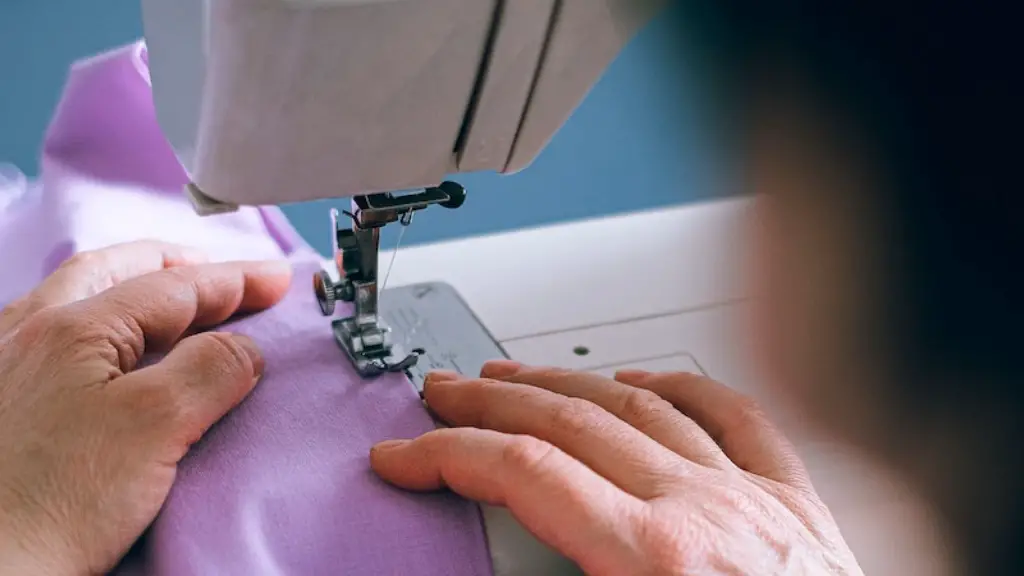
Now you’re ready to begin stitching! Start by stitching along the edge of the fabric, using a moderately tight tension. As you stitch, you’ll want to keep an even tension on the fabric. Gently guide the fabric through the machine and keep an eye on the stitches to make sure they’re consistent. Once you’ve reached the end of the fabric, backstitch a few stitches to secure the seam.
If you’re joining two pieces of fabric together, you’ll want to make sure that the edges are even before stitching. You can do this by pinning the two pieces together and then stitching along the seam allowance. This will ensure that the seam is even and that the two pieces stay together. When stitching along the seam allowance, use a smaller stitch length and width to make sure the stitches are extra secure.
Finishing the Overcast Stitch
Once you’ve finished stitching, you can trim the excess threads with a pair of scissors. This will give the piece a nice, finished look. The trimmed threads can also be tucked under the seam allowance if desired. When finished, press the seam to give it a nice, crisp finish and to make sure the stitches lay flat.
The overcast stitch is a useful skill for sewers and weavers alike. It’s important for finishing off raw edges and joining two pieces of fabric together. With the right machine, thread and tension, you can make sure that the fabric is securely held together and looks neat and professional.
What Else Can the Overcast Stitch Be Used For?
The overcast stitch is also an important part of quilt-making. It’s used to make strong, even stitches that will ensure that the quilt stays in place. The overcast stitch can also be used to finish off edges of appliques and decorative accents on garments. It can also be used to reinforce a seam, particularly when the seam may be subject to a lot of stress, like a waistband.
The overcast stitch is also useful for bag and purse making, where it can be used to reinforce the seams for extra durability. It can also be used to secure pockets and straps in place. The stitch can also be used to join layers of fabric together, such as for making a bag with a lining.
Choosing the Right Overcast Stitch
When choosing the overcast stitch, it’s important to consider the weight of the fabric and the stitches density. For most fabrics, the standard settings should be fine, but for heavier fabrics it may need to be adjusted to a longer stitch — the best way to determine this is to test it on a scrap of the same fabric. You should also use the same color thread as the fabric — this will help to make the stitches blend in with the fabric and make it less noticeable.
If you’re using the overcast stitch on thicker fabrics, like denim, you should use a thick thread and a higher tension. This will help make sure the stitches are extra secure and durable. When using the overcast stitch on a lighter fabric, you can use a thicker thread for a decorative look.
Homemade vs. Machine-Made Overcast Stitch
One key difference between homemade and machine-made overcast stitches is that machine-made stitches are often much neater and more even. Machines are able to make consistent and even stitches, and the settings can be adjusted for different fabrics, as mentioned above. This makes it much easier to make neat, even, and professional-looking pieces.
On the other hand, homemade stitches tend to be less even and can be tricky to learn. It can take a lot of practice to be able to make even, consistent stitches, and this can result in some unevenness in the finished piece. That said, homemade stitches can be unique and can often add a more rustic aesthetic.
Incorporating the Overcast Stitch into a Larger Project
Once you’ve mastered the overcast stitch, you can use it in a variety of ways. It’s an important part of many projects and can make the difference between a piece that looks professional and a piece that looks homemade. As mentioned earlier, it can be used for joining two pieces of fabric together and for reinforcing seams. It can also be used to finish the edge of a piece of fabric or to add decorative touches.
Once you understand the basics of the overcast stitch, you can start to experiment with different settings and thread choices. You’ll also want to practice on different fabrics and different weights to get a feel for how the stitches look. With time and practice, you’ll be able to create beautiful, professional-looking pieces with the help of the overcast stitch.
Advantages of Using an Overcast Stitch
The overcast stitch is a popular way to finish seams and edges. It prevents fabric from fraying and reinforces seams and edges to make sure the fabric doesn’t pull apart. It also makes for a much neater look, especially when done on heavier fabrics. The stitch is also quite versatile, as it can be used on a variety of different fabrics and weights. In addition, the overcast stitch can be used on both homemade and machine-made pieces, giving you the flexibility to choose the method that suits you best.
Using an overcast stitch is a great way to ensure that fabric edges and seams stay in place and look neat. It may take some practice to perfect the stitch, but once you understand the basics, it can easily become a part of your sewing repertoire.
Tips for Working with the Overcast Stitch
Working with an overcast stitch can be quite tricky, so it’s important to consider a few tips. Firstly, be sure to thread your machine correctly. It’s important to use the correct needle and thread for a specific fabric as this will affect the finished product. It’s also important to set the correct tension and stitch length and width for the specific fabric — this will make a huge difference in the finished result. Also, when stitching long seams, be sure to start in the middle and then work your way out towards the edges. This will ensure that the edges are even.
Finally, when joining two pieces of fabric together, make sure the edges are even, that the fabric is flat, and that the seam allowance is correct. These will all affect the finished result and make sure that the pieces stay securely joined.
