Doing a blind hem stitch may seem like a daunting task, but the truth is, it is actually one of the easiest stitches in sewing. It is an easy way to create a neat and nearly invisible hem, and you can do it with any type of fabric. And, if you have a sewing machine, it can be done quickly and easily. Here are the steps you need to complete in order to do a perfect blind hem stitch every time.
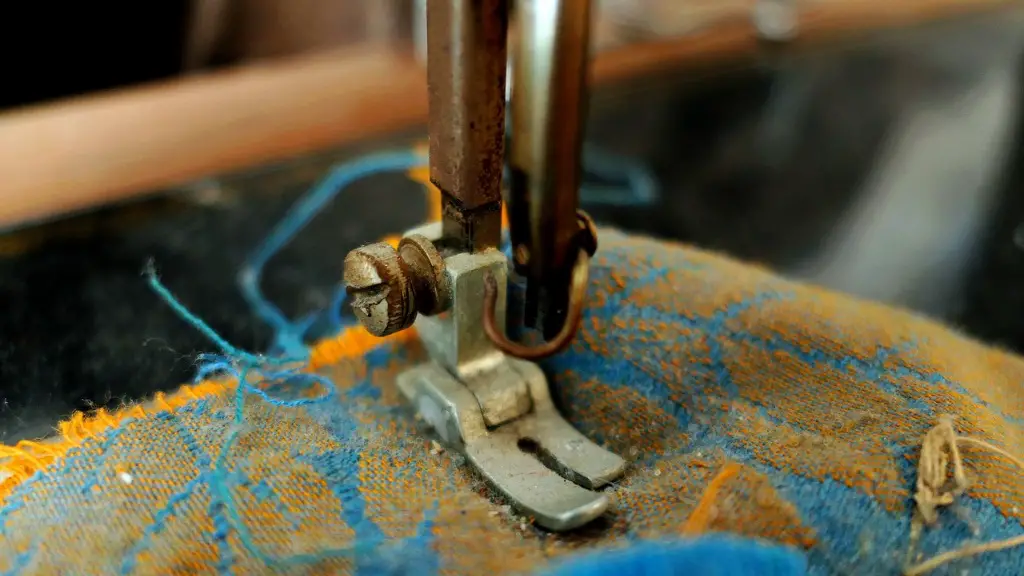
The most important thing to remember before starting a blind hem stitch is that you must use the correct hem foot. A hem foot is designed with a guide to help you keep a consistent hem width. The hem foot also has tiny teeth that act as a guide for the blind stitch. Once you have your hem foot in place, you’re ready to start sewing.
The next step is to mark your fabric. To ensure that your hem is perfectly lined up, use chalk or a disappearing ink pen to draw a line 1/4 inch from the raw edge. This will give you an accurate hem allowance and a nice, even result. Another thing to keep in mind when marking your fabric is to make sure you’re marking both sides of the fabric evenly. This way, when you start sewing, both sides of the hem will look the same.
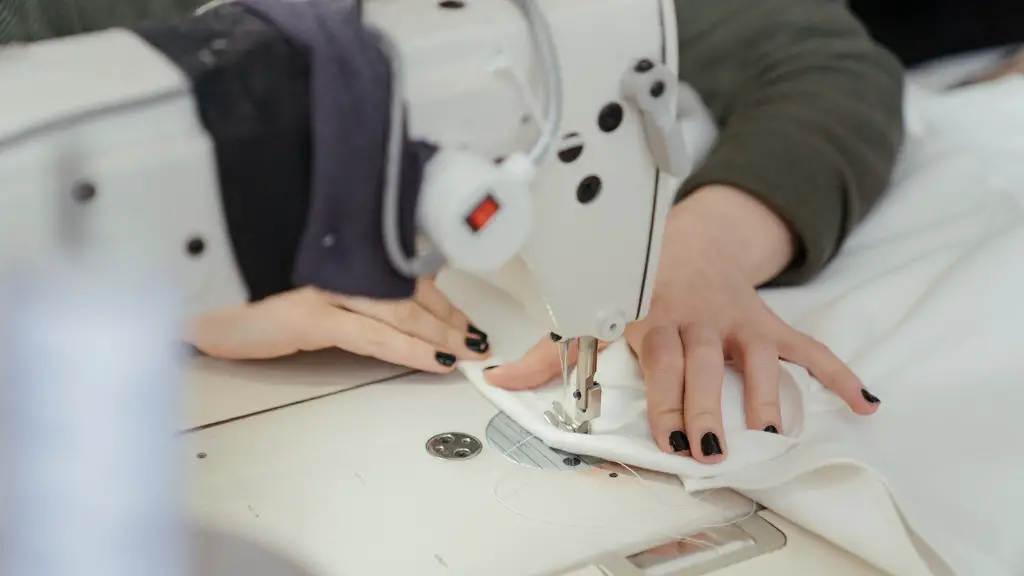
Once you’ve marked your fabric, it’s time to set up your sewing machine. You will need to set the stitch type to a zigzag stitch and adjust the stitch length very small (usually around 2.5 mm). You will also need to make sure that the stitch width is slightly wider than the finished hem so that it will catch the underside of the fabric. Once you’ve adjusted the stitch type and length, you’re ready to sew!
Start sewing with the wrong side of the fabric facing up. Begin by placing the fabric with the marked hem allowance pointed towards the hem foot and lower the presser foot. Then, stitch along the marked line until you reach the end of your fabric. Once you’ve finished, you’ll need to fold the fabric up so that the marked line meets the raw edge. Be sure to iron the folded fabric before sewing to make sure it stays in place as you sew.
Now that the fabric is folded, it’s time to create the blind hem. To do this, you’ll need to adjust the stitch width so that the needle only catches a few threads on the underside of the fabric. As you sew, the needle should catch a few threads on the wrong side and the rest of the stitching should remain on the right side. As you sew, be careful not to stitch too far away from the edge of the hem. Doing so will create a visible line of stitches and make the hem look sloppy.
Once you’ve reached the end of your fabric, you can secure the stitching by taking a few small stitches at the beginning of your seam. This will ensure that your stitches don’t come undone. After this, use a seam ripper to carefully remove any extra thread that’s visible on the right side of the fabric. Now all that’s left to do is press the hem with an iron to give it a professional finish.
Types of Fabrics
Blind hem stitch is a versatile stitch, and can be used on a variety of fabrics. It works best on lightweight fabrics such as chiffon, crepe, silk, and muslin. However, it can also be used on heavier fabrics such as denim, tweed, and wool.
No matter what type of fabric you’re using, it’s important to take care when adjusting the stitch length and width. For heavier fabrics, you may need to use a slightly wider stitch width, and for lighter fabrics, you may need to adjust the stitch width to be narrower than the hem allowance. The same is true for stitch length. Make sure you adjust it according to the type of fabric you’re working with.
It’s also important to note that when using this stitch on fabrics with a napped surface, like velvet or corduroy, you should be sure to keep the stitching on the right side of the fabric. If the stitching is visible on the right side, it will create a noticeable line and your hem will look messy.
Tools Needed
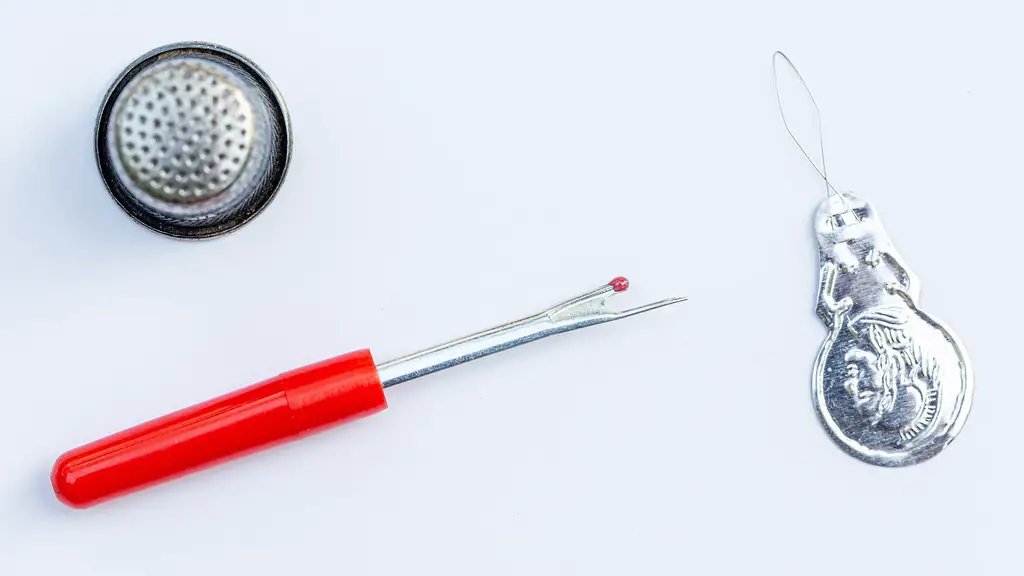
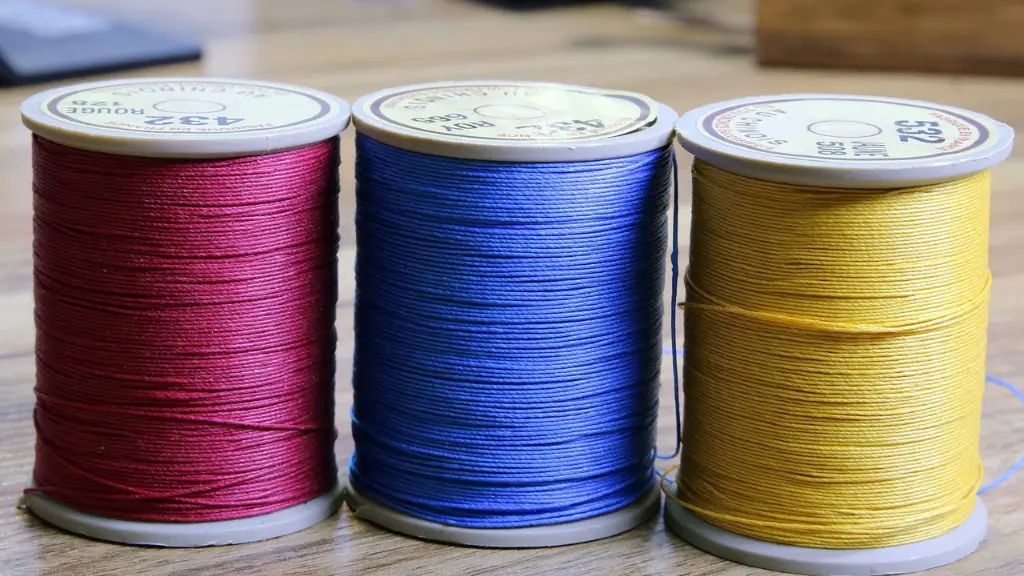
When it comes to tools, you’ll need a few supplies to help you complete a blind hem stitch. The most important tool is a hem foot. This will help keep your stitching even, as well as guide your stitch. You’ll also need measuring tools like chalk or a vanishing ink pen to mark your fabric, thread, a seam ripper, and an iron.
Another key tool to have on hand is the needle threader. This will make threading the needle much easier, and it will also ensure that your stitches look neat and even. Lastly, be sure to have a few bobbins handy so that you don’t run out of thread in the middle of your project.
Tips for Perfect Results
Now that you know the basics of a blind hem stitch, here are some tips to help you get the perfect results. The key to getting a professional-looking hem, is practice. Once you become familiar with the process, you’ll find that it gets much easier. Additionally, make sure you take your time and pay attention to even the smallest details. Even a slight misalignment can cause the whole hem to look uneven.
It’s also important to double check your stitch width and length. These two settings can make or break your hem, so it’s best to take the time to make sure they are set correctly. Lastly, be sure to pay attention to the fabric you’re using. Different types of fabric require different settings, so make sure you’ve adjusted the stitch type and length accordingly.
Using Stabilizers
If you’re working with lightweight fabrics, it’s a good idea to add a stabilizer before stitching. This will help keep the fabric from stretching or pulling and will provide some structure and support. Iron-on interfacing works well and it’s relatively inexpensive. Be sure to cut it to the same size as the hem allowance and iron it on before you start sewing.
Another type of stabilizer that can be used is tear-away stabilizer. This is excellent for fabrics with a nap, like velvet, as it helps keep the stitch in place. Finally, another option is a water-soluble stabilizer. This is particularly useful for lace fabrics, as it helps keep the fabric from shifting as you sew.
Finishing Your Hem
Once you’ve completed the blind hem stitch, it’s time to finish it up. You can do this by carefully trimming away any extra fabric that’s sticking out. Then, you can use a lint roller or lint brush to remove any loose threads. Finally, press your hem with an iron to make sure it looks professional and neat.
Overlocking
If you want an even neater hem, you can overlock the raw edges of the fabric before stitching. This will give the edges a more professional finish and help make the hem look cleaner. It’s also a great way to keep the fabric from fraying or unraveling.
To do this, set your sewing machine to an overlock stitch, which is a combination of a zigzag stitch and a straight stitch. When stitching, make sure you keep a consistent hem width. To do this, you can use the guide on your hem foot. Once you’ve finished sewing, cut away any excess thread to keep your hem looking neat.
Gathering and Pleats
Blind hem stitch is also an excellent way to add gathers and pleats to your projects. To do this, you’ll need to set your stitch type to a zigzag stitch, but adjust the length and width to create larger stitches. Then, sew a line of stitching at the top of your fabric along the fold line. Once you’ve finished sewing, pull on the bobbin thread to gather the fabric and create pleats.
Gathering and pleating fabrics can be tricky and takes some practice. Be sure to use polyester thread as it is strong and won’t break easily. Additionally, try to keep your stitches even and consistent. This will help the fabric keep its shape and make the pleats look effortless.
Summary
Doing a blind hem stitch may seem intimidating, but with the right tools and a bit of practice, it can be done quickly and easily. To start, you’ll need to use a hem foot and make sure you adjust the stitch length and width according to the type of fabric you’re using. It’s also a good idea to add a stabilizer for lightweight fabrics, and to overlock the edges for a more professional finish. Finally, using the blind hem stitch is also a great way to add gathers and pleats to your projects, just be sure to adjust the stitch length and width accordingly.
