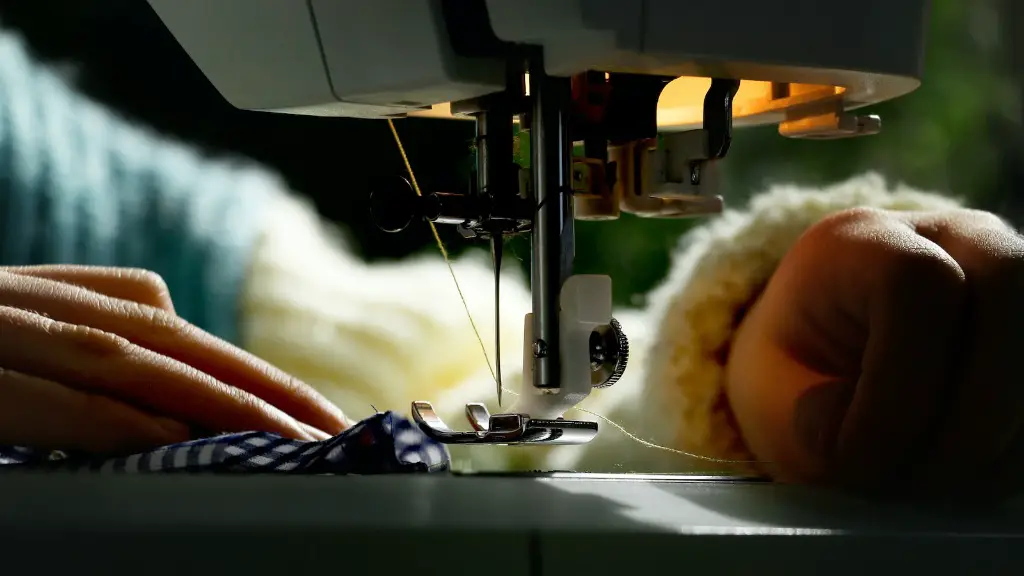
Embroidery is an art that has been around for centuries, but it can often be intimidating and time-consuming to do. Luckily, modern technology has made it easier than ever to do embroidery with a regular sewing machine, opening up a whole new world of possibilities for designers and crafters. While it may take some practice to get the hang of it, following these simple tips can help to make it easier.
Firstly, it’s important to choose the right kind of machine. Many regular sewing machines have a special embroidery mode, which is designed to make it easier to work with embroidery stitches. This mode will often also include adjustable settings for the strength of the stitches, which is essential for finer work. It’s also important to make sure that the machine is up-to-date, with all the necessary accessories, such as embroidery hoops and frames.
Secondly, it’s important to make sure that the fabric is suitable for embroidery. It’s important to use a good quality fabric, as this will ensure that the stitches come out clearly and cleanly. It’s also important to choose a fabric that is heavy enough to handle the weight of the thread, as this will make it easier to work with.
Thirdly, it’s important to choose the right thread. Different fabrics require different types of threads, and it’s important to make sure that the thread is strong enough to handle the weight of the fabric. Choosing the right quality of thread will also help to ensure that the stitches look neat and uniform.
Fourthly, it’s important to make sure that the design is suitable for the fabric. Different fabrics require different types of designs and stitches. For example, thicker fabrics require larger stitches, while finer fabrics require smaller stitches. It’s also important to make sure that the design isn’t too complicated, as this will make it harder to work with.
Finally, it’s important to take the time to practice. Embroidery requires patience and skill, and it’s important to take the time to get to know the techniques and the fabric. Taking the time to practice will help to ensure that the finished product looks professional and is of a high quality.
Stabilizing Your Fabric
Before beginning embroidery, it’s important to make sure that the fabric is stabilized. Stabilizing the fabric will help to ensure that the stitches stay in place, and that the fabric does not bunch up or fray during the embroidery process. Stabilizing can involve the use of adhesive stabilizers, or hooping or pinning the fabric to a firm surface.
Adhesive stabilizers are sheets or strips of paper or plastic that are adhered to the back of the fabric. These are designed to add stability and prevent movement during the embroidery process. Hooping can also be used, in which the fabric is stretched over an embroidery hoop and then secured with pins. This is a good option for larger designs, as it allows more control over the fabric and helps to ensure that the stitches stay in place.
Finally, pinning the fabric to a firm surface is an effective way to ensure that the fabric stays in place. This is particularly useful for smaller designs, as it helps to avoid unnecessary bulk.
Transferring Your Design
Once the fabric is stabilized, it’s time to transfer the design to the fabric. This can be done in several different ways, depending on the type of machine and the type of design.
For machines with a built-in embroidery mode, the design can usually be transferred directly from the machine to the fabric. However, for machines without an embroidery mode, the design must first be converted into a format that the machine can recognize, such as a .jpeg or .dst file.
It’s also important to consider the size of the design when transferring it to the fabric. It’s important to make sure that the design is not too large or too small, as this can affect the final look and quality of the embroidery.
Many machines also have the ability to mirror or rotate the design, which can be useful when transferring a design to an unusual shape or size. It’s also important to make sure that the design is correctly orientated before transferring it, to ensure that the finished product looks professional and attractive.
Basic Embroidery Techniques
Once the fabric has been stabilized and the design transferred, it’s time to start stitching. Hand embroidery and machine embroidery each require different techniques and stitches, so it’s important to familiarize yourself with these before beginning the project.
For most basic designs, a backstitch is usually the best option. This stitch is strong and versatile, and can be used for outlining designs or filling in sections. Another useful stitch is the satin stitch, which can be used to create a smooth and even texture.
Running stitch is also a useful stitch for outlining or subtle shading, as it is a bit more inconspicuous than the backstitch. Finally, the chain stitch is a good option for outlining designs, and can also be used to create delicate, lacy patterns and designs.
Adjusting the Machine Settings
When using a regular sewing machine for embroidery, it’s important to make sure that the machine is set up correctly. This means adjusting the settings to ensure that the machine is running at the correct speed and tension, and that the fabric is not too tight or too loose.
The machine settings should always be adjusted to suit the type of fabric and thread being used. For example, heavier fabrics and thicker threads will require a slower speed and stronger tension, while lighter fabrics and finer threads will require a higher speed and lighter tension.
It’s also important to check the machine periodically, as it can often become jammed or tangled. If the thread appears to be sticking or bunched up, the tension should be adjusted accordingly.
Finishing the Project
Once the embroidery is finished, it’s important to make sure that the stitches are secure and that the fabric is properly cleaned and pressed. It’s also important to make sure that the finished product is not too loose or stretched, as this can affect the appearance of the design.
Finally, it’s important to properly store the finished embroidery. For long-term storage, it’s important to make sure that the fabric is not exposed to direct light or moisture, as this can damage the fabric and the design.
Maintenance and Troubleshooting
It’s important to take proper care of a regular sewing machine to ensure that it remains in good condition and will continue to produce high quality embroidery. Regular maintenance and cleaning will help to keep the machine running smoothly, and it’s a good idea to inspect the machine regularly to check for signs of wear and tear.
If any problems do arise, it’s important to refer to the machine’s manual to troubleshoot. Many issues can be resolved quickly and easily by simply adjusting the settings or replacing certain parts. It’s also important to familiarize yourself with the machine’s emergency procedures, such as turning off the power in the event of a jam.
Tips and Tricks
Finally, there are a few tips and tricks that can make embroidery with a regular sewing machine easier.
For instance, it’s important to make sure that the fabric is properly held in place. This can be done by using an embroidery hoop, pins, or even sticky tape. It’s also a good idea to use a bobbin case that is designed to hold extra thread, as this will make it easier to change threads while working.
It’s also a good idea to practice embroidering on scraps of fabric before beginning a new project. This will help to familiarize yourself with the techniques and the fabric, and make sure that the final product looks professional.
Finally, it’s important to remember to take breaks. Embroidery can be time-consuming and physically demanding, so it’s important to make sure that you’re taking regular breaks to prevent fatigue and injury.
Conclusion
With the right machine and supplies, embroidery with a regular sewing machine can be a fun and rewarding experience. By following these tips and tricks, you can make sure that your projects come out looking professional and attractive. So get stitching and enjoy the beautiful possibilities of embroidery!
