How to Do Embroidery With Simple Sewing Machine: A Step-By-Step Guide
Creating beautiful embroidery patterns using a simple sewing machine can be a rewarding and enjoyable experience. Whether it’s creating a unique logo for your business, creating a one-of-a-kind piece to frame on your wall, or just adding a personal touch to a gift, the possibilities for creative expression are virtually endless. The following is a step-by-step guide to help you get the most out of your machine and ensure your projects are successful.
Selecting Embroidery Threads
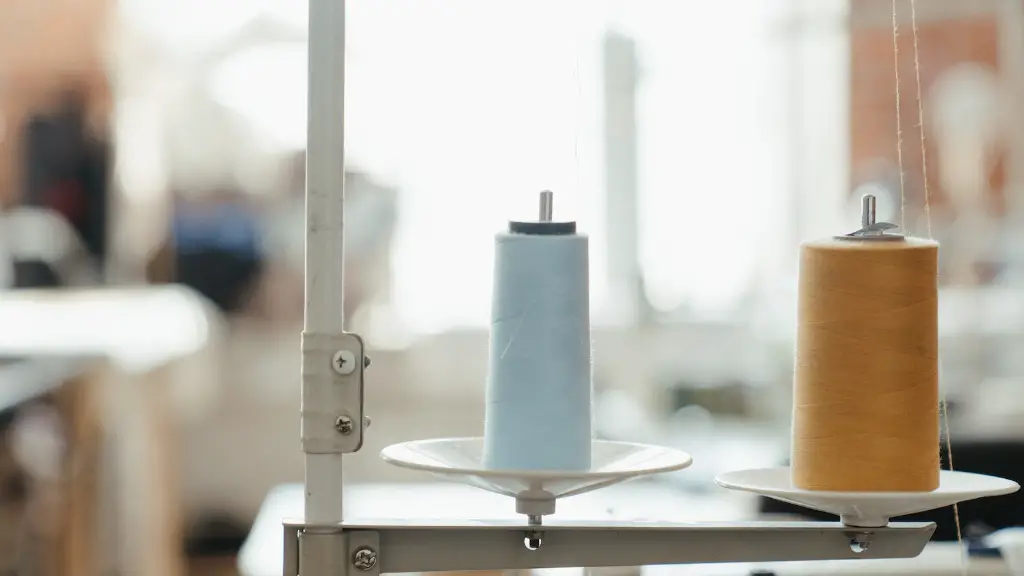
The most important decision to make when doing embroidery is which thread to use. Different fabrics and embroidery projects require different thread types and weights. Generally, you’ll want to use a lightweight thread for lightweight fabrics, and a heavier thread for heavier fabrics. It’s also a good idea to choose a thread that matches the color and texture of the fabric you’re working with. If you’re not sure which type of thread to use, consult an expert at your local fabric store and they’ll be able to advise you.
Preparing the Sewing Area
Before you begin your project, make sure the area where you’ll be sewing is well-lit and uncluttered. That way, you’ll be able to easily find the tools and materials you need without having to constantly search around the room. You should also make sure your machine is sitting on a flat, stable surface- otherwise, the finished product will be uneven and the stitches won’t stay secure.
Setting Up the Sewing Machine
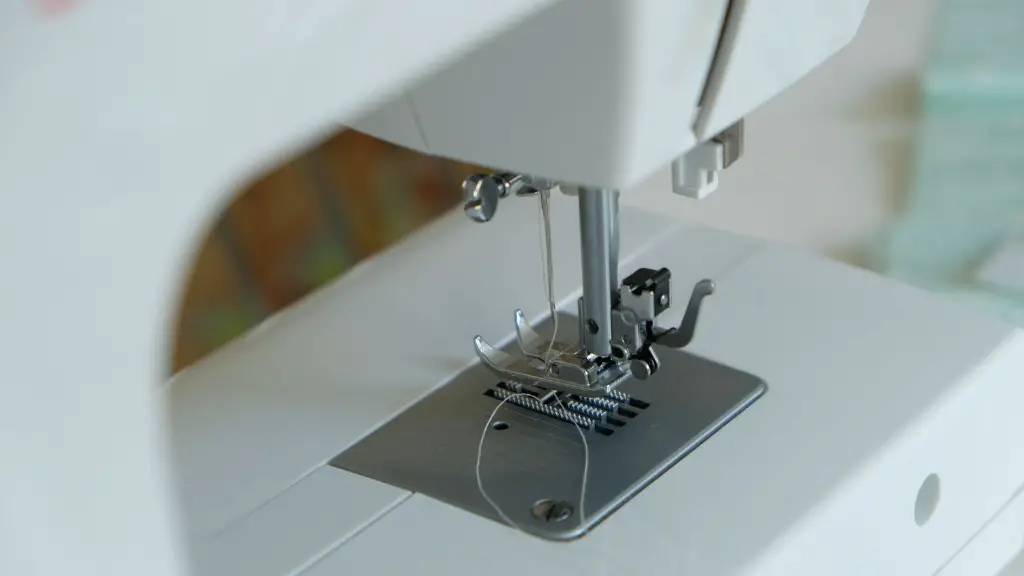
Once you’re ready to begin your project, you need to set up the machine. It’s important to make sure the tension is properly set for the type of thread you’re using and the fabric you’re working with. Also, make sure the needle is inserted correctly and the bobbin is properly loaded. If you’re unsure of how to properly set up the machine, consult the machine’s manual or ask an expert at your local fabric store for advice.
Creating the Design
The next step is to create the design you want to embroider. This can be a simple monogram, a complex logo, or anything else you can imagine.There are several software programs available that allow you to easily create a detailed design. Alternatively, you can use a paper and pencil to sketch out your design, and then trace it onto the fabric using a marker or chalk.
Loading the Design
Once you’ve created your design, you’ll need to load it into the machine. Most modern machines come with USB ports which allow you to easily upload designs from your computer, but some older models require you to manually enter the design into the machine. Again, if you’re unsure of how to do this, your machine’s manual or an expert at a fabric store can assist you.
Stitching the Design
Now, you’re finally ready to begin stitching. Start by positioning the fabric beneath the needle and slowly guide it through the design. Keep an eye on the progress and make sure the stitches remain even and the tension is consistent. If the machine begins to struggle, use the machine’s hand wheel to slow the needle and prevent it from becoming jammed.
Finishing the Design
When the design is complete, you’ll need to secure the threads to prevent them from unraveling. To do this, run the edge of the design through the machine a few times, reverse the stitch, and then cut the thread. Finally, use a fabric pen to trace the pattern onto the fabric and make your design stand out.
Additional Tips for Embroidery With Simple Sewing Machines
Embroidery with a simple sewing machine doesn’t have to be difficult or time-consuming. By following the steps outlined above and taking your time, you can create beautiful designs in no time. Additionally, here are some extra tips to ensure your projects are successful:
- Always start with a small, simple project to get familiar with the machine before attempting a complex design.
- Take breaks while stitching to prevent the thread from tangling.
- Slow down when stitching intricate designs to make sure your stitches stay uniform.
- Stick to quality threads and fabrics for the best results.
- Always keep the machine clean and properly oiled.
Advanced Embroidery Techniques
Once you get the hang of basic embroidery, you can start to explore more advanced techniques such as chain stitching, satin stitching, couching, and more. Certain models of sewing machines even come with pre-programmed embroidery motifs, allowing you to easily create detailed designs without having to draw them out. If you’re looking to really take your embroidery projects to the next level, these features can give you the professional results you’re looking for.
Adding Appliqués and Other Embellishments
In addition to embroidery, you can also add appliqués and other embellishments to your projects. Adding these elements can give your designs a unique, personalized touch that can’t be achieved with plain stitching. To add an appliqué, simply use a fabric adhesive or fusible web to adhere the fabric to the base fabric and then stitch it down. Similarly, you can use stitching to add buttons, ribbons, and other elements to add texture and interest your designs.
Adding Text to Designs
For the ultimate personalization, you can add text to your designs. To do this, use a freehand embroidery font or create your own using specialty software. Once you’ve chosen the font, simply draw it onto the fabric using a marker or chalk and then stitch it down. This final detail can really make your designs stand out and make them truly unique.
Taking Care of Your Embroidery Projects
When it comes to taking care of embroidery projects, it’s important to use gentle cleaning methods that won’t damage the threads. Spot cleaning with a damp cloth is generally the safest and most effective way to remove dirt and stains. Additionally, ironing your projects on the lowest setting with a pressing cloth can help keep your designs looking crisp and vibrant.
Creating Professional Embroidery Projects With Ease
Embroidery with a simple sewing machine can be an enjoyable and rewarding experience. With the right materials, a few easy steps, and a bit of practice, you can create professional-looking embroidery designs in no time. So, grab your machine and get to work!


