How to do Free Motion Quilting on a Sewing Machine
Free motion quilting is a way to add impressive, professional-looking quilting to your projects without having to use a professional quilting machine. Quilting machines are expensive and not feasible for budget-conscious crafters, but free motion quilting can be done relatively easily at home using a regular sewing machine. The key is to have the right supplies and the right technique.
Understanding Free Motion Quilting
In free motion quilting, the fabric is moved by the quilter instead of the machine. The quilter is able to control the speed and direction of the stitching, allowing for intricate designs and patterns. Free motion quilting can be done on any sewing machine, but machines equipped with a drop feed dog and a walking foot, as well as adjustable stitch length and tension, are recommended for the best results.
Preparing the Supplies
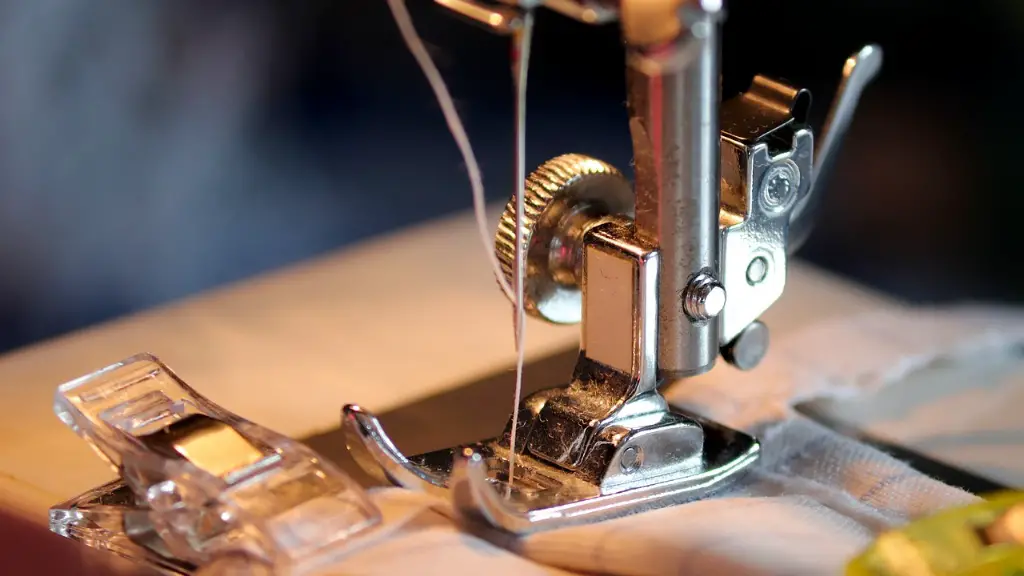
Before you start quilting, you’ll need to make sure you have the right supplies. Begin by gathering some quilting fabric, batting, and a walking foot for your machine. The walking foot will help to keep the fabric layers and batting together and the tension even. Some machines, like mid- and high-end Berninas, come with a free motion quilting foot, but you can use any walking foot with no problem. The other supplies you will need are a length of heavy thread, scissors, and quilting needles.
Creating Your Quilt Top and Bottom
Once you have all of the supplies you need, it’s time to start working on your quilt top and quilt bottom. Start by cutting your fabric and batting into the size and shape you desire. Sew the fabric together using a straight stitch and trim any excess batting. Sandwich the quilt top and bottom together with quilting pins. Quilting pins are designed to stay in place and are less likely to be pulled out of your quilt sandwich during quilting.
Threading the Machine
Next, you’ll need to thread your machine. Start by winding a bobbin and threading it onto the spool of thread. It’s important to use a high thread count – try one that is a minimum of 50 wt. Threads with a smaller number, like 40wt, may cause skipped stitches or break while quilting. After you’ve threaded both the bobbin and machine, it’s time to attach the walking foot.
Beginning the Quilting
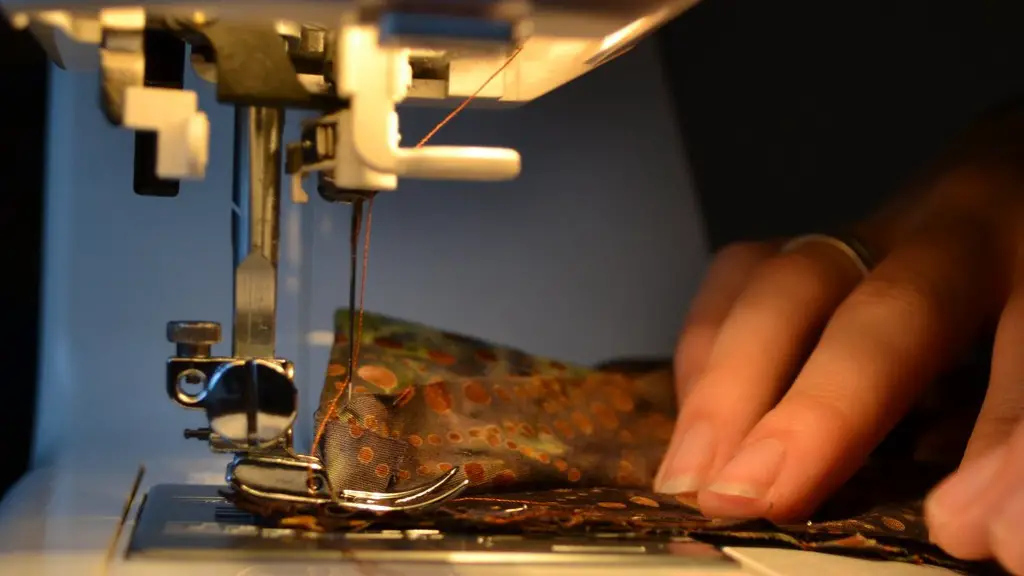
Now you’re ready to begin the free motion quilting. Start at one end of your quilt and slowly lower the needle into the fabric, using the presser foot as a guide. Begin sewing on a slow speed and adjust your speed as the quilting pattern becomes more complex. You can create virtually any quilting pattern you can imagine.
Finishing Up
Once the quilting is complete, it’s time to tie off the ends. Knot the ends of the thread and trim any excess fabric. Be sure to check the stitches in the quilt sandwich. If you find any skipped stitches or unconnected threads, you can easily repair them with a needle and thread.
Tips for Free Motion Quilting on a Sewing Machine
Free motion quilting can be intimidating for beginners, but with a few tips and tricks, you’ll be creating beautiful quilts in no time. First, make sure you’re using the correct needle size and thread weight. Also, make sure your machine is properly threaded and your bobbin is wound correctly. Additionally, choose a quilting pattern that isn’t overly complex for your first quilt.
Practicing Free Motion Quilting
Once you become comfortable with free motion quilting, you can start to explore more complex quilting patterns. Start by practicing with a spare piece of woven fabric to get a feel for how the machine and fabric will respond. A hooped pendant is a great way to practice free motion quilting patterns. Additionally, tracing paper or stabilizer can be used to help create precise, even stitches.
Advice from Experienced Quilters
Experienced quilters have some great advice for beginners. Kerry Green, the quilt and fabric artist behind the blog Hey Kerry, recommends taking your time, as quilting takes practice. She also reminds beginners to not get discouraged if it takes time to perfect the technique.
Debra Gabel, a quilting expert and designer for the fabric company V and Co, suggests using a longer stitch length and a smaller needle for more precise quilting. Debra also recommends using light pressure on the fabric as you quilt to help prevent puckering.
The Benefits of Free Motion Quilting
Once you get the hang of the technique, free motion quilting offers some great benefits. It’s a great way to add custom quilting to any project, and you don’t need to invest in a professional quilting machine to get started. Additionally, free motion quilting is a great way to explore and refine your quilting skills.
Experimenting with Different Quilting Patterns
There are a variety of free motion quilting patterns to explore, from traditional quilt designs, to geometric patterns and more. There are even tutorials online that can help you improve and refine your quilting techniques. Once you get the hang of basic straight line quilting, you can start to expand your repertoire with different quilting patterns.
Creating Complex Quilting Patterns
When creating a quilt with a more intricate quilting design, it’s important to use a steady hand and even pressure as you stitch. If a portion of the quilt is proving difficult to quilt, you can use a stencil pattern or a template to help guide the stitches. Additionally, practice your technique on some scrap fabric before tackling a complex pattern.
Quilting on Different Sized Projects
The size and shape of the project will also affect the quilting process. For smaller projects, such as pouches or pillows, you should use a walking foot to ensure that the fabric is even. For larger projects, such as quilts, use a ruler or guide to keep the quilting pattern straight.
Using Personal Touches to Upgrade Your Quilting
You can add personal touches to your quilting to give the quilt a unique and personal feel. Adding fabric patches and embellishments to the quilt as well as personalized machine embroidery can give the quilt a personal touch. By using a combination of quilting, embroidery, and fabric patches, you can create a beautiful, custom quilt.
Measuring and Trimming the Quilt
Once the quilting is complete, it’s time to measure and trim the quilt. Start by measuring the quilt top and trimming any excess fabric or batting. Make sure to keep the outside edges of the quilt even and straight by using a quilting ruler or template.
Adding a Quilt Binding
Adding a binding to the quilt is an optional step, but it can give the quilt a professional, finished look. Start by cutting the fabric for the binding strips. Then, use a needle and thread to attach the binding strips to the quilt, or you can use a sewing machine to finish the binding.
Adding a Label to the Quilt
Adding a label to the quilt is a great way to mark the quilt as your own and commemorate the event. Quilt labels come in a variety of forms, including fabric labels, embroidered labels, and printed labels. You can also use fabric markers to write a message on the back of the quilt.
Finishing the Quilt
The last step is to finish the quilt by washing it in warm water with a mild detergent. After the quilt is dry, use a quilting iron to press the quilt and flatten any lumps or bumps. And with that, your free motion quilted quilt is ready to be enjoyed!
