Materials Needed to Sew Shirring
Before starting a shirring project, it is important to make sure you have the necessary materials handy. To begin with, you’ll need a sewing machine, some elastic thread and the fabric of your choosing. You’ll also need a few other notions such as a rotary cutter, seam ripper, straight pins, ruler, scissors, and a piece of cotton fabric. As far as the elastic thread is concerned, make sure to choose one in the same color as your fabric for a neat, professional look.
Setting Up the Sewing Machine
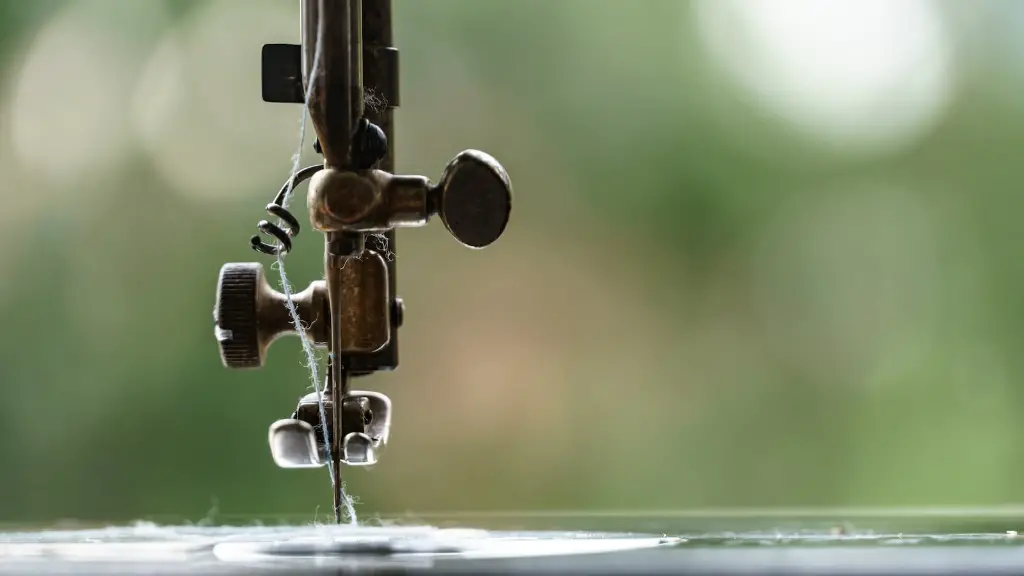
Now that you’ve gathered all the necessary items, you’re almost ready to get started! To begin, you’ll need to set up your sewing machine for shirring. In most cases, the settings for shirring are the same as general straight stitches, although the length of the stitch can be adjusted. On some machines, the tension setting may need to be adjusted to accommodate the elastic thread. As a general rule of thumb, set the tension to lower than what you’d normally use on regular fabrics.
Using Elastic Thread
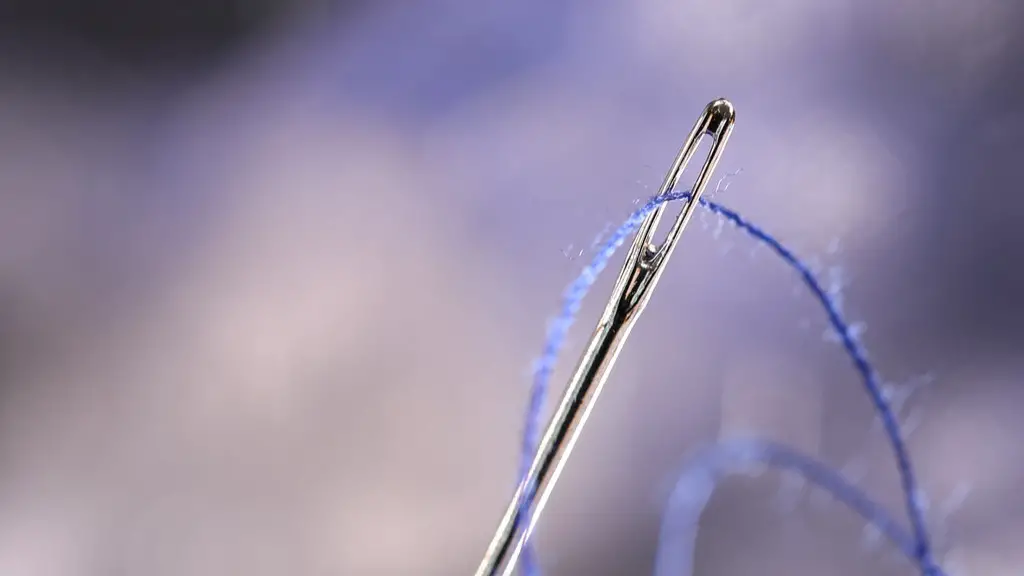
Shirring requires the use of elastic thread. This type of thread is designed to pull the fabric together when tension is applied, creating beautiful gathered lines. To use the elastic thread, you’ll need to thread it through the needle, set aside a length of non-elastic thread and pass it through the bobbin. When threading, make sure to follow the manufacturer’s instructions and ensure the elastic thread is going through the bobbin in the same direction as the regular thread.
Creating Shirring Lines
To create shirring lines, start by laying your fabric out on the surface. Place two rows of straight pins in the area where the shirring will go, starting from the edge and spacing them 4 to 5 inches apart. Make sure to securely fasten them in place. Now you’re ready to start stitching! Begin stitching on the left side of the fabric and sew in a back-and-forth motion following the row of pins. Once you reach the end of the row, turn the needle around and stitch back in the opposite direction, allowing the elastic thread to gather the fabric together.
Finishing the Shirring
After you’ve created your desired pattern, it’s time to finish the shirring. You’ll need to remove the pins, then cut off the excess fabric and trim the threads. To ensure the shirring is secure, it’s important to secure the ends with a few extra stitches. To do this, simply backstitch a few times at the start and end of the line, creating a more durable finish.
Adding Shirring to Clothing
Adding shirring to clothing is a great way to add a unique touch to any item. Start by measuring the area where the shirring will go and cut a strip of fabric accordingly. Attach the strip to the garment, then stitch the shirring as described above. Once you’ve completed the stitching, it’s time to attach the shirring to the garment. To do this, use a straight stitch to attach the shirring along the sides, making sure not to sew through the elastic thread.
Adding Shirring to home décor Items
Shirring can also be used to add a decorative touch to home décor items. You’ll need to measure and cut the fabric accordingly, then stitch the shirring lines as described above. To attach the shirring to the item, start by attaching the ends with a few stitches, then use a zig-zag stitch along the sides. You can also add a decorative trim along the edges for an extra touch of flair.
Adding Embellishments to Your Shirring
To add some extra pizzazz to your shirring, try adding some embellishments. Small beads, sequins, or buttons can all be used to add a fun and unique touch. Start by securing the embellishments with a few stitches in the desired pattern, then stitch over them with the shirring. The elastic thread will help to keep them in place, allowing you to create eye-catching designs.
Advanced Shirring Techniques
Once you’ve mastered the basics of shirring, you can try out some more advanced techniques like creating chevron patterns or even curved shirring. You can easily create chevron patterns by arranging the pins in a zigzag pattern, then stitching the lines according to the shape of the pins. For curved shirring, you’ll need to mark the points where the shirring will start and end, then stitch in a curved line between the two points.
Creating Patterns with Shirring
Another great way to explore with shirring is to create unique and intricate designs. This can be done by creating multiple lines of shirring and experimenting with the pattern and spacing. You can also try combining multiple fabrics, thread types, and elastic thread to create interesting textural effects.
Working with Different Fabrics
When sewing shirring with different fabrics, make sure to adjust the settings and tension as necessary. Certain fabrics, like knits and stretch fabrics, may require a longer stitch length and a lower tension setting than a non-stretch fabric. It’s also important to remember that different fabrics and threads may require different needles. To avoid damage to your fabric, it’s important to select the appropriate needle.


