Threading
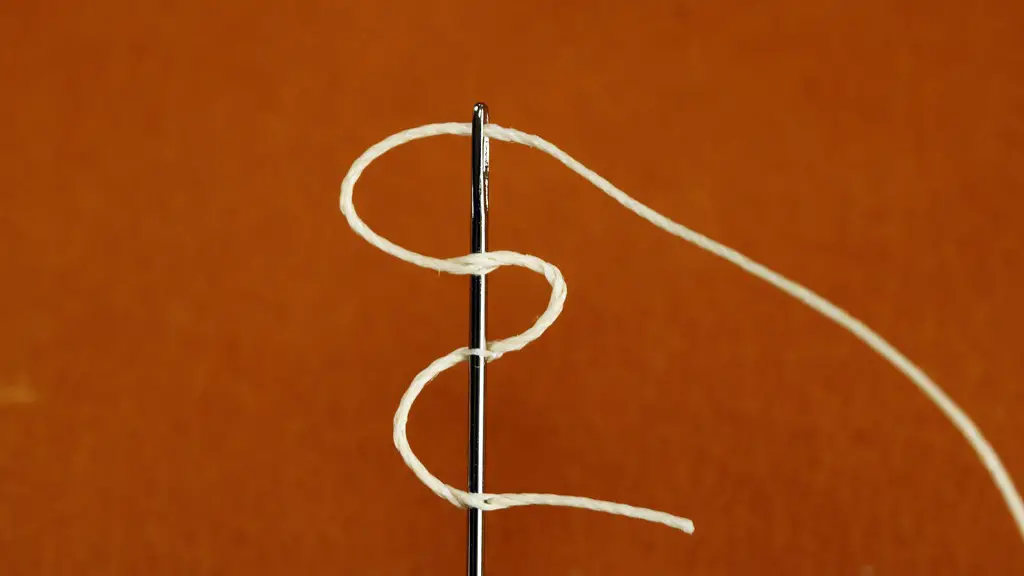
Threading a singer sewing machine is essential to creating zigzag stitches. The threading mechanism will vary depending on the type of Singer sewing machine. Always consult the manufacturer’s instructions to identify exactly which threading mechanism is used by the machine. Begin threading by putting the spool of thread into the spool pin on top of the machine. Then, draw the thread through the lower tension disc and the upper tension disc, and thread it through the take up lever. The take up lever is important to ensure the tension of the thread is correct – this will affect how the stitching appears. Follow the threading instructions provided in the user manual for your model.
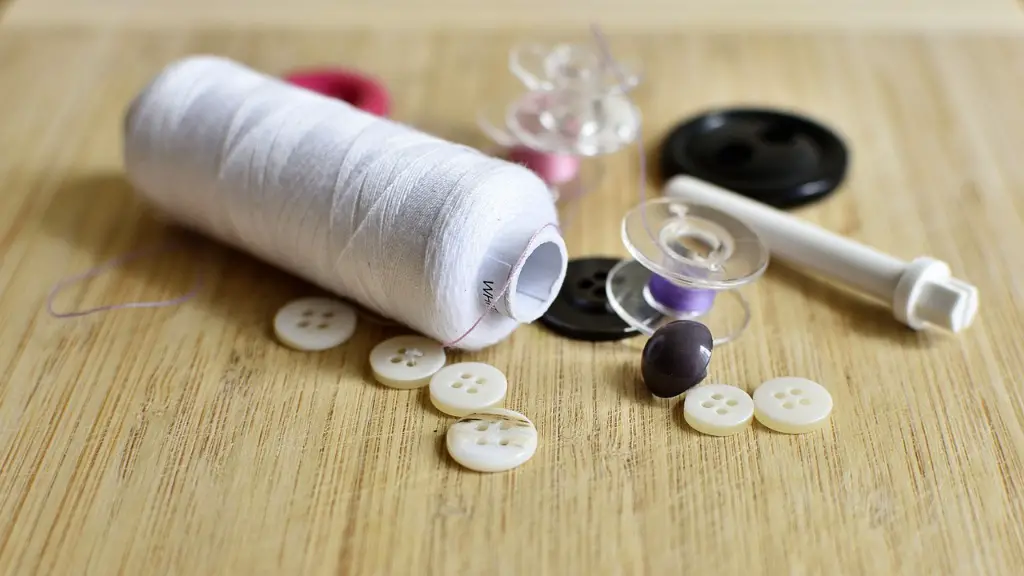
Ensure that the bobbin is correctly threaded before attempting to stitch any fabric. Bobbins must be the correct size for the machine to function correctly. Put the bobbin onto the bobbin pin and pull the thread through the slot or hole. Different machines may have a different design, ensure you consult the user manual for your particular model.
Fabric
The fabric must be cut into the correct size and shape before attempting to stitch. Make sure that the edges are neat and even. Ensure that all pins, that may be holding the fabric together, have been removed. Zigzag stitching will not create a good quality result on fabric that is not cut properly.
Ensure the fabric is laid flat and pushed securely against the lower part of the machine. This is essential so that the zigzag stitches appear in neat, even lines as they should.
Execution of Stitch
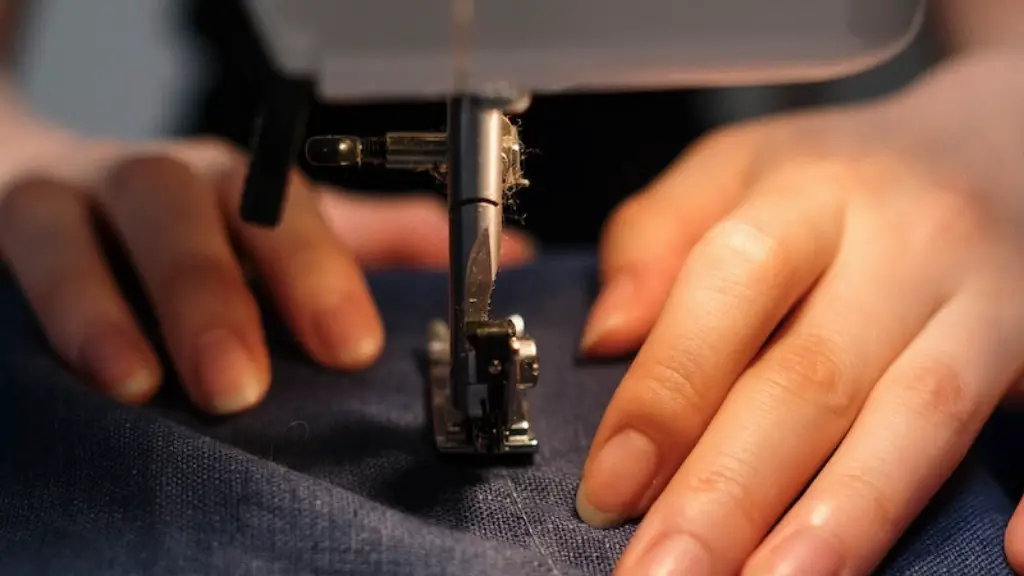
Using the right type of presser foot is essential for zigzag stitching. It is often advantageous to use a zigzag foot, which has a special groove to help ensure the stitches lay in a neat, even line. Consult the user manual for the correct type of foot for the machine.
Set the length of the stitch and the width of the stitch. Different machines will have different techniques for adjusting the length and width of the stitches. The user manual will provide detailed instructions for these settings. Begin stitching, and ensure that the foot is always pressing down on the fabric and the fabric is tugged to ensure a tight stitch.
Adjusting Tension
Thread tension is very important for zigzag stitching. If the tension is set too high the thread will be too tight and the stitches will not lay flat. On the other hand, if the tension is set too low the stitches will be too loose and will not look neat. It is important to adjust the thread tension until the stitches are the right size and form.
Ensure that the tension is adjusted correctly before continuing to sew the fabric. Make a few test stitches and observe the results before continuing to stitch the fabric. If the tension is not correct, make adjustments as needed.
completion
The zigzag stitching process should now be complete. Always inspect the stitching to ensure it is of a good quality. If any of the stitches are not neat or even, unthread the machine and make the necessary adjustments before proceeding. It is important to ensure that the stitching is of a good quality before moving on to the next step.
Remove the stitching from the machine when it is complete. Carefully cut away any stray threads that are not part of the stitching. This will help to ensure that the stitches remain neat and even.
Handling Different Fabrics
Certain fabrics are easier to work with than others when it comes to zigzag stitching. Cotton is a popular fabric for zigzag stitching as it is relatively easy to manage and is widely available in many different types. Linen is another popular choice for zigzag stitching as it is soft and easy to work with.
Silk, velvet, and satin can also be used for zigzag stitching, but they all require different techniques to ensure the stitches appear neat and even. Make sure to consult the user manual and practice on some scrap fabric before attempting to zigzag stitch these fabrics.
When dealing with more delicate fabrics, it can be beneficial to use a medical grade pad or mat underneath the fabric. This will help protect the fabric from any snags or damage that may occur during the stitching process.
Care and Maintenance
Always ensure that the machine is cleaned and serviced regularly. Unthread the machine after each use and clean the dust and debris from the bobbin and needle. In addition, regularly oil the machine and clean the lint trap to prevent any build-up of dust or debris.
When storing the machine, ensure that the cord is unplugged and the machine is not exposed to extreme temperatures. This will reduce the risk of any damage to the machine or the fabric.
Correct Thread and Needles
It is important to use the correct type of thread for zigzag stitching. Cotton thread is the most commonly used type of thread for zigzag stitching. Always use a high quality thread to ensure the stitches appear neat and even. The type of needle that is used will also affect the quality of the stitching. Ensure that the needle is the correct size and type for the fabric that is being stitched.
When buying threads and needles, pay attention to the manufacturer’s instructions and recommendations. This will help to ensure that the zigzag stitching results in a professional look.
Troubleshooting
If the zigzag stitching is not appearing on the fabric correctly, check the threading of the machine. Ensure that the thread has been correctly threaded through the tension discs and the take up lever. If the threading is incorrect, unthread the machine and follow the manufacturer’s instructions for threading again.
If the thread tension is causing problems, make sure that the tension discs have been adjusted correctly. If the tension still does not seem correct, consult the user manual for instructions on how to recalibrate the tension.
If the needle is not correctly inserted into the machine, it may not be picking up the thread correctly. Make sure that the needle is correctly inserted into the machine and adjust the needle position as necessary.
If the fabric is not correctly secured in place, the zigzag stitching may not appear neat and even. Ensure that the fabric is secure and not slipping as the stitches are being created.
