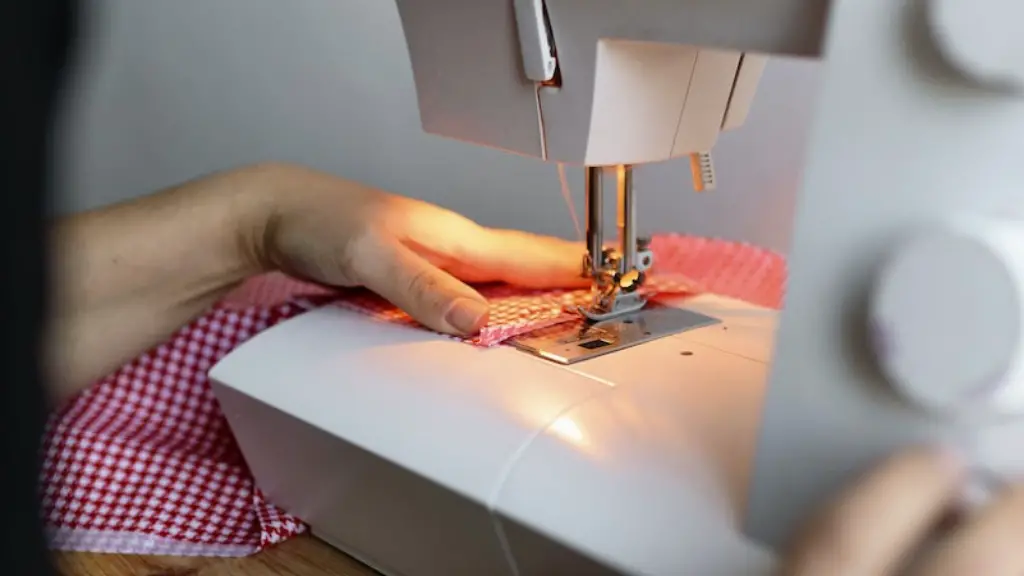
Embroidery is more than just an art form, it can be a way to create meaningful messages with stitches. Many people think that embroidering letters with a sewing machine is difficult, but it doesn’t have to be. With the right techniques and materials, anyone can embroider letters onto fabric with a sewing machine.
When looking for the right type of fabric for this project, it is important to consider the color, material, and weight of the fabric. Embroidery needs a medium weight fabric that is able to hold its shape and be easy to work with. The depth of the stitching will also vary depending on the type of fabric. For example, light- weight fabrics will require lighter stitches, whereas heavier fabrics will have deeper stitches.
The best way to determine thread color is to take a sample of the fabric to a fabric store. Many stores have a scanner that will allow you to match the colors perfectly. It is always a good idea to use two colors of thread to ensure that the stitches stand out more. One should also consider the type of thread they use. Cotton embroidery thread is a popular choice, as it is strong and easy to work with.
Stabilizing the fabric is an important step in successfully embroidering letters onto fabric with a sewing machine. Adding a stabilizer on top of the fabric will keep the fabric from shifting while stitching and will help create a better looking outcome. There are several different types of stabilizers to choose from, depending on the fabric type and the desired look. Heavy stabilizers, such as tear away, will add stiffness and should be used for tight stitches and delicate fabrics.
Before starting to embroider, it is important to practice beforehand. This will help one become familiar with the machine, as well as the type of fabric being used. It is also important to review the manual and adjust the machine settings to the correct tension levels and stitch length. Too much tension can cause the fabric to pucker and too little can lead to skipped stitches.
Once the machine is properly adjusted, one should trace the desired letters onto the fabric. Transfer pens are great for this, as they come in various colors and are easy to use. Alternately, one can use a pencil or marker to draw out the letters. This will ensure that the embroidery is centered, even, and properly spaced.
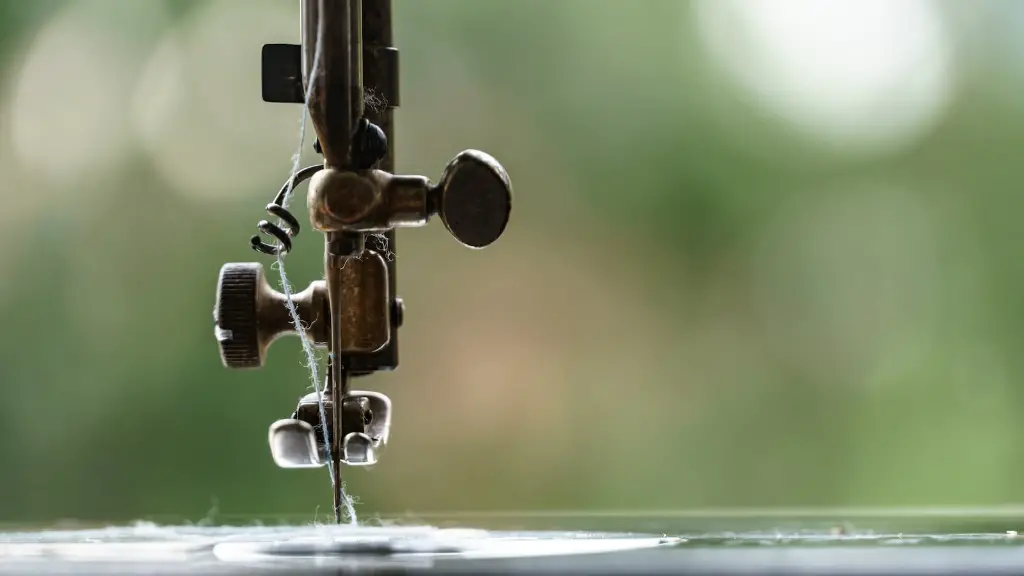
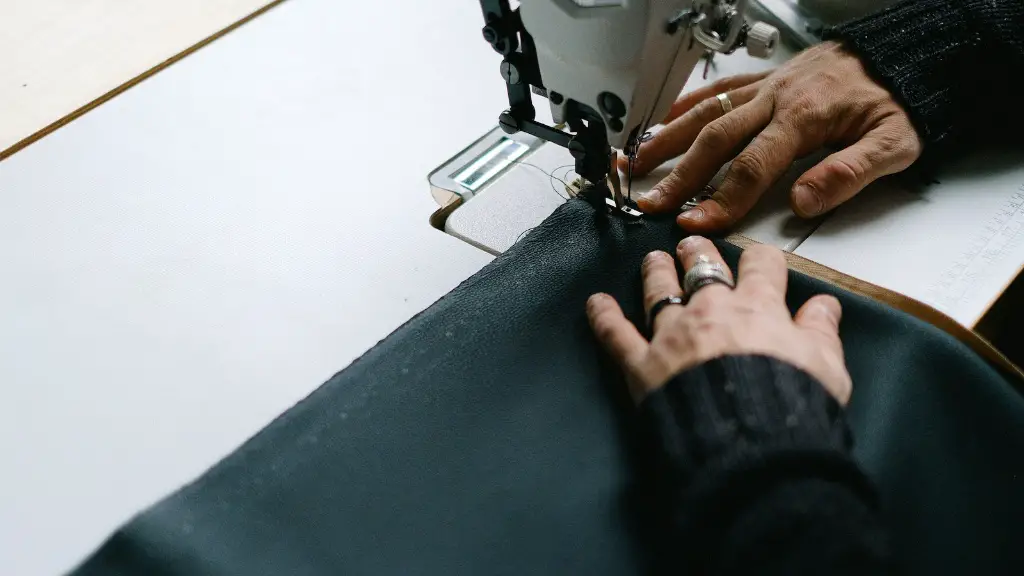
Once all of the materials and tools have been gathered, it is time to start embroidering. Start by lowering the presser foot and then slowly guide the fabric through the machine. It is important to keep the fabric taut and not to stretch it while stitching. The embroidery should look even and continuous when finished.
Sanding and Finishing
Once the embroidery is complete, it is time to finish off the project. The first step is to cut off any excess stabilizer. This is done by gently pulling the stabilizer away from the fabric. It can also be helpful to use an adhesive spray, to ensure the fabric and stabilizer stay together.
If the fabric is needing to be washed, it is important to follow the instructions on the fabric’s label. Most fabrics will recommend hand washing or dry cleaning to preserve the embroidered letters. It can also be helpful to use a mild detergent and fabric softener to keep the fabric from fraying and to keep the colors from fading.
The last step in finishing the project is to sand the edges. This will create a more polished look and will help prevent the fabric from fraying. Sanding boards and emery boards are both great options for this step. Sanding boards have a rough and smooth side and should be used in the same direction as the stitch.
Troubleshooting
No matter how careful one is, issues can still arise. One of the most common problems is skipped stitches. This is typically caused by the machine tension being set too low. If this happens, it is important to adjust the tension and then check it again before continuing. Additionally, it is important to use the right needle size and avoid forcing the fabric through the machine.
Thread tension is another common issue that can happen while embroidering. The thread should be snuggly positioned in the bobbin area and there should be no excess thread. Additionally, it is important to avoid using too much thread, as this can cause the bobbin area to become jammed.
Incorrect thread color is also a common issue that can arise while embroidering. The best way to avoid this issue is to test different colors of thread on a small piece of the fabric before starting the embroidered project. This will allow one to decide which color of thread is the best to use.
Working with Dense Patterns
Dense patterns are one of the most tricky types of embroidery, as the intricate stitches can be difficult to create. To ensure a successful outcome with dense patterns, it is important to use a smaller needle size. Additionally, it is important to slow the machine stitch speed down, as this will ensure that the stitches are neat and even.
When working with dense patterns, it is important to use light weight stabilizer. This will prevent the fabric from stretching or puckering while stitching. It is also important to draw the design with a pencil, before beginning the embroidery. This will help ensure that the pattern is correctly centered and aligned correctly.
Using a light box can be immensely helpful when creating dense patterns. A light box will help one identify where the design needs to be transferred to fabric and also highlight any mistakes or blemishes in the embroidery.
Time Saving Tips
Saving time when embroidering can be a challenge, especially when working with dense patterns. One simple trick for saving time is to use pre-cut stabilizers. This will reduce the time needed to measure and cut the fabric to the correct size.
It can also be helpful to use pre-cut applique designs. These applique designs are already backed with fusible web and can be ironed onto the fabric. This will help ensure that the designs are always aligned correctly and is also a great way to add interest and texture to the project.
Another time-saving tip is to use pre-cut threads. Pre-cut threads come in different lengths and can be used to save time when embroidering. Additionally, they are already looped at the top, so there is no need to tie the thread on each end.
Storage and Maintenance
Properly storing and maintaining embroidered fabric is necessary for long lasting results. Storing the fabric in a dry and cool place is essential, as temperature and humidity can cause the fabric to warp. Additionally, it is important to use acid free storage materials, such as lignin free boxes, clear sleeves, and PVC free bags.]
Caring for the fabric and embroidery is also important. To maintain the fabric, it is important to use gentle detergents and fabric softeners. Additionally, it is important to avoid using abrasive scrubbers or industrial cleaning chemicals. If needed, spot cleaning can be used to remove stains and dirt.
Finally, it is important to repair any damages as necessary. If a stitch is missing, it can be fixed by carefully pulling out or reinforcing the existing stitches. Additionally, repaired areas should be re-stabilized and a new layer of fabric stitched on top of the original area.
Summary
Embroidering letters on fabric with a sewing machine is a great way to add meaningful messages to a project. Taking the time to prepare the materials, properly adjust the machine, and practice beforehand will help ensure a successful outcome. Additionally, learning how to troubleshoot, save time, and properly store and care for the fabric will help keep the fabric and embroidery looking its best.
