Basic Materials and Tools Needed
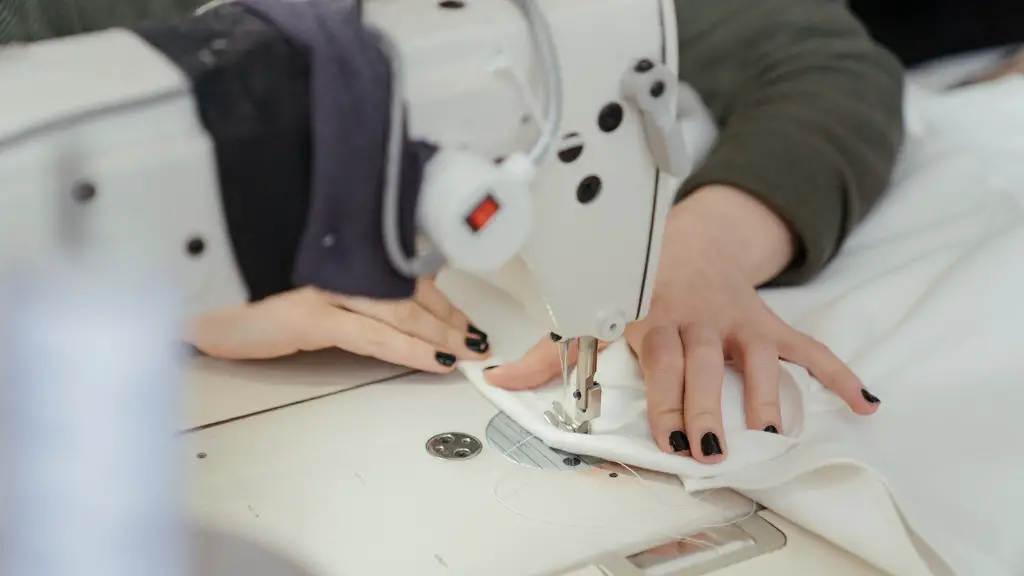
Embroidering letters on a sewing machine requires some specific tools and materials. First of all, you need a machine that has an embroidery unit. This unit should include an embroidery hoop, which is used to hold the fabric, and a needle plate, which holds the needle. You will also need embroidery thread, which is different from regular thread you would use for sewing. Embroidery thread is usually thicker and slightly more expensive. Lastly, you need an embroidery needle, which is slightly longer and thicker than a regular sewing needle.
Design
Next, you need to decide on a design. One of the simplest designs is to embroider individual letters. You can either choose a font that you like or come up with your own design. If you want your letters to match, make sure you use the same font throughout. You can also add graphics to your letters, such as stars or other symbols. You can create your own graphics or find graphics online that you can transfer onto the fabric.
Stabilize the Fabric
Before you begin embroidering the fabric must be stabilized. Stabilizing the fabric means making sure the fabric is held tight in the embroidery hoop so that it does not shift or pucker during the embroidering process. The most common way to stabilize fabric is to use an adhesive backing or tear-away stabilizer. Once the fabric is stabilized, you can begin embroidering.
Embroidering the Letters
Once the fabric is stabilized, you can begin embroidering the letters. The first step is to select the type of stitch you want to use. If you are creating a basic letter, a satin stitch is usually the best choice. Once you have chosen the stitch, you will need to thread the needle and select the correct tension. Make sure the tension is not too tight, as this will cause the fabric to pucker.
When the machine is ready, place the needle into the fabric and begin stitching. Move the fabric in small increments, and make sure to check the alignment of the stitches regularly. If the stitches are not straight, use the reverse stitch button to correct any mistakes. When the letter is finished, remove the fabric from the hoop and trim any excess thread.
Analysis and Tips
Embroidering letters with a sewing machine can be a fun and rewarding project. In order to achieve the best results, it is important to understand the process and use the correct tools and materials. It is also important to take your time and make sure the stitches are even and straight. Finally, don’t be afraid to experiment. There are many different types of stitches you can use to create different effects.
Making Multiple Letters
When embroidering more than one letter, it’s important to pay attention to spacing. If the letters are too close together, they will not be legible. If the letters are too far apart, it can look sloppy. The best way to ensure even spacing is to use a hoop-less method. This method involves transferring the design onto the fabric and then stitching the design with an embroidery machine.
Using Specialty Threads
For an added touch, consider using specialty threads. These threads can give your letters a unique texture and color. Specialty threads come in a variety of colors and styles, and they are designed to be used with an embroidery machine. However, they should not be used with a regular sewing machine.
Creating 3D Effects
If you are looking to add an extra dimension to your embroidered letters, you can use an applique technique. This technique involves layering fabric and stitching around it. You can also use a fill stitch to create a 3D effect. This is a great way to add texture and dimension to your embroidered letters.
Adding Color
Adding color is another great way to customize your embroidered letters. You can use different colors of thread to create a unique effect. You can also use fabric paints or dye to add color to the fabric. Just make sure you test any paints or dyes on a scrap of fabric before adding it to the letters.
Making it Last
Once your letters are completed, you’ll want to make sure they last. The best way to do this is to use a finishing product. This can help to seal the threads and protect the fabric from fading and fraying. You can also use an iron-on backing to make sure the letters stay in place.
Caring for Embroidered Letters
Finally, you’ll want to make sure that your embroidered letters remain in good condition over time. To do this, it is important to follow proper care instructions. This may include washing with gentle detergents, ironing the fabric when needed, and avoiding chemicals or bleaches. Following these tips will ensure your embroidered letters last for years to come.


