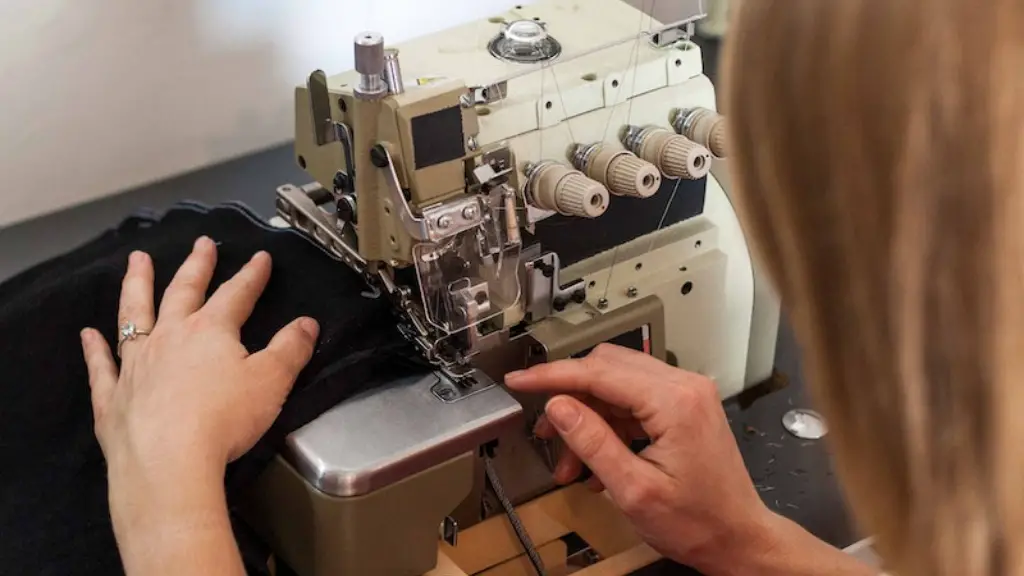
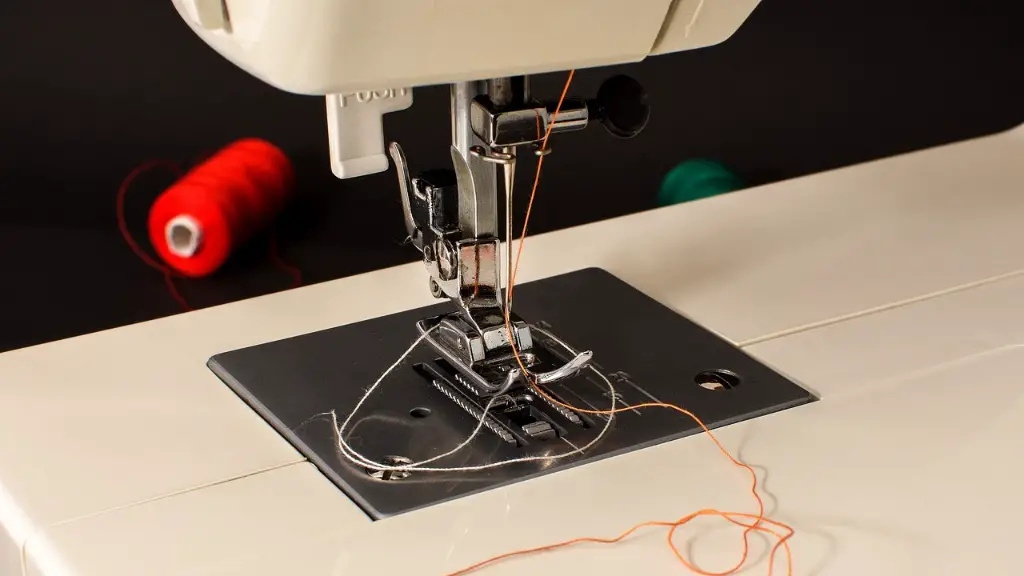
Most people think of embroidery as something that only requires hand stitching. However, with the ever-improving capabilities of modern sewing machines, adding intricate patterns and designs to fabric has become easier and more accessible. In this article, we’ll explore how to embroider on a sewing machine, from the basics to the more intricate details.
When it comes to machine embroidery, the most important aspect is the quality of the machine itself. Different machines are built to handle different levels of embroidery, so make sure to select the right machine for the job. Seek advice from an expert or research online to determine the best machine for you before investing in the project.
Once the proper machine is selected, it is important to understand the settings and features that it comes with. Most machines come with settings that allow for customizations such as stitch length, pressure settings, and other needle adjustments. Take some time to get familiar with the machine before you start to create any designs. It is also essential to practice on scrap fabric before beginning any project.
Now that the basic machine and settings are understood, it is time to start adding embroidery to fabric. The type of fabric used is key in creating a successful embroidery project. Not all fabrics work well with the settings of a machine, and it’s important to use fabric that has been specifically designed to handle this type of fabric manipulation. Fleece fabrics, denim, and piqué are all great choices that provide good results.
Design selection is another critical component of successful machine embroidery. Choose a design that fits with the project and the fabric that is being used. It is also a good idea to keep the design simple in order to avoid mistakes that could occur due to the complexity of the pattern. It is also important to use a high-quality stabilizer so that the fabric does not become stretched during the embroidery process.
Thread is the last component needed for this type of project. It is important to use threads that are specifically designed for machine embroidery. One advantage of machine embroidery is that there is a much wider variety of thread available for use in the machine than there is for hand embroidery.
Finally, once all the necessary supplies and materials are gathered, it’s time to get started! Embroidering on a sewing machine is actually a fairly simple process once you get the hang of it. Start with simple patterns and designs until you are comfortable with the settings and techniques.
Tips for Embroidery on a Sewing Machine
With a few tips and tricks in mind, embroidering on a sewing machine can be easier and more enjoyable. Here are a few to keep in mind:
- Keep the fabric flat and taut while embroidering – this will help ensure that the design is even and consistent.
- Start by practicing the stitches on a scrap piece of fabric before beginning a project.
- Always practice good technique, such as not over-hooping the fabric, not pulling or pushing the needle, and keeping the presser foot flat against the fabric.
- Start with a simple design, as this will help familiarize yourself with the machine as well as the embroidery technique.
Troubleshooting
Most embroidery errors can be easily fixed with the right tools and solutions. Here are a few common problems and potential solutions:
- Uneven stitching – To fix this issue, check the tension to make sure it is even on both sides.
- Skipped stitches – To fix this issue, reset the needle properly and check to make sure the needle is clear of any fabric.
- Thread tangles – To fix this issue, slow down the speed of the machine and make sure that the thread is not too tightly wound around the spool.
Tools and Materials
In addition to the sewing machine, there is an array of other tools and materials that can be used when doing machine embroidery. A few of the most common tools and materials are:
- Machine embroidery stabilizers – These stabilizers help keep the fabric from moving or stretching during the embroidery process.
- Machine embroidery needles – These needles are specifically designed to handle the high speed of machine embroidery.
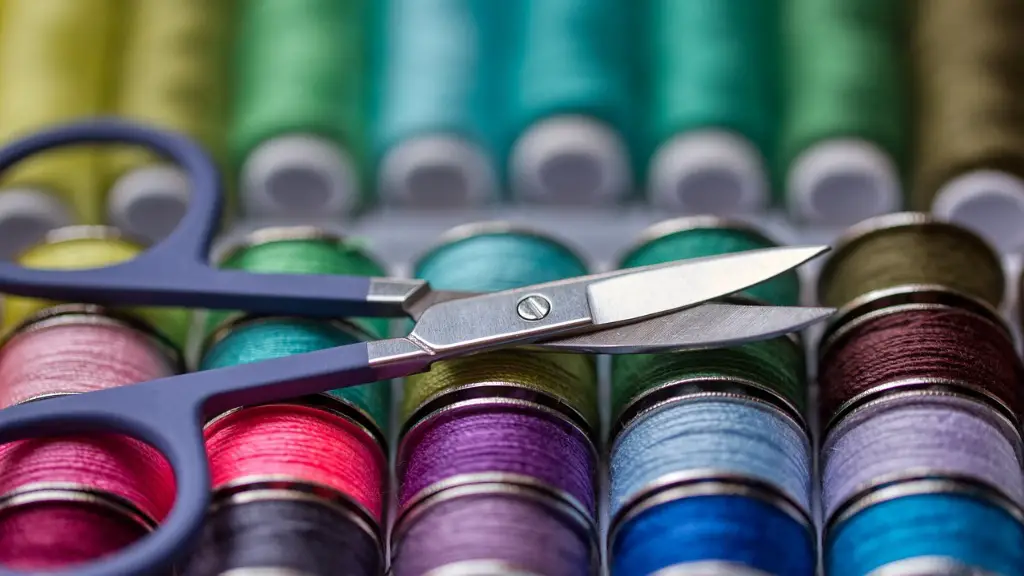
- Embroidery scissors – These scissors make it easier to cut threads, fabric, and stabilizers cleanly and quickly.
- Embroidery thread – This thread is designed to handle the higher speeds of the machine, as well as providing a unique range of colors for your designs.
Tips for Cleaning
When it comes to cleaning your machine, it is important to take special care. Use the proper cleaning solutions and take the necessary precautions to ensure that your machine remains in good working order. Here are a few steps you can take to keep your machine clean and well-maintained:
- Clean your machine after every use. This will help remove any residue that may have built up during the embroidery process.
- Use a lint-free cloth and special cleaning solutions to clean the lint trap, presser foot, and other parts of the machine.
- Oil the needle and other moving parts regularly to help keep the machine operating smoothly.
Final Thoughts
Embroidering on a sewing machine is a great way to add unique designs and patterns to fabric. With the proper machine and supplies, as well as a basic understanding of how to use them, anyone can begin creating their own designs and projects. Be sure to practice and practice often, and before you know it, you’ll be creating amazing designs with ease.


