How to Embroider on Brother Sewing Machine
Embroidering can add a special touch to any apparel or home decor. Whether you own a Brother sewing machine or another brand, you may be interested in learning how to embroider with your machine. Embroidering on a sewing machine requires minimal tools and supplies and an understanding of the embroidery basics. Once you understand these basics, you’ll be able to design and create beautiful embroidered projects.
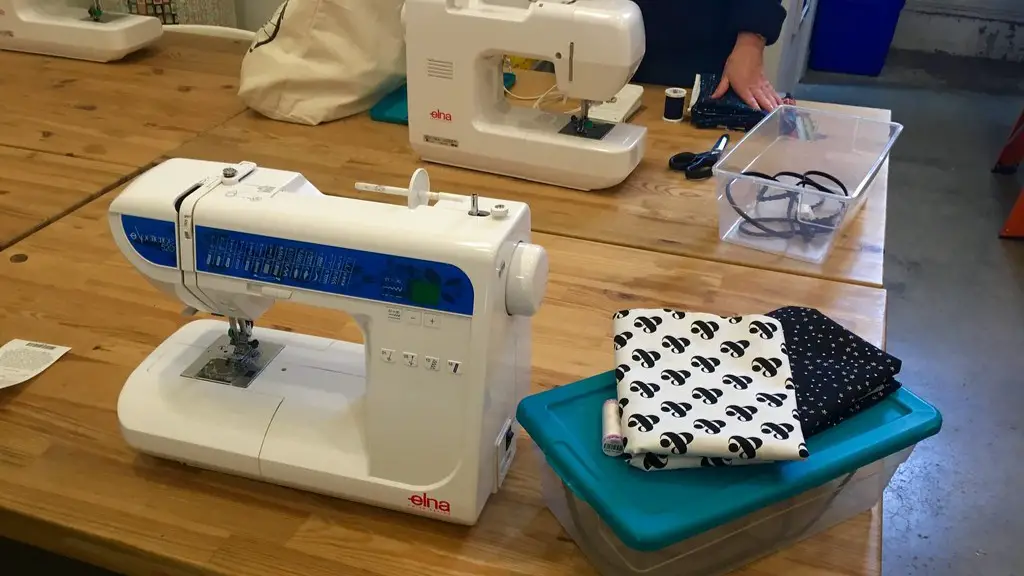
Before getting started on your embroidery project, it is important to make sure that your sewing machine is compatible with embroidery. If you own a Brother sewing machine, then it should be equipped with the necessary features for embroidery. Generally, these features may include a bobbin case for embroidery thread, an embroidery hoop, an embroidery foot and an embroidery needle.
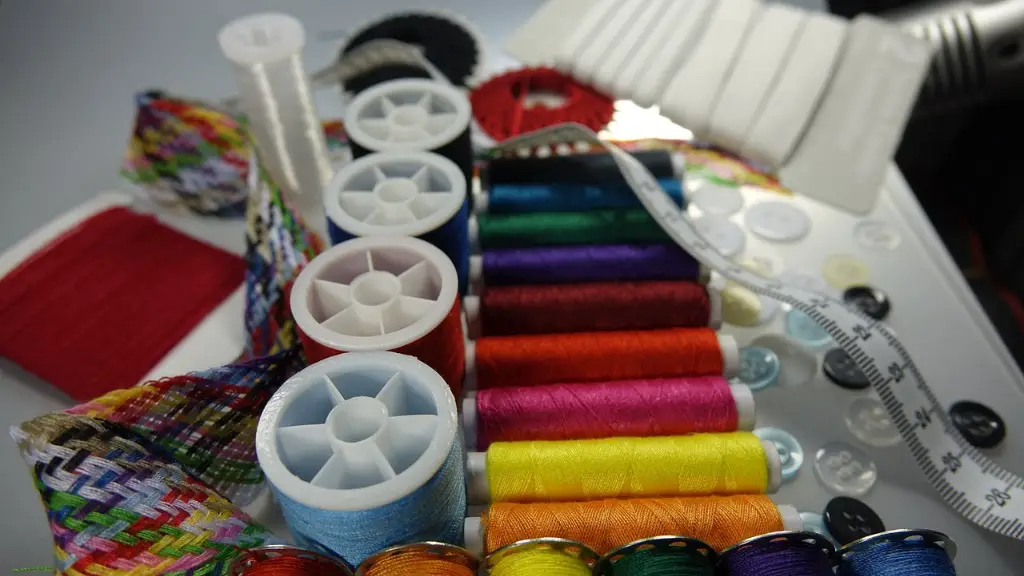
When you are ready to start embroidering on your Brother sewing machine, the first step is to prepare your fabric. It is important to use fabric that is not too slippery, such as cotton, linen or lightweight canvas. You will also need to select and prepare the embroidery thread that you would like to use for your project. Embroidery thread is thicker and more tightly wound than regular sewing thread. It is also important to make sure that your fabric is properly secured in the hoop.
The next step is to transfer your chosen design onto the fabric. If your sewing machine supports direct connection to the computer, then you may be able to transfer the design directly to your machine. If not, you will need to transfer the design to your fabric with an embroidery transfer pen or an embroidery machine. Once the design is transferred, you will be ready to begin embroidering.
When you begin to embroider, make sure to use the correct settings on your sewing machine. Generally, it is best to use a slow speed setting or a reverse speed setting when embroidering. This will help to ensure that the stitches look neat and even. Once you have the settings adjusted, you can start to add the design elements to the fabric.
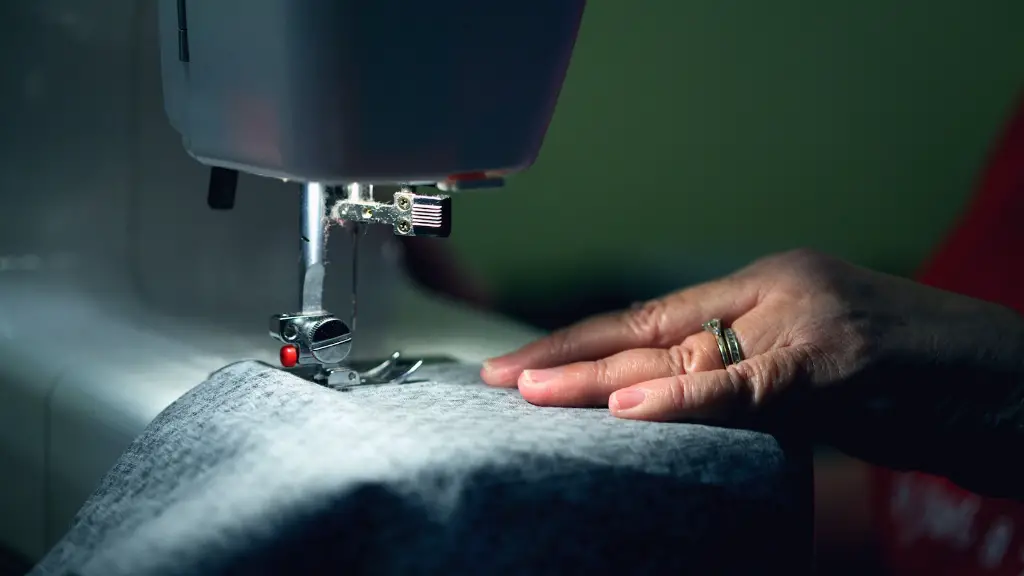
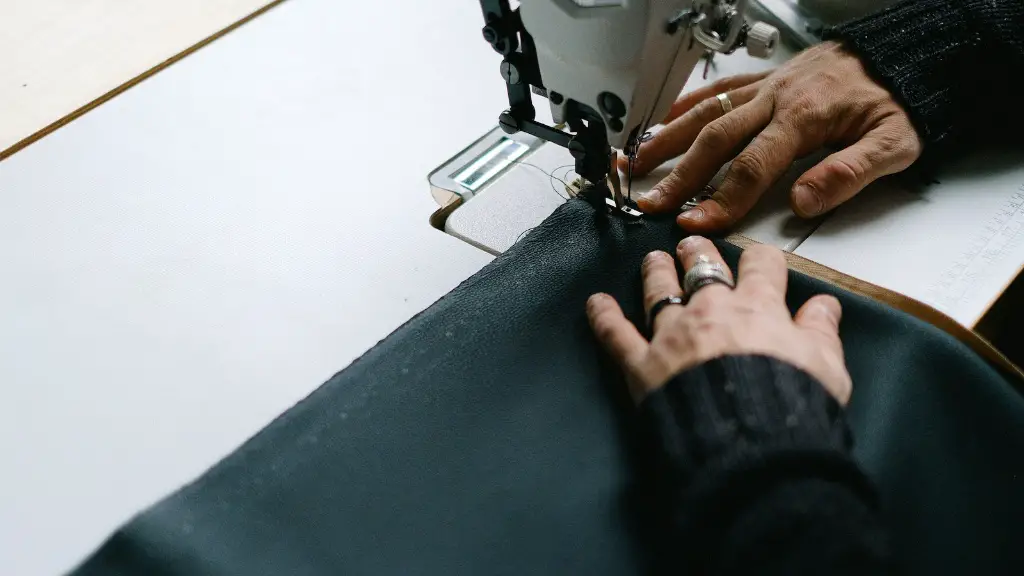
If you are using a pattern for your project, it is important to work in small sections. Slowly and carefully stitch each element, being careful not to pull or tug on the fabric. Placement is also important when embroidering, so take your time and make sure the elements are placed properly. You can use a ruler or other measuring tool to help ensure accuracy.
Once you have finished embroidering the design on your fabric, it is important to finish off the edges to give your design a neat and professional appearance. You can use a zig-zag stitch, blanket stitch or other decorative stitch to secure the edges. Finally, use the appropriate finishing techniques for your project and follow the washing instructions associated with the fabric.
Threading the Sewing Machine
Before you begin embroidering with your Brother sewing machine, you will need to thread the machine correctly. This can be a bit confusing, especially if you are not familiar with the process. To start, make sure to follow the instructions that came with your Brother machine as they will provide detailed instructions on how to thread the machine. Generally, when threading the machine, you will need to match the upper and lower threads, slide the spool onto the spool pin, thread the take-up lever, thread the bobbin, and lastly pull the threads through the needle.
It is important to thread the machine correctly to ensure that your machine runs smoothly. If the thread is not threaded properly, your machine may produce erratic and uneven stitches. Once the machine is threaded correctly, it is important to check for tension. The tension should be adjusted so that the threads do not appear on the surface of the fabric. If the tension is too tight, the threads will show on the surface of the fabric, and if the tension is too loose, the stitches may be too loose.
When adjusting the tension, use the tension dials on the side of the machine. If you are using the same type of thread for both the upper and lower threads, then the tensions should be set to the same number. If you are using different types of threads, then it is best to refer to the thread manufacturer’s guidelines to determine the proper tension settings.
After the machine is threaded correctly, you will be ready to begin embroidering!
Embroidery Hoops
When embroidering on Brother sewing machines, it is important to use a hoop. A hoop will help to keep the fabric in place while you are stitching and will also help to ensure that your stitches are evenly spaced. When selecting an embroidery hoop, make sure to check the size that is recommended for your machine. For Brother machines, the size will usually be specified in the manual.
When using a hoop, it is important to make sure that the fabric is secured tightly. If the fabric is not pulled tightly, the stitches will not be smooth and even. When putting the fabric in the hoop, make sure to start in the center and work your way out. You may need to use some pins to secure the fabric to make sure it does not move while you are stitching.
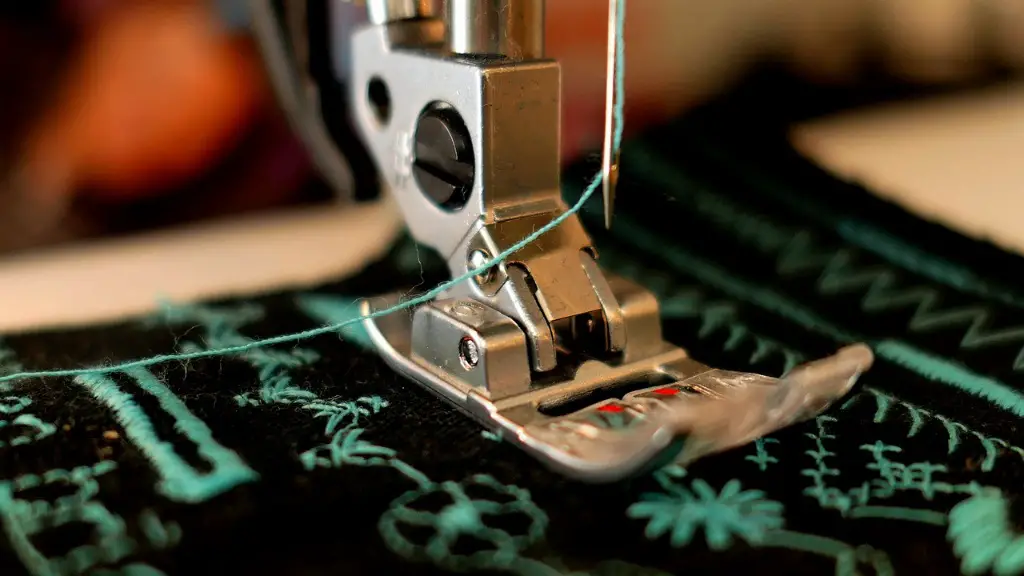
You may also need to use an embroidery foot with your Brother sewing machine. The embroidery foot will help to keep the stitches even as you add each design element. It will also help to reduce the amount of fabric movement as you stitch. Generally, it is best to use a clear embroidery foot for Brother machines so that you can easily see the fabric as you stitch.
Transferring Designs
When you are ready to start your project, the first step is to transfer the design to the fabric. With Brother sewing machines, you can use the machine’s direct connection or you can use a pen or machine to transfer the design. If you are using a pen or machine to transfer the design, make sure to tailor the transfer process to the fabric you are using. Generally, a heat transfer pen is best for delicate fabrics such as silk, while a manual pencil or pen is best for thicker fabrics such as canvas.
It is also important to make sure that the design is properly aligned on the fabric. To ensure accuracy, you can use a ruler or other measuring tool to check the placement. When you have the design in place, make sure to check the mirror setting to ensure that the design will turn out correctly.
When you are finished transferring the design onto the fabric, you will be ready to begin the embroidering process. As with any embroidery project, it is important to use the proper techniques to ensure the best possible results. With Brother sewing machines, it is best to use a slow speed setting or a reverse speed setting to ensure even stitches.
Creating Special Effects
Once you understand the basics of how to embroider with a Brother sewing machine, you can begin to explore some of the more advanced techniques. Creating special effects can add a unique look to any project and is a great way to customize a project and make it your own.
Adding sequins, beads and other embellishments can create a truly unique look. To add sequins or beads, use a special embroidery needle and make sure to use a slow speed setting. If you are adding beads or sequins, make sure to stitch them after the embroidery has been completed and use a slow speed to ensure that the beads or sequins do not tear the fabric.
You can also create dimensional effects by layering stitches or combining different types of threads. When layering stitches, it is important to make sure that the stitches are evenly spaced and the same size for a neat and professional look. You can also combine different colors of thread to create a unique design or use metallic and glow-in-the-dark threads to add a special touch.
Adding Embroidery to Finished Projects
Once you have completed the embroidery process, you will be ready to finish off the project. If you are adding embroidery to a finished project such as a shirt or a pillow, then you will need to use an adhesive to keep the design in place. Generally, it is best to use a fabric adhesive such as spray adhesive or fabric glue. Make sure to use the adhesive according to the instructions on the label.
Once the adhesive is applied, press the fabric with a warm iron to secure the design in place. Finally, check the care instructions for the fabric and follow the instructions for washing and drying the project. These instructions will help to ensure that the design stays in place and will also help to keep the fabric looking its best.
Finishing Touches
Once your project is complete, you can add a few finishing touches to make it unique. Adding a monogram or an applique can create an interesting look and help to make the project truly one of a kind. To make a monogram, pick a special font and use it to create a design of your choice.
Appliques are also a great way to customize a project. You can use interfacing or fusible web to attach appliques to fabric, or you can use a fabric glue or spray adhesive to create your own unique appliques. Once the appliques are in place, they can be further embellished with beads, buttons or other decorations.
You can also add quilting to a project to add more texture. Quilting is a great way to add dimension to a project, and the possibilities are endless. Start by marking out the quilting areas on the fabric, and then choose a quilting stitch that matches the theme of your project.
