Tools and Equipment
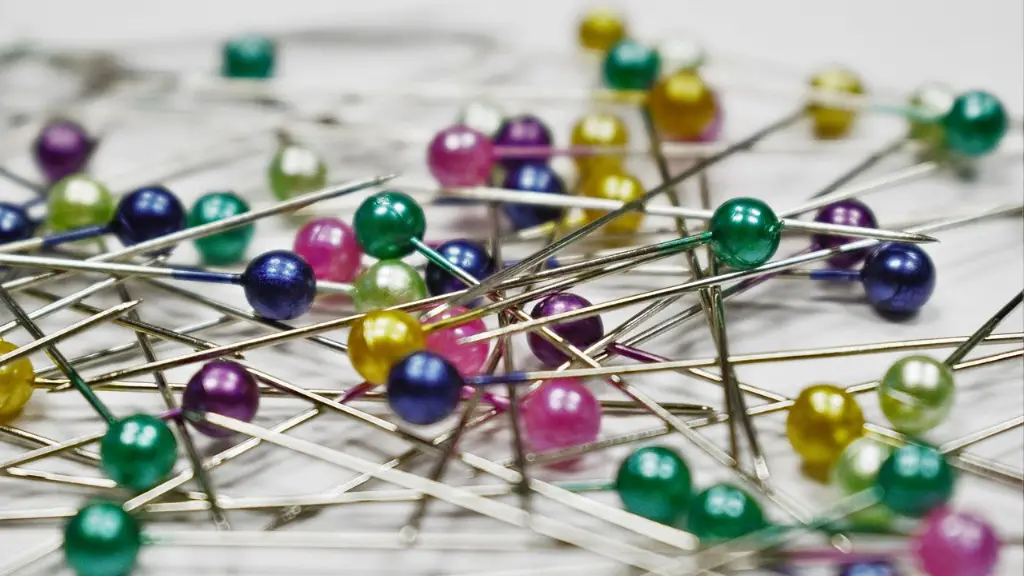
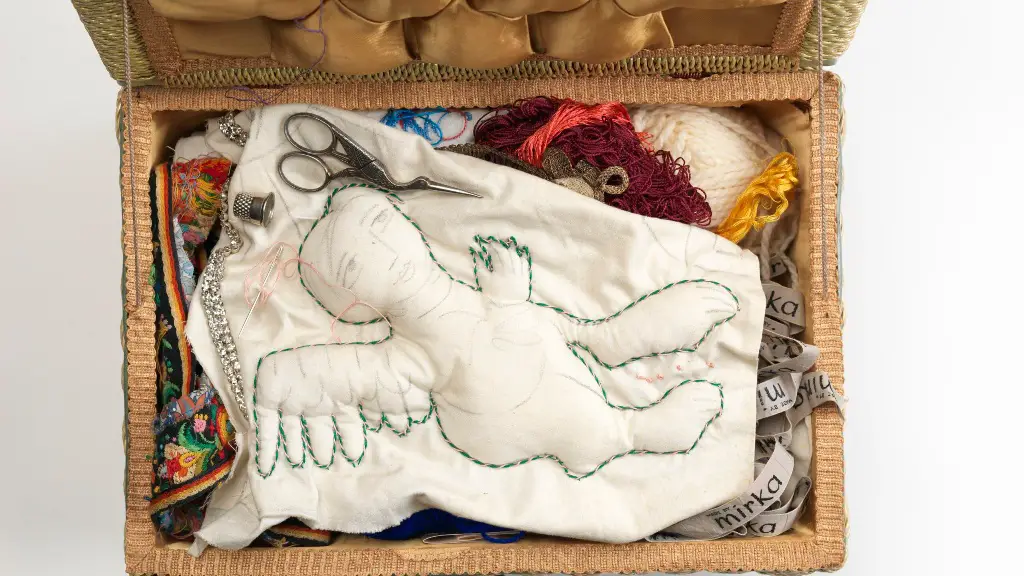
Threading a bobbin for a sewing machine can seem daunting, but with a few simple steps it can become second nature. It is important to ensure that all the necessary equipment is to hand before beginning. Most sewing machines come with their own metallic bobbins, while plastic ones can be purchased separately. It is also necessary to have a spool of thread, either matching the material being used or a neutral colour, depending on the project. A thread box or small box with a pin cushion to hold pins and scissors can come in handy when it comes to keeping these items safe and close by when needed.
Wind Bobbin Preparation
Before the bobbin and thread can be winded, it is essential to check that the bobbin is the correct size for the sewing machine. Borrowing a bobbin from a different machine can cause a lot of tension and irritation for the threading process. It may be necessary to refer to a manual for the particular make and model of sewing machine in order to ensure the correct size is used.
Before beginning, it is also important to ensure that the bobbin is clean. To do this, look for any lint or material built-up from previous use. Check the inner and outer surfaces for particles, as this can disrupt the threading process. Any lint or dirt should be removed using a soft cloth, compressed air or a damp cloth dipped in water.
Position Bobbin
Before the bobbin can be filled, it needs to be positioned correctly in the machine. Generally, this will involve inserting the bobbin into the bobbin case. There will be a small spindle in the bobbin case, which should fit into the middle of the bobbin. Once securely inside, the bobbin case should be placed in the machine, either in the free arm or in the bobbin mount beneath the needle. Referring to the manual can be useful here too, ensuring that the right machine setting is used for bobbin loading.
Thread Start
Now the bobbin is prepared, the machine is set and the bobbin case is in place, the thread can be attached. To do this, thread the end of the spool and pull it to the left of the machine. There will usually be a thread guider at the top of the machine. This should be located through the grooves of this guide before traveling down, underneath the throat plate and then to the bobbin case. It is essential to double check the bobbin case before threading, as the mechanism can move around and may need to be repositioned.
Stiching Phase
Once the thread is in the bobbin case, it is necessary to hold the thread taut, with one hand on the spool of thread, take the free end of the thread and wind it several times around the bobbin. This should begin from the front side of the bobbin and come back over the top. Make sure that the thread is wound tightly and neatly around the bobbin, as the bobbin case should be able to close without issue.
Bobbin Loading
Once the bobbin is full, the thread can be neatly tucked in to the side, pulled through to the front and inserted back into the bobbin case. Press down firmly on the top of the bobbin case as it is placed back in the machine, making sure it is securely in place. Now the bobbin is full and in the correct position, the machine should be adjusted back to the standard operating mode before pressing down on the foot pedal. This should trigger the bobbin needle to start creating small motion inside the bobbin, ensuring it is correctly in working order.
Inspect and Thread Lock
The final step is to look for any uneven threads which have appeared on the surface of the bobbin. This is generally a sign that the thread has not been correctly wound, and can be easily fixed by removing and re-threading the bobbin. If everything looks neat and even, it will usually be possible to use a thread lock to secure the thread in place. This can be done by pressing the bobbin release on the bobbin case to allow the bobbin to pivot. Twist the thread a few times and allow the bobbin to spin until the thread has twisted around itself.
Check and Go
Finally, it is time to check that everything is working as it should be. Hold the thread taut and spin the bobbin in the opposite direction, ensuring the thread remains tight. If the thread is securely in place, the bobbin and thread are ready to use. Now, the sewing machine is set to go.
Maintenance and Upkeep
Regular maintenance is key to keeping the sewing machine in tip-top condition. Before each use, it is important to double-check everything is clean. Wipe down the bobbin case and body of the machine with a damp cloth and make sure there are no lint or dust particles. Check each bobbin to ensure they are in usable condition. Any loose lint or dust can be removed using a piece of very thin paper or tweezers, but be careful not to damage the bobbin in the process.
Understand Machine Settings
Depending on the material to be used and the stitches to be made, it is necessary to understand which machine settings will be most suitable for the job at hand. Generally, most sewing machines come with the fundamental settings, but for more complicated or technical fabrics or designs, understanding different needle settings can be helpful. Make sure to refer to the machine manual for tips and advice on a variety of fabrics and stitches, so that the best setting for the job is used for each project.
Understand Fabrics
Just like machine settings, it is essential to understand the fabric being used. It may be necessary to pre-treat the fabric before starting the sewing project, to make sure the fabric remains strong, durable and looks good after the project is complete. Different techniques are needed according to the type of fabric being used. Refer to the machine manual and the care instructions on clothing fabric to ensure that the best options are used.
Good Habits for Sewing Projects
Sewing projects can take time, so having good habits when it comes to working with the machine can help to save time in the future. Remember to always check before using a new fabric that the right machine settings are selected and that the bobbin and thread is correctly wound. It is also useful to keep a small notebook with the project details and some notes on the fabric and settings used. This makes it much easier to find the right settings again if the project is revisited at a later date.
Stay Organized and Confident
Finally, it is essential to keep the space neat and organized. Put away any unused items and keep extra thread, pins and scissors in their designated places for future use. Organization is also needed inside the machine, ensuring all the parts and mechanisms are stored correctly. Taking the time to understand and properly use the machine will make all the difference to the finished product. With the right preparation and some practice, threading a bobbin in a sewing machine can be a simple and enjoyable task.


