If you are looking for a fun and fulfilling hobby, sewing is the perfect way to pass the time. An incredibly useful skill to learn, sewing can help you repair, make and decorate thirft shop finds, save money on clothing and create fabulous gifts and decorations. Learning to sew can be intimidating at first, but with the right tools and some patience, you can become a pro. One of the most important parts of sewing is knowing how to finish seams with a sewing machine, which requires a few key steps.
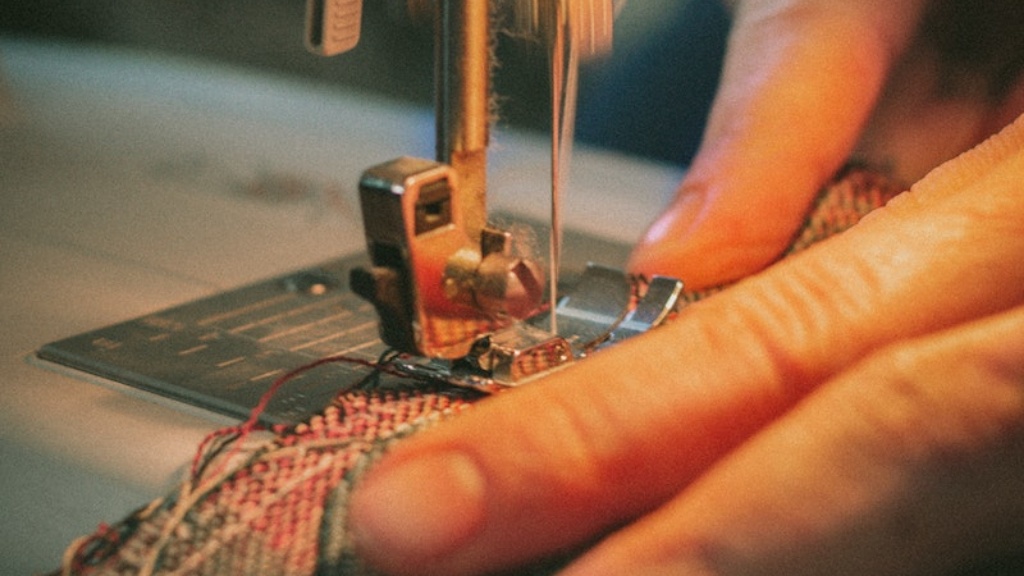
When finishing a seam, the first step is to reinforce the stitches. Using an overlock or zigzag stitch will strengthen the seam, preventing fraying and other issues. If you are joining two pieces of fabric together, you may also need to use a coordinating thread to sew around the outside of the seam to stay assure even tensionness. This will make the seams stronger and create a more professional look when the project is finished.
The next step of finishing a seam is to press the seams open. This will make the fabric lay easier and also give the seam a professional-looking finish. Make sure you press the edges of the fabric in the same direction as the seam to minimize the bulk. Then, turn the seam over to the wrong side of the fabric and press again. This will help the seam lay flatter and closer to the fabric.
Finally, the most important step of finishing a seam is the edgestitching. This can be intimidating at first, but with practice, you will soon be a pro. To begin edgestitching, you’ll need to ensure that you are using a straight stitch on your sewing machine. Then, use a coordinating thread and adjust the stitch length for a tighter stitch. Finally, begin stitching along the edge of the seam. This will help keep the seam in place and give it a much more finished look.
Now that you know the basic steps for finishing a seam with a sewing machine, it’s time to practice. Find a scrap piece of fabric to start and make sure your sewing machine is set up to the correct settings. Adjust the tension dial, thread the needle and practice stitching up and down the fabric a few times. This will get you used to the pressure and motion of the machine, weakening the intimidation factor.
Once you’ve got the basic steps down, you can practice with different fabrics, threads and stitches. Try making something simple, like a pillow, table runner or tote bag, so you can practice all the steps of sewing with a machine. Practicing makes perfect and trial and error is part of the process. With some dedication, you will soon be finishing seams with ease.
Seam Pressing
When finishing a seam, pressing is an essential step to give the project a professional and polished look. Starting with a pressing cloth, use a warm, dry iron to press the seam open. To minimize the bulk of the fabric, press the edges of the fabric in the same direction as the seam. Then, turn the seam to the wrong side of the fabric and press again. This will allow the seam to lay closer to the fabric.
An important tip to remember when pressing a seam is to use a pressing cloth. A pressing cloth will help protect delicate and synthetic fabrics, ensuring they do not get scorched. Place the pressing cloth on top of the fabric and press on a low-heat setting. This will help keep the fabric smooth and crisp and make the seam stronger.
Before beginning any pressing, it’s important to test the fabric for heat. Every fabric has a different heat tolerance, so you need to be aware that some fabrics may require a cooler setting and additional time for pressing. After completing each step of pressing, it’s also important to let the fabric cool down before moving on to the next step.
Hand-Finishing Seams
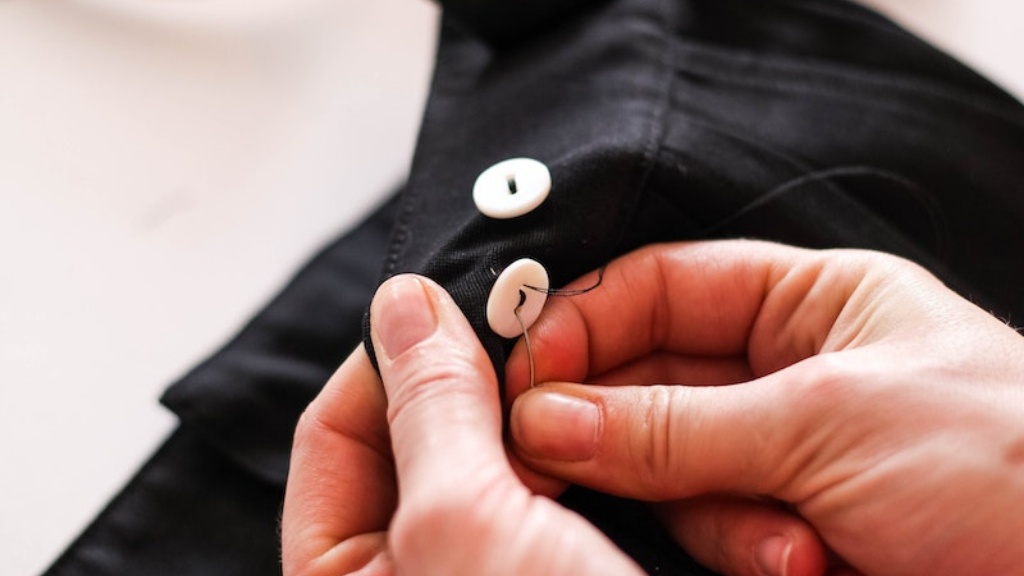
Using a sewing machine is the most popular way of finishing seams, but you can also finish seams by hand. This is especially useful when working with delicate or vintage fabrics, as it will ensure there is no damage to the fabric. The most common way to hand-finish a seam is to use a slip-stitch. To begin, start by threading a needle with a coordinating thread. Then, take a small stitch at the edge of the fabric and begin gently pulling the thread through. Continue to repeat the process, being sure to keep the thread and stitches close to the fold in the edge of the fabric. This will ensure the stitches remain hidden and provide a more finished look to the project.
For projects that require a lot of hand-finishing, such as quilts or dolls, using a topstitch is also a good option. A topstitch will provide extra reinforcement and strength to the seam. To do this, begin by using a single strand of coordinating thread and adjust the tension on the sewing machine to a tighter setting. Then, stitch up and down the seam, being sure to keep the stitches close to the fold. Finally, tie off the thread to finish the hand-stitched seam.
Seam Allowance
Another important factor to consider when finishing a seam is seam allowance. Seam allowance is used to measure how much fabric is taken up by the seam. Generally, a 5/8 inch seam allowance will be sufficient for most projects, but you may need to adjust this if you are sewing delicate or lightweight fabrics. It’s also important to be aware of the seam allowance when pressing a seam. Make sure that the same amount of fabric is taken up by the pressing and the seam stitching.
When finishing a seam, the seam allowance will affect the overall look of the project. A smaller seam allowance will be less bulky, but can make the seam weaker. A larger seam allowance will be stronger and provide more stability, but can also add bulk to the project. It’s important to use the correct seam allowance for each project to ensure the project looks professional and lasts for years.
Pinning
An often-overlooked step of finishing a seam is properly pinning the fabric. Pinning helps keep the fabric in place and ensures the seams are straight and even. Start by measuring the seam allowance and pinning at the edges of the fabric. Make sure the pins are parallel to the fabric and at right angles to the seam line. This will help you sew with precision and accuracy. Once the pins are in place, you can begin top-stitching or edgestitching the seam.
Using the right pins is also important when finishing a seam. Start by selecting pins that are the same size as the seam allowance. This ensures that the pins will not be visible or get in the way of the stitches. You should also look for pins that have a rounded head and a sharp point. This will make it easier to insert the pins and remove them without snagging the fabric.
Finally, when pinning, be sure to pay attention to the fabric type. For delicate fabrics, avoid using heavy-duty pins as they can create holes in the fabric. Also, when pinning multiple layers of fabric, it’s important to use shorter pins. This will help keep the pins from getting bent and help prevent them from slipping out.
Tools For Finishing Seams
When it comes to finishing seams, having the right tools is essential. A sewing machine is the most important, but there are other tools that can help make the job easier. A seam ripper is a helpful tool to have on hand. This is a small, sharp blade used to remove stitches and open seams if needed. It’s also a good idea to have a measuring tape and scissors for cutting and measuring fabric. Tailor’s chalk will help you mark fabric accurately, while a pressing cloth and iron will help give the fabric a professional finish.
Finally, many sewers use pinking shears or a serger to finish their seams. Pinking shears are scissors with a saw-toothed blade that helps reduce fraying and provide a different type of finish. A serger uses an overlock stitch to create a neat, finished edge on the fabric. Both of these tools are great for preventing fraying and giving the stitches a professional and polished look.
