Tools and Materials
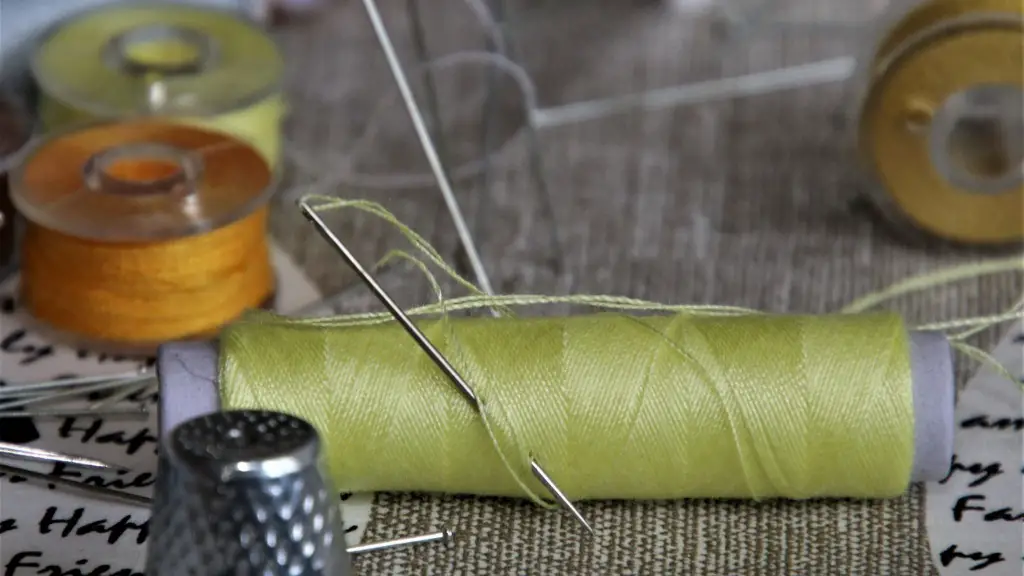
If you need to fix a broken needle on a sewing machine, assembling and having the right tools and materials are key. Basic tools include hand held screwdrivers which you can use to open and replace the broken needle, an old sewing needle for reference, and needle threader. It’s best to use an old needle for reference for the type of needle that fits your machine. If you are unsure which type of needle you should use, consult your sewing machine manual for more information. You also need some masking tape, a variety of sewing pins and seam ripper. Lastly, tweezers and a pair of scissors are also essential for manipulating small parts and replacing the needle.
Diagnosis
Once you have all the materials, the next step is to find the cause and diagnose the issue. You can successfully fix a broken needle if you find out why it broke in the first place. When a needle stops working it may be due to a blunt tip, corrosion, or damage, so be aware of the possible reasons for breakage. Blunt needle tips can cause broken threads, skipped stitches and a distorted stitch pattern. Harsh abrasive fabric such as denim and corduroy can also over time cause damage to the needle.
Replacement
For first time needle replacement, you should always consult the manual, as the instructions may differ depending on the make and model of sewing machine. Start by switching off the power and unplugging the machine. On the front of the needle holder, locate the screw. Unscrew it, being careful to keep the same number of turns until the needle loosens and releases. If the needle is stubborn, use a needle puller to gently pull the needle out.
Now that you have the needle out, you can start inspecting it and see what caused it to break. Use the old needle as a reference and ensure the new needle is of the same type and size as the old needle. Before putting in the new needle, be sure to align the flat side of the shank (the back of the needle) with the flat side on the needle holder.
Now insert the needle shank into the needle holder. Use your hand to hold it in place. Push the needle down gently but firmly until it is secured in the holder. Secure the screw for the needle holder and tighten it with the screwdriver, taking care to match the original number of turns used when loosening it. Now it is time to test if the needle is correctly secured with a test stitch.
Adjustments
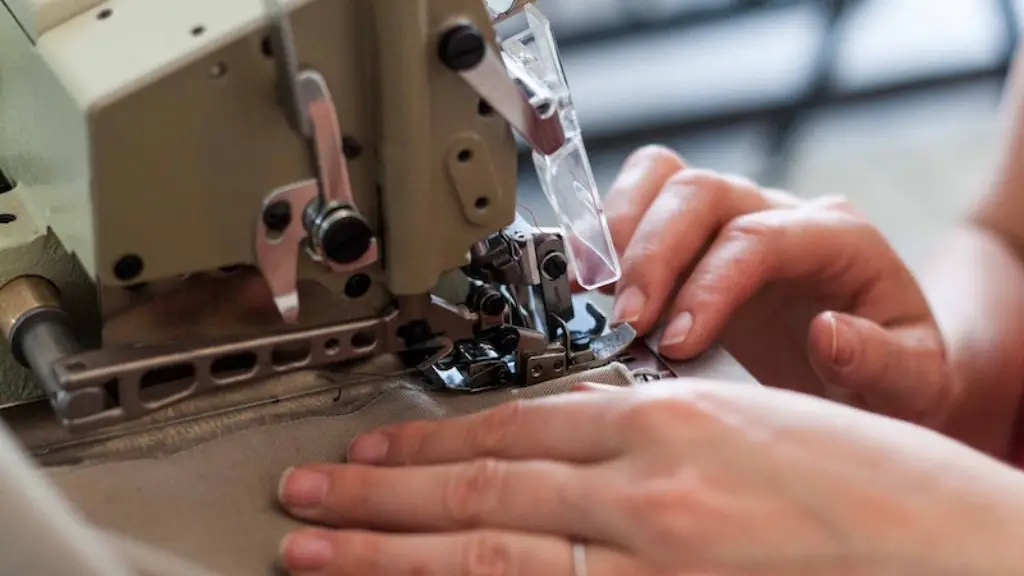
When it comes to making adjustments to the needle after replacement, there are some checks you should carry out. The needle should be positioned just above the presser foot and the needle should not hit the presser foot either up or down. If it does, the presser foot height adjustment must be adjusted to place the needle further away. The presser foot clamp needs to be adjusted to hold the thread securely. The angle of the needle should be perpendicular to the presser foot, whether the needle is in the up position or the down position.
Check the position of the take up lever. It should fit snugly around the needle and not catch on very thick fabrics, so if it does you may need to adjust the position of the needle. Lastly, try changing the tension of the thread after needle replacement. Poor tension can cause problems with the fabric and threads, so adjusting the thread tension knob can fix that issue.
Prevention
The best way to remedy a broken needle is to prevent it from happening in the first place. This means taking good care of your machine, your fabric, and your needle. Start by properly cleaning and oiling your machine at regular intervals, always keeping an eye out for loose screws and make sure to tighten them. The pins for the needle clamp should be in good condition, free from rust and dirt, in order to prevent future needle breakage. Be sure to use the right type of needle for the fabric being sewn, such as bigger needles for thicker fabric. Lastly, replace your needle regularly, at least every four to five projects.
Replacement Tips
To make replacing the needle easier, be sure to utilize the right tools and have all the materials you need before starting. Read the manual before attempting to replace the needle and remember to take the same number of turns when loosening and tightening the screw. Inspect any damages to the needle and use an old needle as a reference. Align the flat side of the needle with the flat side on the needle holder and make sure the needle is inserted firmly into place.
Check the take up lever and the presser foot to see if they are correctly positioned and adjust them if necessary. Change the thread tension after each new needle and lastly, invest in regular needle replacement and proper maintenance for the machine itself. By following these steps you can extend the life of the needle, improve your machine’s performance and make sure your projects come out looking perfect.
Using Special Needles
If you are dealing with thick fabric or multiple layers of fabric then you should consider using a special needle such as a ball point, stretch or even chrome plated needle. Special needles are designed for more delicate fabrics and for complicated stitch patterns. They are designed to penetrate the fabric without snagging it, meaning fewer broken threads and skipped stitches.
Ball point needles are suitable for knits and stretchy fabrics, while stretch needles are usually used on heavy weight, synthetic fabrics. If you need a needle that is stronger and less prone to breakage, a chrome plated needle is a good option as it is more durable than regular sewing needles but be aware that it may cause skipped stitches in some fabrics.
Troubleshooting
If the problem persists after replacing your needle, then you may need to adjust the bobbin tension. The bobbin thread tension needs to be just right in order to avoid problems such as loose stitches, puckering and fabric bunching. This can be done by loosening the bobbin tension screw, or if the thread appears to be too tight, it can be adjusted by tightening the screw.
If the problem is still occurring, the needle plate or presser foot may need to be cleaned and lubricated. Using an air compressor can help to clean out any dirt or lint. A quality lubricant should be used for the parts that come in contact with the needle and thread.
Other Considerations
If the repair work is more complicated then it is best to consult a professional technician. If certain replacement parts are needed such as new needles or switches, these can be purchased either online or at a local sewing shop. Be sure that the parts you purchase are compatible with your machine. If you happen to find used parts at an antique store, inspect the parts thoroughly to ensure that they are in good condition and are compatible with your machine.
If possible, before purchasing parts, try to research the issue thoroughly online. Many sewing machine issues can be fixed with just a little tinkering. To make sure that the issue is not a simple one, it is best to read the user manual and research possible solutions online before attempting any repairs.
