Dressmaker sewing machines have revolutionized the world of fashion. They allow seamstresses and fashion designers to create intricate, tailored garments with a fraction of the time and effort of traditional sewing techniques. However, even the best machines can break down after extended use or due to a mechanical malfunction. Fixing a dressmaker sewing machine is a craft that requires precision, patience and understanding of machine mechanics. Following these ten easy steps to repair your dressmaker sewing machine can save you from costly repairs and long downtimes.
1) Establish What is Wrong: Before attempting to fix your machine, you must understand what the problem is. Check for common issues such as a blown fuse, thread jams or a loose button or wheel. Then, check the owner’s manual or online resources to determine if the issue can be resolved with simple maintenance.
2) Do a Thorough Cleaning: If the problem persists, then it’s time to do a thorough cleaning. Remove the lint and dirt build up from the lint catcher and the motor housing. Make sure you remove any threads or debris that can interfere with the operation of the machine. Also, check the pressure roller and the bobbin wheel for any fungal growth or other signs of wear and tear.
3) Test the Motor: To test the motor of your dressmaker sewing machine, you will need to open the motor cover and inspect the main drive belt and the motor belt. If you find any damage to these components, you should replace them before continuing with the repair process. If the belt is okay, then use a multimeter to test the voltage and current of the motor.
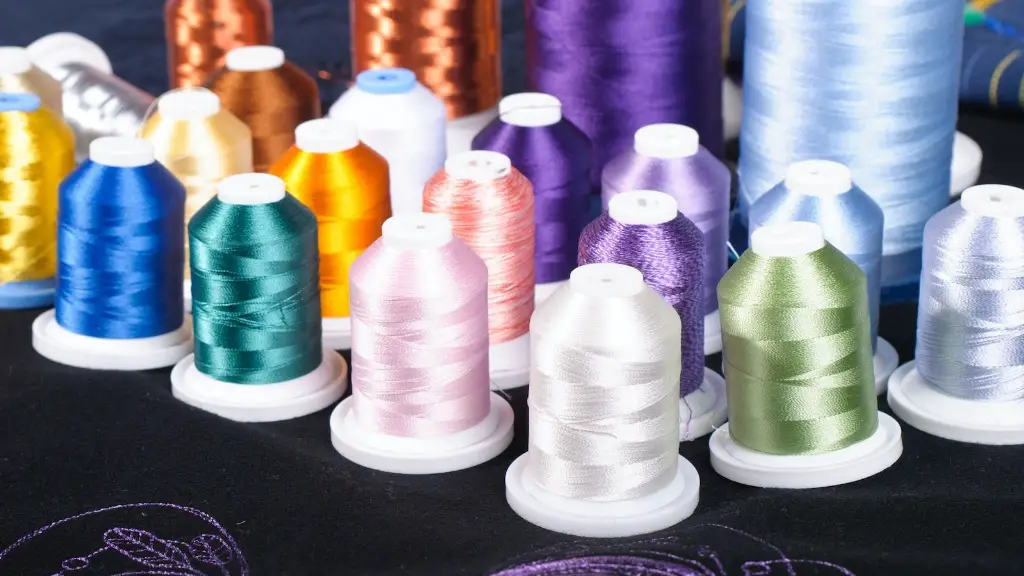
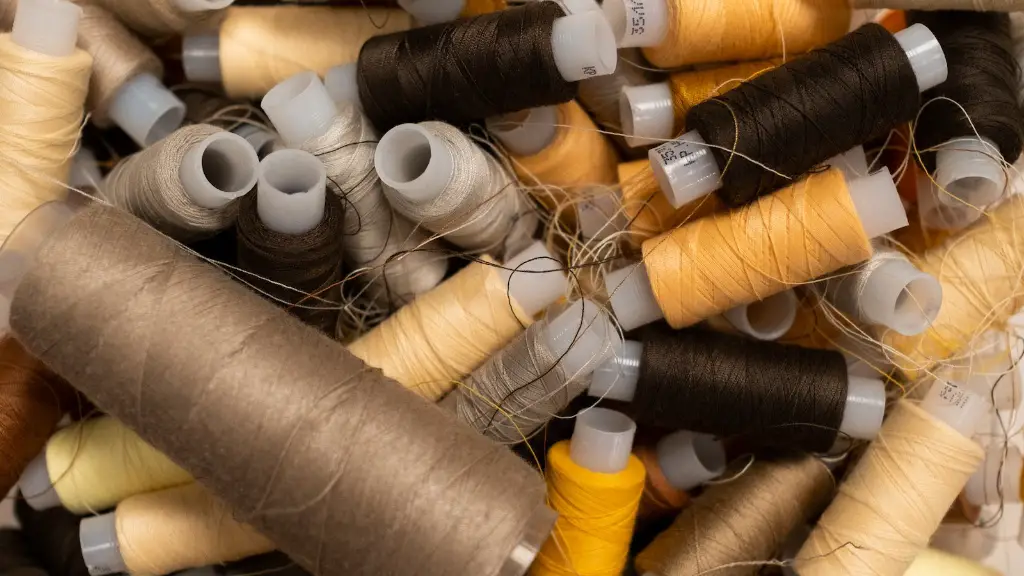
4) Inspect the Bobbin and the Spool: If the motor test is successful, then it’s time to inspect the bobbin and the spool. Look for any signs of wear, such as scratches or rust. If the bobbin and the spool are in good condition, then the problem may be related to the tension of the thread. You can adjust the tension by turning the tension knob on the machine or replacing the thread if necessary.
5) Check the Foot Pedal: After completing the inspection of the bobbin and the spool, it’s time to check the foot pedal. If the pedal is not functioning properly, it may be due to a worn plug or a faulty circuit. It is important to replace any defective parts immediately to prevent further damage to the machine.
6) Adjust the Timing: The timing of the machine can affect the way it functions. To check the timing of the machine, you should consult the owner’s manual and make sure the machine is set to the right width and length. If the timing is off, you can adjust it by using the timing dials located on the side of the machine.
7) Test the Machine: Once all the inspections and repairs are completed, the next step is to test the machine. Turn the power off and on to reset the machine and then test the machine by sewing a piece of sample fabric. If the machine is working correctly, then the repair is complete.
Replacing Sewing Machine Needles
The needles on a dressmaker sewing machine can become dull or damaged over time. To replace a needle, you should use a screwdriver to remove the old needle and insert a new one. Make sure the new needle is the correct size for the type of fabric you are working with and that it is set to the proper tension setting. You should also lubricate the needle regularly to ensure it is in top condition.
When replacing the needle, make sure that the needle is inserted properly. If the needle is not properly inserted, it can cause issues with the operation of the machine. Additionally, it is important to note that the needle should be replaced with the same type of needle that is currently in the machine to ensure optimal performance.
When replacing the needle, it is also important to check the other parts of the machine, such as the bobbin, bobbin case and shuttle, as these parts can cause the machine to malfunction if not replaced regularly. Additionally, be aware of the types of fabrics you are sewing with as certain fabrics may require special needles or thread.
Detecting and Fixing Thread Tension Issues
A dressmaker sewing machine may experience thread tension issues if the tension settings are not set properly. If the tension is too high, it can cause the thread to break and create a messy finish on the garment, while if the tension is too low, the stitches may be too loose. To adjust the tension settings, refer to the owner’s manual to determine the optimal settings for the type of material you are working with.
If the tension settings do not appear to be helping, then another possible problem is an incorrect thread spool. If the spool is the wrong type, then it may become stuck in the bobbin, causing thread tension issues. Additionally, it is important to check the thread guide and the presser foot for any dirt or debris and make sure the bobbin case is correctly aligned in the machine.
Finally, if the issue remains after all the repairs have been completed, then the issue may be related to the machine itself. In this case, you may need to take the machine to a professional for an in-person service. Professional sewing machine technicians can often identify and fix problems that are too difficult for a novice user to resolve.
Accessorizing a Dressmaker Sewing Machine
Dressmaker Sewing Machines can be enhanced with a variety of accessories to make sewing easier and more efficient. Some of the most common accessories include replacement needles, bobbins, buttons, tensioners and seam guides. These items can significantly reduce the amount of time required to complete a project and make the entire process easier.
Additionally, some sewing machines come with special features such as quilting or embroidery capabilities. Extra features such as embroidery machines and ribbons can take dressmaking to the next level, so it is worth investing in these accessories if you are serious about fashion design.
Finally, it is important to note that accessories can be expensive. It is therefore important to research the available options and make an informed decision before investing in an accessory for your dressmaker sewing machine. By considering your needs and budget, you can make sure you get the best possible accessories for your machine.
Conclusion: How to Properly Maintain a Dressmaker Sewing Machine
Owning a dressmaker sewing machine is a great way to flex your fashion muscles, but it is important to remember that these machines require maintenance to ensure they operate at peak performance. Regular inspections and replacing worn parts will ensure the machine stays in tip-top condition and can keep the sewing projects running smoothly.
It is also important to note that dressmaker machines come in various models and types. Before beginning any repairs on your machine, consult the owner’s manual to make sure you are using the proper tools and techniques. With the right amount of maintenance and care, your dressmaker sewing machine should last for many years to come.


