Tools
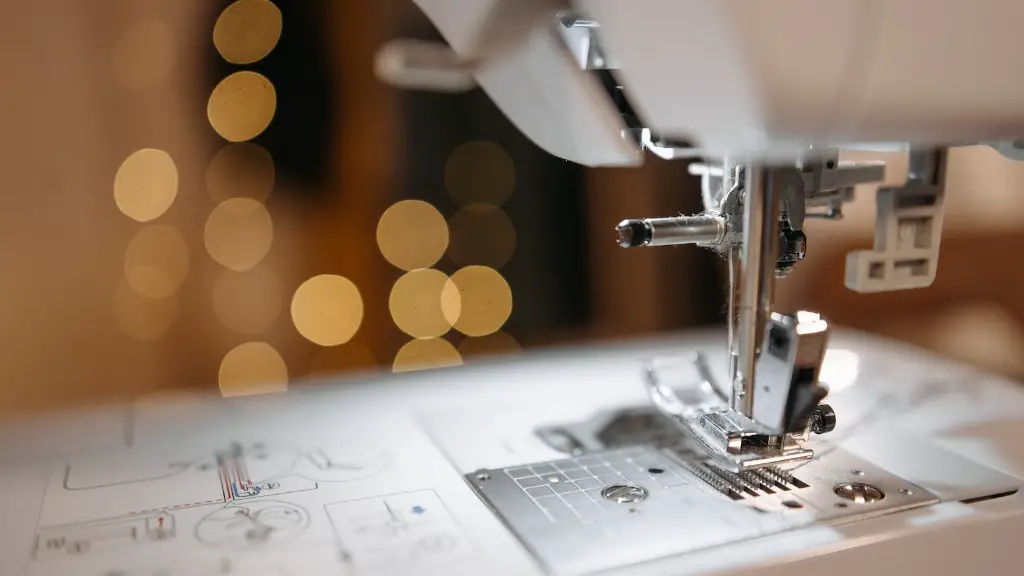
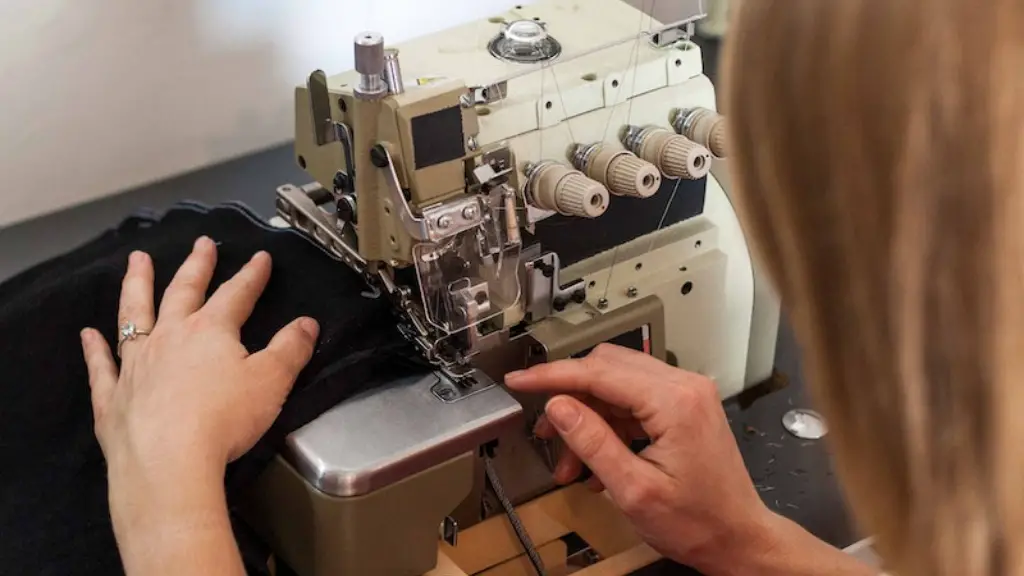
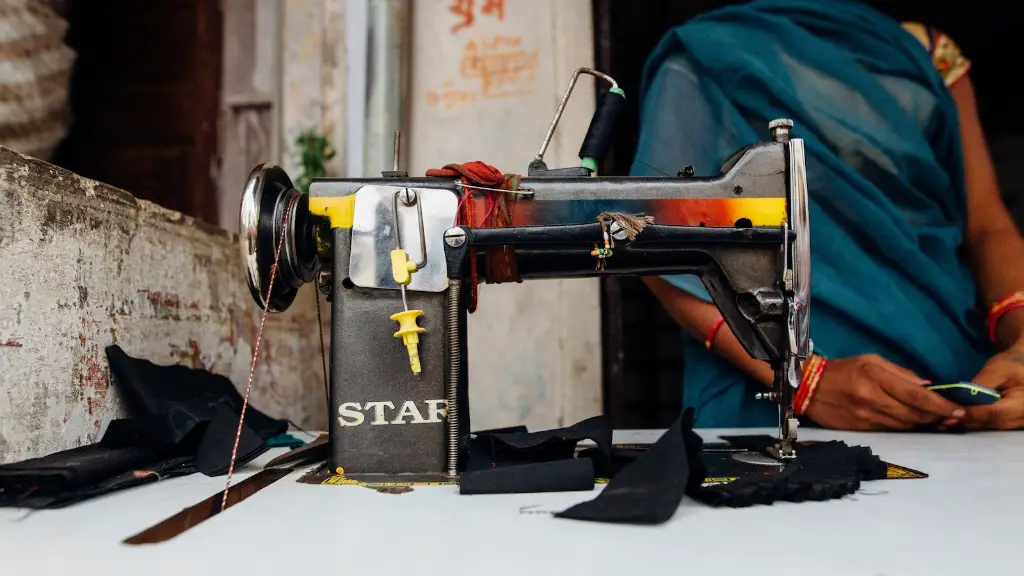
Fixing a hem with a sewing machine starts with the tools required. Most people will already have the basic tools they need; a sewing machine, thread in the matching color of your garment, scissors and an iron. If you need to purchase any materials, ensure that you buy thread that matches the fabric you are working with, as well as a thin needle for your sewing machine.
Optionally, you may want to use a tailor’s chalk, but this is not necessary. Tailor’s chalk is a tool for making marks on fabrics to help in the hemming process. This chalk can be easily found at most fabric stores.
Planning
Before you start hemming, take the time to plan out how you want the hem to look. Take measurements and mark them with your tailor’s chalk if you can. After you plan out how you want the fabric to hang, fold the fabric over the appropriate distance so that the raw edges are hidden.
If your fabric is thick, you may want to fold it twice so that the hem will be 3-4 centimeters wide. This will still be enough to cover the edges of the fabric. If your fabric is thin and light, you can fold the fabric only once so that it is only 1-2 centimeters wide.
Sewing the Hem
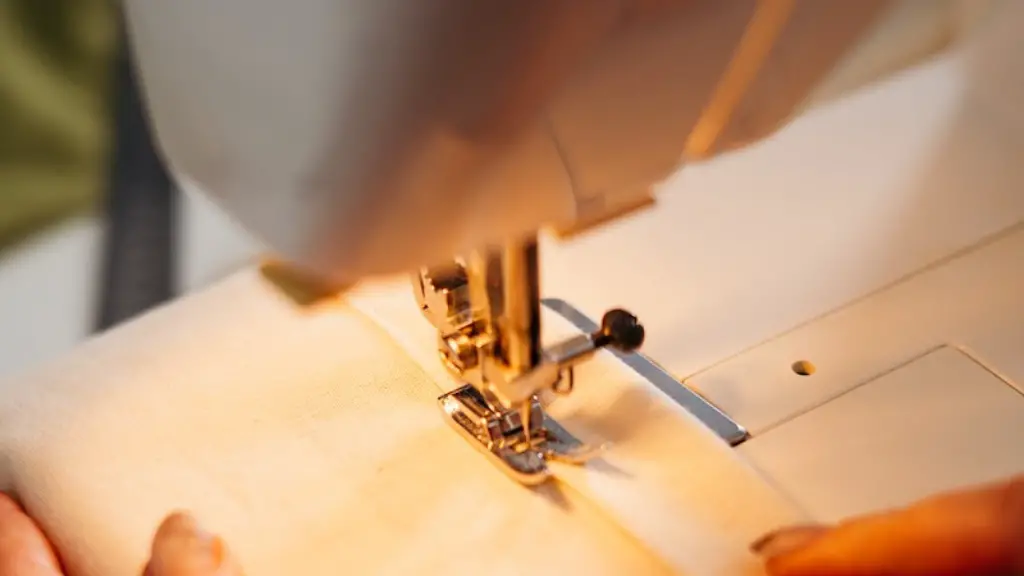
Now, you can start to sew the hem. When sewing with a sewing machine, position your fabric so that the raw side is facing down and the folded side is facing up. This will ensure that the edges of the fabric don’t show through the stitching.
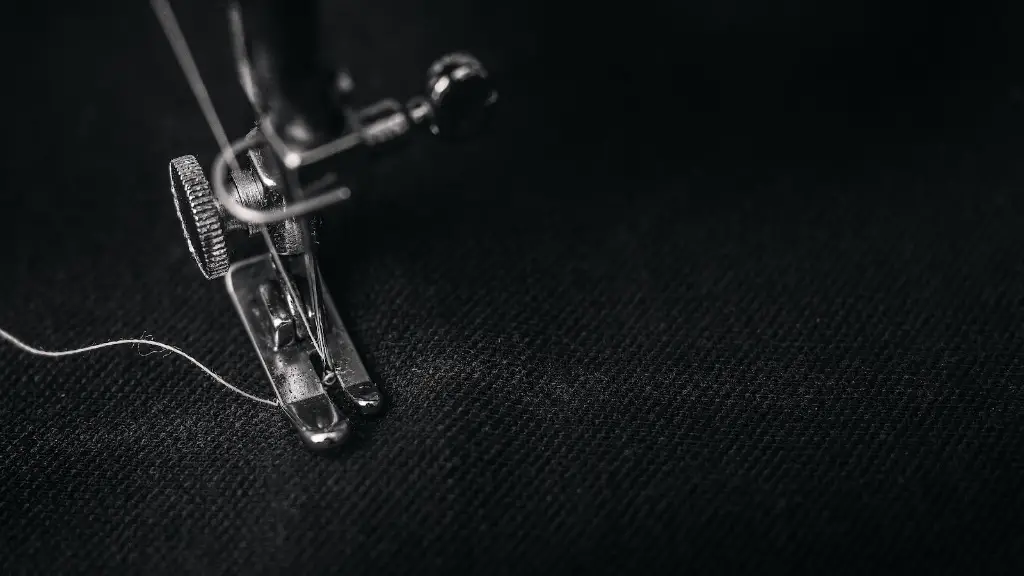
If you are using a standard presser foot, start sewing about 2 centimeters from the edge of the folded fabric. When you reach the folded part of the fabric, stop, lift the presser foot, turn the fabric until you reach the other side, and then lower the presser foot and continue sewing.
When you reach the end, carefully remove the fabric from the sewing machine and cut the extra thread with your scissors.
Ironing
Ironing the hem is a crucial step of the process. Ironing the fabric will help it to lay flat, and it will also make the stitches easier to see. Depending on the fabric that you are using, you may need to adjust the temperature setting on your iron. Once you’ve set the iron to the correct temperature, place the hem between two pieces of cloth and iron it firmly along the stitches.
Keep in mind that if your fabric is delicate, you may want to avoid ironing directly on the fabric, as the heat can cause damage. In this case, you should use a pressing cloth and only press the hem lightly.
Press and Pin
Once you’ve finished sewing and ironing the hem, it’s time to press and pin the fabric. This step will help the fabric keep its shape and ensure that the stitches stay in place. Take your iron and press the fabric along the raw edges. This will slightly fold the edges in and keep them from fraying.
After pressing the fabric, it’s time to pin it. You can use either straight pins or safety pins for this, depending on what you have on hand. Start at one side of the fabric and carefully pin the folded part of the fabric along the raw edges. Once you’ve pinned the fabric, use your iron to press the pins into place.
Testing the Hem
When the hem is finished, it’s time to test it. Put on the garment and check that everything looks ok. If the hem looks good, you can remove the pins and start wearing the garment!
Troubleshooting Common Problems
If you are having trouble hemming your fabric, here are some tips to help. If the stitches are too close together or too far apart, try adjusting the length of the stitch on your sewing machine. You can usually do this by adjusting the length dial on the machine.
If your stitches are not even or are coming undone easily, take the time to practice on some scrap fabric before you start sewing your project. Practicing on scrap fabric will help you get used to your sewing machine and its settings, and it will also help you figure out the best stitch length and tension for the fabric you are working with.
If your fabric is fraying, try applying a fray check to the fabric before sewing. This will help to protect the edges of the fabric and make it easier to hem.
Pressing and Starching
Finally, you may want to press and starch your fabric before hemming. If your fabric is thick or heavy, pressing and starching it will help it lay nice and flat, which will make the hemming process much easier.
To press and starch your fabric, start by laying the fabric on a flat surface. Spray the fabric lightly with a starch spray and then use your iron to press the fabric until it is completely dry. When you are done, the fabric should be easier to work with and more resistant to fraying.
Measuring and Marking
Measuring and marking the fabric with tailor’s chalk is an important step when hemming. Mark the length you need to hem the fabric and then fold the fabric to the desired length. If you are working with a heavy fabric, you may want to fold the fabric twice to create a hem that is 3-4 centimeters wide.
After you’ve marked the fabric, take the time to measure the fabric again to make sure that everything is where it needs to be. This will ensure that your hem looks neat and professional.
Stitching
When you are ready to start stitching, make sure that your fabric is positioned correctly; the raw side should be facing down and the folded side should be facing up. When you begin to stitch, make sure that you start stitching about 2 centimeters from the edge of the folds. This will help to ensure that the edges won’t show through the stitching.
When you reach the end of the hem, carefully remove the fabric from the machine and use your scissors to trim the extra thread.
Finishing Off
After the hem is finished, iron it to make sure that all the stitches lay flat and look neat. If your fabric is delicate, you may want to use a pressing cloth to protect the fabric from the heat. When you are done, you can press and pin the fabric to keep the hem in place.
Finally, wear the garment and make sure that the hem looks good from all angles. If you are happy with the hem, you can start wearing the garment!
