Sewing machines play an important role in the creation of garments, crafts and more. Knowing how to maintain and repair your machine can help keep it running efficiently for years to come. One of the most common problems with sewing machines is when the needle slips, breaks or jams. This can prevent the work from being completed correctly, leading to lost time, effort and money. The good news is it doesn’t take a lot of skill or knowledge to fix a needle on a sewing machine. In this article, we will discuss the simple steps to easily fix a needle on a sewing machine.
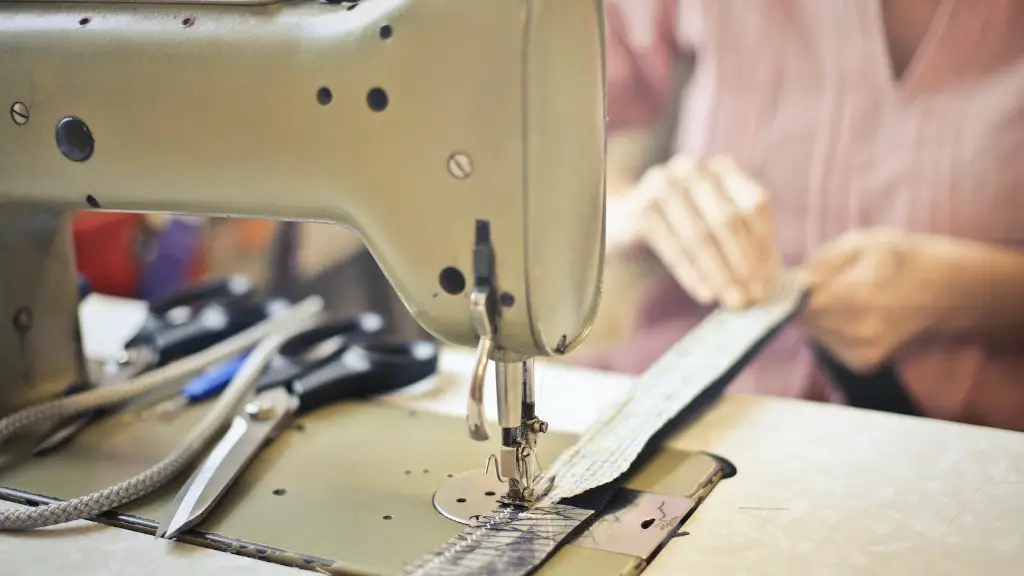
The first step when fixing a needle on a sewing machine is to make sure the needle is properly inserted. It should be firmly in the socket, but not too tight. The needle should be in the exact position, snug and centered on the needle plate. If the needle isn’t properly in the slot, then it won’t be able to function correctly. For more tips on proper needle insertion, check out local sewing classes, such as Workroom Social or Spooled Sewing Resources.
The second step is to make sure the needle is the correct size, type and material for the project. The needle should be the right size and shape to handle the material being used. Needles come in various sizes, including a universal which is suitable for most projects. The wrong sized needle could cause the needle or fabric to break or slip, damaging the material.
The third step is to check the tension and bobbin area. If the tension is too tight, it can cause the needle to slip and break. Check the tension dial on the machine to make sure it’s in the correct range for the material being used. Additionally, if there is any lint or thread stuck in the bobbin area, this can also cause the needle to become jammed and bent.
Lastly, don’t forget to clean the machine regularly. This helps to prevent abrasion and buildup of debris, keeping the needle and the machine working in optimal condition. To clean the machine, be sure to unplug the machine first and use a lint brush to remove any buildup from the needle plate, bobbin area and other areas of the machine.
Using Basic Tools to Repair a Needle on a Sewing Machine
The most basic tool to help repair a needle on a sewing machine is a screwdriver. By using a screwdriver, the needle can be removed and replaced with a new one if needed. If the machine has a threader located in the bobbin area, a needle threader can also be used to thread the needle. This is a small tool that slides along the needle to grab the thread needed to help thread the needle.
It can also be helpful to have a cross stitch chart, as this chart helps determine which size needle to use for the project. It also provides a helpful guide for how to adjust the tension if needed. Finally, having an embroidery hoop can help with stabilizing the fabric to reduce slips and stretch on thicker fabric.
Decorative Stitches and Problems with Needles
If you’re using decorative stitches on a sewing machine, this could also cause problems with the needle. If the needle isn’t the right size to properly complete the stitch, then it can cause the stitch to be incomplete and even break the needle. Additionally, if the fabric isn’t properly secured in the hoop, it can cause the fabric to tug and the needle to break.
Some decorative stitches take longer to complete, so make sure the fabric is secure in the hoop and that the needle size is correct for the type of fabric and stitch being used. Additionally, take it slow as some decorative stitches can be very intricate. Going too fast can cause the needle to break or the fabric to stretch.
Talking to a Professional
If all else fails and you’re still having problems with your machine, talking to a professional can help. Most cities have a local sewing or repair shop that can help with the repair and maintenance of your machine. Additionally, most cities have social media groups and meetups that focus on sewing and repair. You can also do a quick search online to find repair businesses offering sewing machine maintenance.
While knowing how to maintain and fix your machine on your own can save time, money and effort, always consider speaking to a professional if the issue is more serious. This can help to avoid major repairs that could potentially cost more than getting the machine serviced in the first place.
What to Avoid with Sewing Machines
It’s important to remember to avoid using the machine when it’s not working correctly. If the machine is making strange noises, sticking or skipping stitching, it’s best to unplug the machine and check for any of the issues mentioned previously before attempting to continue. Additionally, never use a higher voltage power cord than what is recommended for your machine. This can cause the needle to become worn out or even break.
Finally, don’t try to force the material through the machine. If the material isn’t going in easily or it’s causing the needle to slip or break, try using a different size needle or try using a walking foot or even a single sole foot instead. Additionally, reduce the speed of the machine or lower the tension if needed to help reduce the stress on the needle.
Repairing a Needle on a Sewing Machine with Fabric and Thread
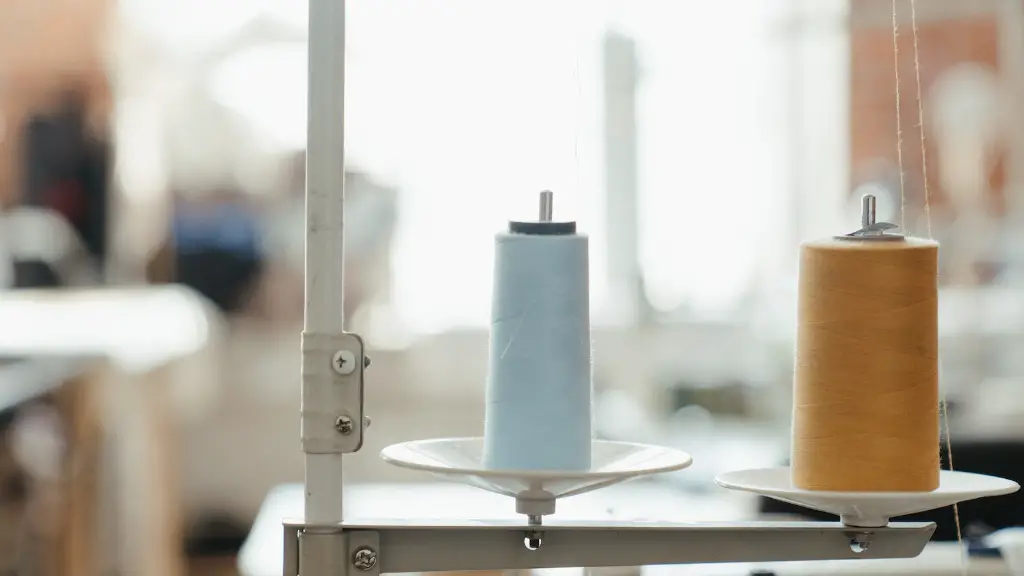
When sewing with thicker fabrics or multiple layers, it’s important to use the right thread for the job. Use the same weight thread as the fabric, as this can help to keep the stitches even and prevent breakage. Additionally, make sure the thread is not wound too tight or too loose. If it’s wound too tightly, then it can cause tension issues as the machine moves and can cause the needle to slip and break.
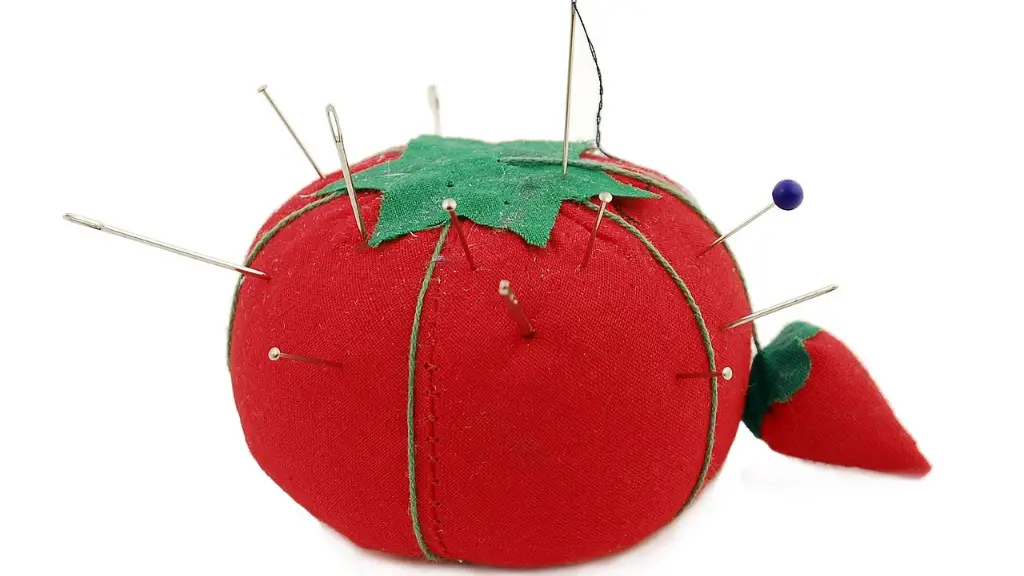
Additionally, make sure the fabric is securely in the hoop before starting any project. This will help to reduce the stress on the needle and keep it from slipping or breaking. The fabric should also be straight and without wrinkles or warps. Take time to pin the fabric if necessary, press it and then give it one final check before starting.
Know When to Replace the Needle
Finally, take some time to inspect the needle after each project. This helps to ensure that the needle is in good condition and won’t cause any issues with the next project. If the needle looks worn out, bent or dull, then it may be time to replace the needle. This can help to reduce any potential problems with the sewing machine later on.
Following these simple tips can help to keep your needle in good working condition and help keep the sewing machine running efficiently. If something does go wrong, then use the steps outlined in this article to help fix the needle. Knowing how to do simple maintenance and repairs on your sewing machine can help to save time, money and effort in the long run.
