Having trouble getting your Singer Sewing Machine to sew? Don’t fret, it’s an issue that many a sewist has experienced when dealing with an older machine. It can be frustrating. But with a few easy steps that require only a minimum of tools and supplies you can repair your machine and be stitching again in no time.
Gather your supplies
To get your machine fixed, you’ll need the following items: All-purpose sewing machine oil, a screwdriver and tweezers, a replacement needle, some solvent, and a small brush (such as an old toothbrush).
Checking the machine’s level
The first component you should evaluate is the level of the machine – the ‘foot’ of the machine may be tipped backwards. To adjust it, turn the knob on the side of the machine until the foot is level with the sewing table. Usually this adjustment is all that is needed to get the machine back to sewing.
Cleaning the machine
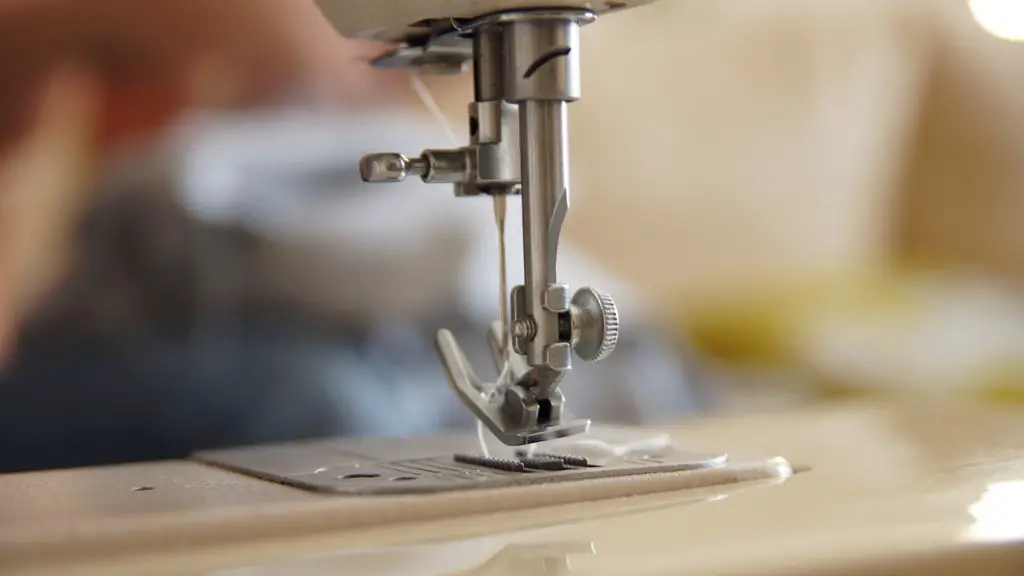
If the machine still does not sew after adjusting the level, you must clean the machine. Begin by unplugging the machine and unscrewing the bottom of the machine using the screwdriver. Use the tweezers to manually clean the hook race. Take care to remove any debris.
Locate the presser foot screw and remove it, then remove the foot. Using the tweezers or a small brush, clean the footplate, including the little bits of thread or lint that may have worked their way into the bobbin area.
Install the presser foot again and make sure it is tightened securely, paying special attention to the little screws that may also need to be tightened.
Lubricate the machine
When the machine is reassembled, apply a few drops of oil inside the bobbin area in order to lubricate the components. Carefully wipe away any excess oil with a clean, lint-free cloth, then plug the machine back in and give it a test run.
If the machine still does not work, it is time to check the needle. Make sure that it is the correct size for your machine. If the needle is worn or bent, replace it with a new one.
Check the bobbin tensions
If the needle is not the problem, it is time to check the bobbin tension. To do this, hold the thread at the back and pull gently. If the tension is too tight, the machine will not sew. Manually adjust tension using a screwdriver, and do a few test runs until the tension is just right.
Adjust the thread tension
If the bobbin tensions are secure but the machine still won’t sew, it is time to adjust the thread tension. To do this, take out the spool of thread and make sure the thread is not tangled or knotted. Replace the spool of thread on the machine and adjust the thread tension dial until the stitches look right.
Check the presser foot lever
If everything else fails, check the presser foot lever. Make sure that it is tight and secure and not bent in any way. If it is bent, you can adjust it using a screwdriver.
Check for corrosion and dirt
It may also be possible that corrosion or dirt have damaged the machine’s internal components. If this is the case, use a cotton swab to apply some solvent and try to clean the components. Wipe away any remaining solvent with a clean, lint-free cloth.
Check for worn or broken parts
Finally, if all else fails, check for worn or broken parts inside the machine. Broken or worn parts can cause the machine to stop working; a bent needle, for instance, can cause the machine to jam while sewing. If a part is broken or worn, you will need to replace it before the machine will work again.
Proper maintenance and storage of the machine
Once you have followed the steps listed above to repair your Singer Sewing Machine, it’s important to take steps to keep it in good running order. For example, always make sure to store the machine in a cool, dry place. Always oil it regularly, and make sure to clean the bobbin area after each use.
Know when to call in an expert
It’s also a good idea to call in a professional if the machine still has issues after going through the steps above. These professionals know exactly how to diagnose and repair most sewing machine issues, and can save you time and effort trying to figure it out yourself.
Inspect the power cord
The last check to perform before ruling out an electrical issue is to inspect the power cord. Make sure that both ends of the cord are securely connected and make sure that no part of the connection is loose or torn. If the cords themselves appear to have fraying or exposed wires, then it’s time to replace the cord.
Check the needle’s location
It’s also important to check the needle’s location. If the needle is inserted incorrectly or is misaligned, then the machine won’t sew correctly. Check the owner’s manual to make sure the needle is correctly inserted and aligned.
Troubleshoot any machine issues
If your Singer Sewing Machine still won’t sew, it’s time to troubleshoot any machine issues. Start by inspecting the machine for any loose screws or wears in the thread; this can cause the machine to jam while sewing. If nothing looks amiss, then it may be an electrical issue which you will need to address by replacing the power cord or checking the connections.
